How to Make a Shaker Tag
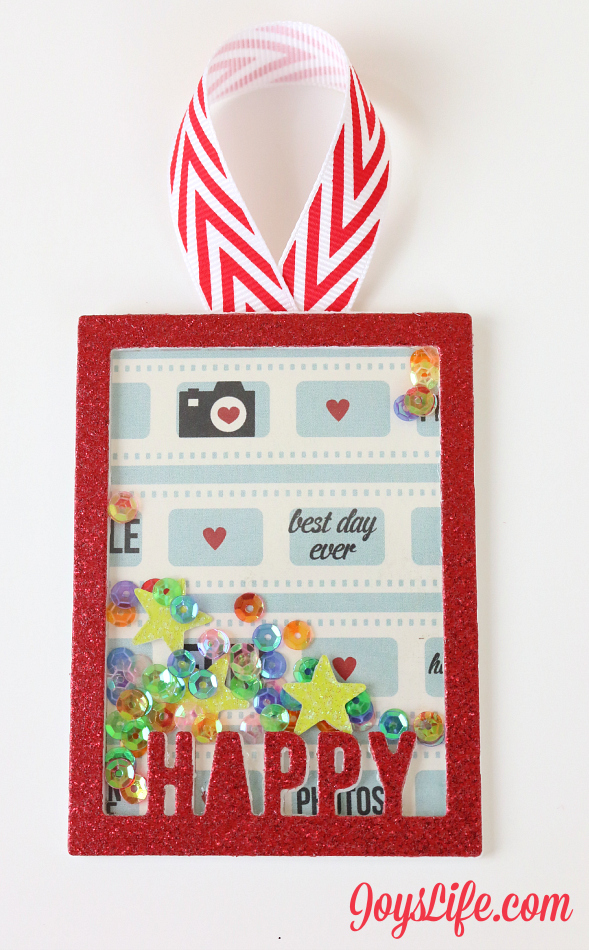
Hi friends! Remember when I showed you how to cut felt with the Cut ‘n Boss? Well, today I want to use the same “happy frame” die from the Teresa Collins Lifestyle Die Collection to show you that the Cut ‘n Boss can also do a great job cutting craft foam. It’s how I made this shaker tag. I love this versatile die because there are so many possibilities for using it and because it cuts so well! Can you believe it can do such a good job cutting out felt, glitter paper and craft foam? That’s just super cool to me.
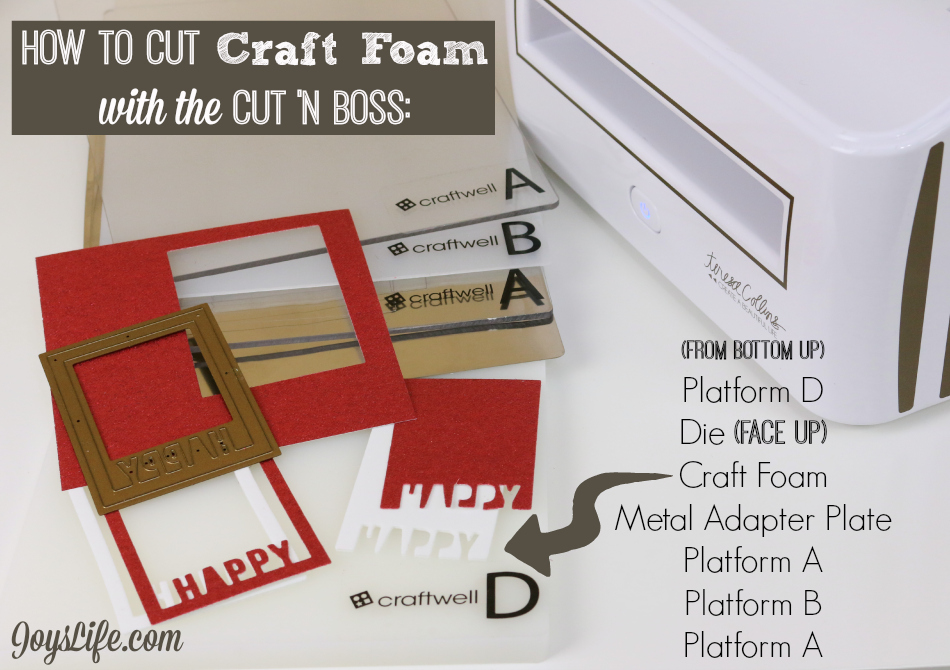
I want to start with this graphic that I made for you (and me) so we can remember the “sandwich” of platforms to make craft foam cut in the Cut ‘n Boss. I’m using that super cheap foam that you find in the craft stores. It’s inexpensive and available in a ton of colors. I’m using white because it gives a nice clean look on most projects. If you have a different color foam you can use that; however, strange foam colors show through…like they did on my fish shaker card here.
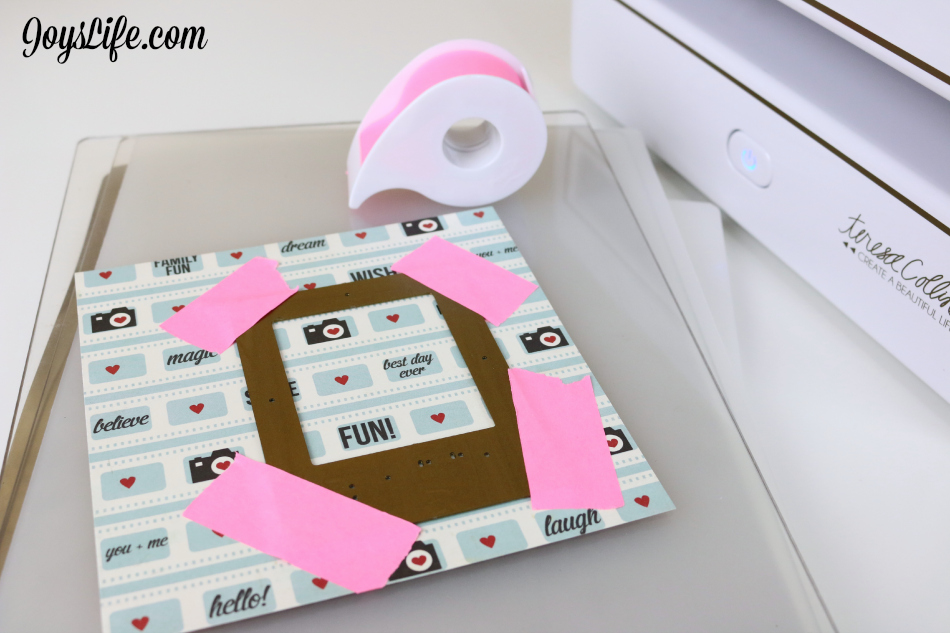
Another quick note! If you want to cut a specific area of paper using your dies, tape them down with washi tape or this Post It tape so they don’t move around. Yep. That’s just a roll of Post It note paper. You tear it off to the size you need. It’s sort of pricey but it works really well.
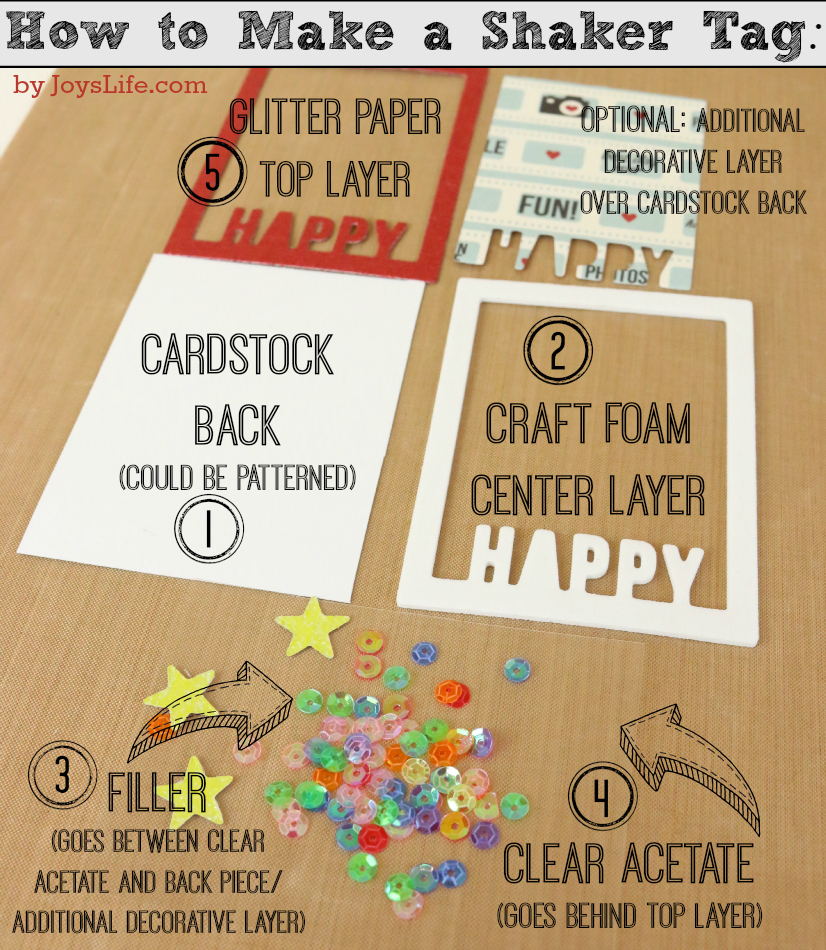
Here are the layers you need to create a shaker tag or a shaker card…well, any kind of shaker. Start with a piece of cardstock that fits the entire size of your die cut. Optional: If you want to add more stability to your shaker card or just want to add a layer of decorative paper that is different from your backing add that in now. Next, glue the craft foam layer onto the cardstock back. Add your filler pieces. I’m using sequins and stars from the Teresa Collins Lifestyle dies. Cover the filler with a piece of clear acetate. The final step is to glue your top piece over the acetate layer. You’re done! Shake your booty…or your tag/card…or both.
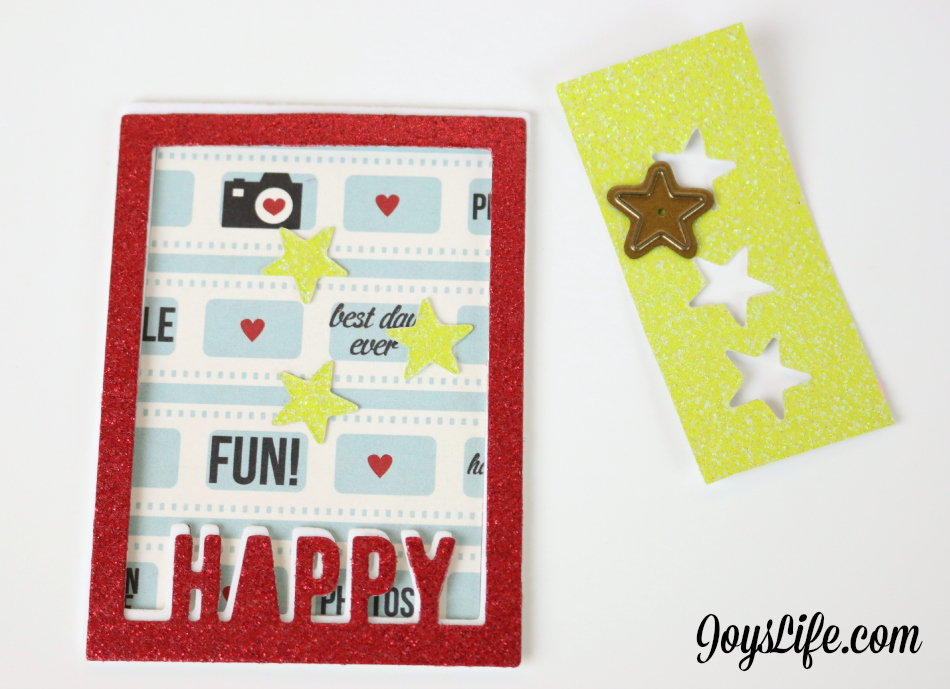
I used Core’dinations Glitter Silk cardstock for the top layer (happy) and the stars.
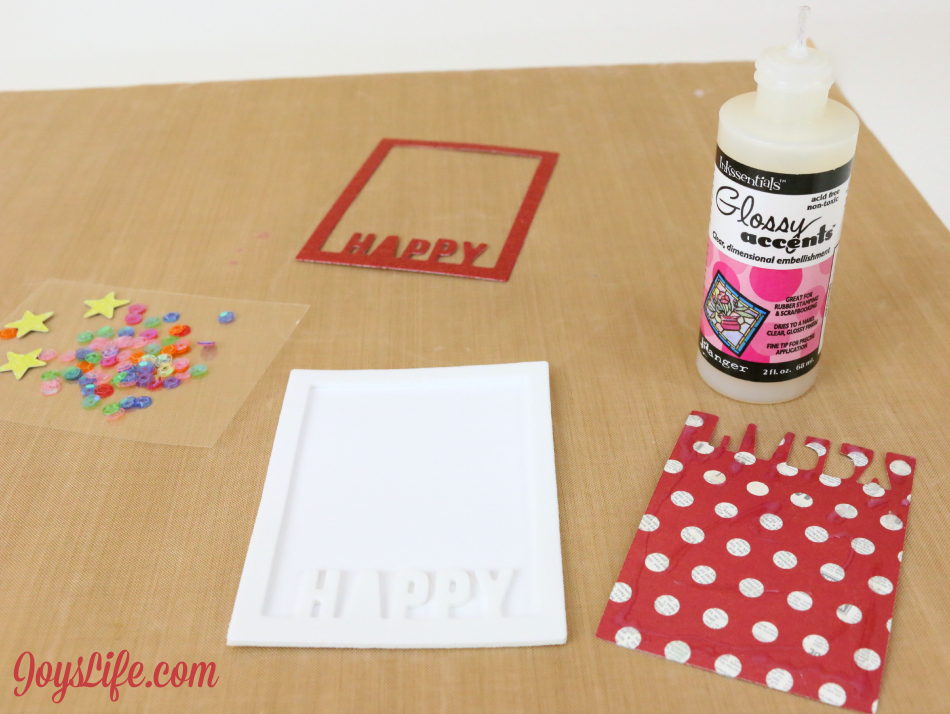
There are all the layers. In this picture, you can really see how well that craft foam layer cut. I glued everything together using Glossy Accents. It dries clear which helps keep smudges and mistakes from showing. I can use all the help available when it comes to that. LOL!
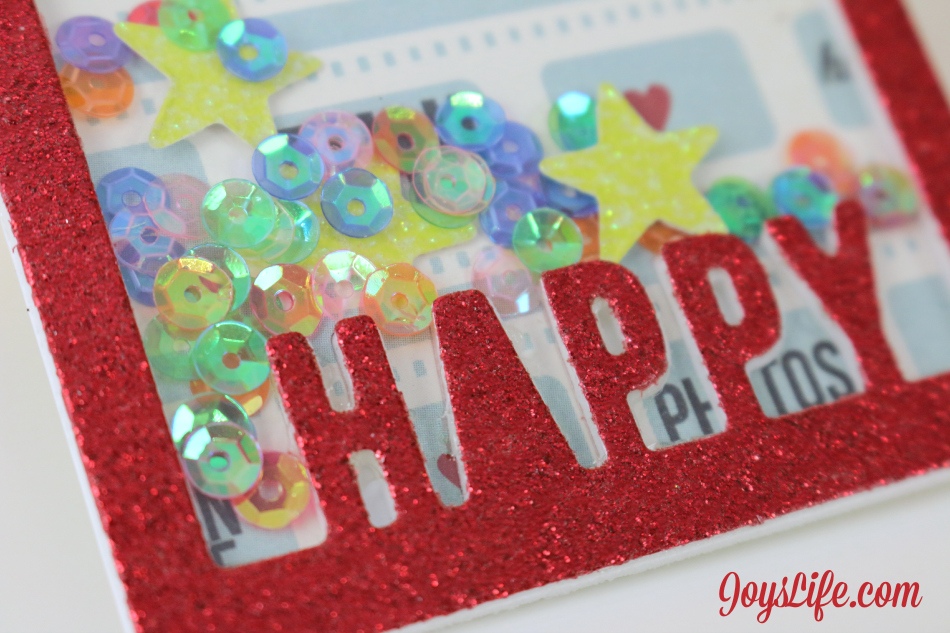
I love making shakers. I think they’re so happy and fun! If you want to turn a shaker into a tag just add a loop of ribbon to the back. Want to make it into a card? Simply glue it to a card base. Sooooo easy!
Happy Crafting, my Friends!

I created this while participating on the Craftwell Design Team.


Joy,
Great job on this shaker card. Love those translucent sequins. Practice does make perfect.
Thank you, Blue Rose! Those translucent sequins have my heart! I wish I had a barrel full of them. LOL!