HGTV PARTY Cricut Lite Handy Man Cartridge Tools
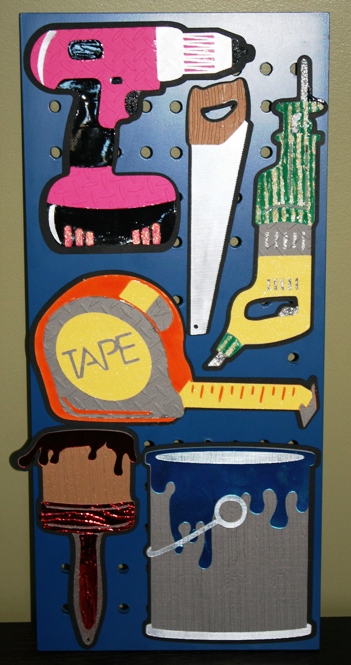
These tools I made are on a wooden peg board.
Here are some more of the decorations I made for my friend Sunita’s surprise birthday party and to celebrate her debut on the HGTV show All American Handyman. Here’s a link to the 1st HGTV post I made (more decorations and info) AND A GIVE AWAY!! Have you seen that show? I think it’s the hardest show of that type I’ve seen. She wasn’t in the top 10 that got to move on, but it’s an accomplishment to have earned a spot on the show in the first place. Girl Power!
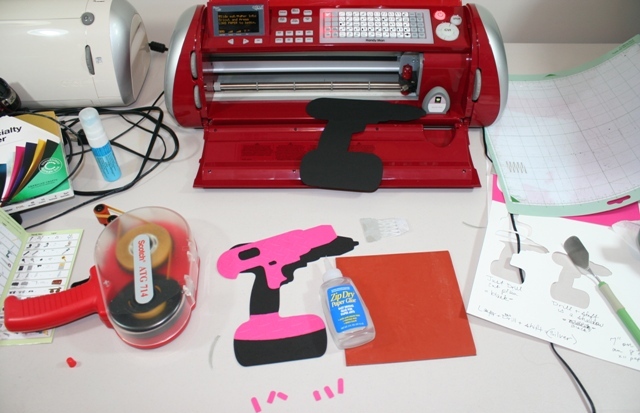
I thought I’d never need the Cricut Lite HandyMan cartridge. I was wrong. I ran right out and bought it for Sunita’s party. That’s what I used to make all of these tools. Zip Dry Paper Glue, my ATG gun, stickles and Judikins Diamond Glaze also played important roles. I made that glossy look on the pink drill, the tape and that weird saw on the right all using the Judikins Diamond Glaze.
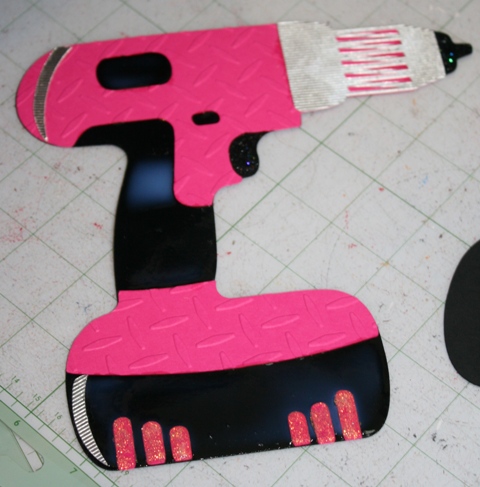
That milky substance is the Diamond Glaze. It takes a while to dry, so don’t use it at the last minute before giving your creation to someone. Also, when you cover large areas with it (like I did) it causes the paper to curl. Just be aware. See the Stickles at the bottom? I heart you Stickles.
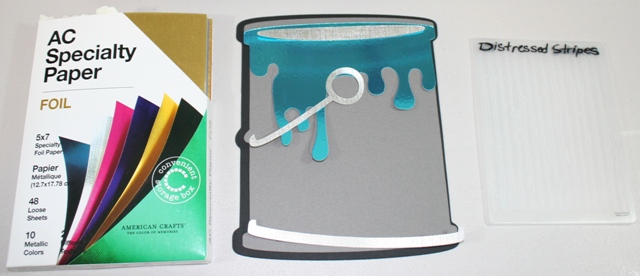
Here’s the paint can BEFORE I embossed it and put it together. I label all of my Cuttlebug folders so I can tell you what I used. This is the Distressed Stripes Cuttlebug folder. I thought it would be a great match for drippy paint. That foil paper is EXCELLENT! I love the added metal looks it was able to help me create. It embosses great too. Here’s a link to a post I wrote about How to Label Embossing Folders.
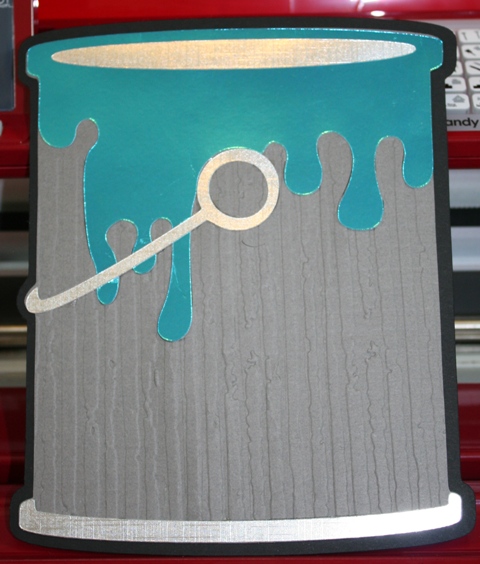
What a difference embossing makes!
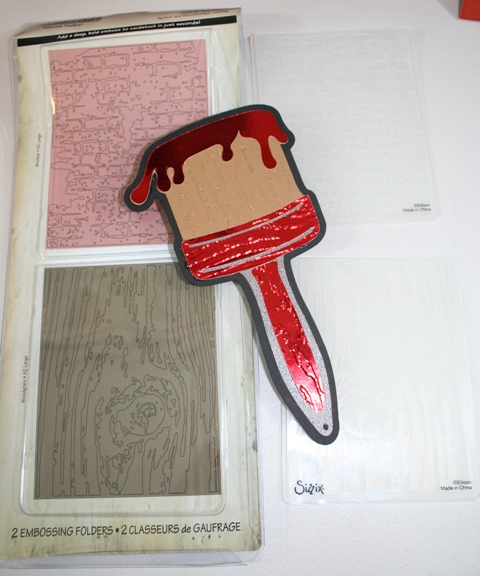
I used the woodgrain Tim Holtz Embossing Folder to give a realistic wood look to the paintbrush. I’m so glad that these masculine embossing folders have been created. He has many more out, but these 2 are my favorites.
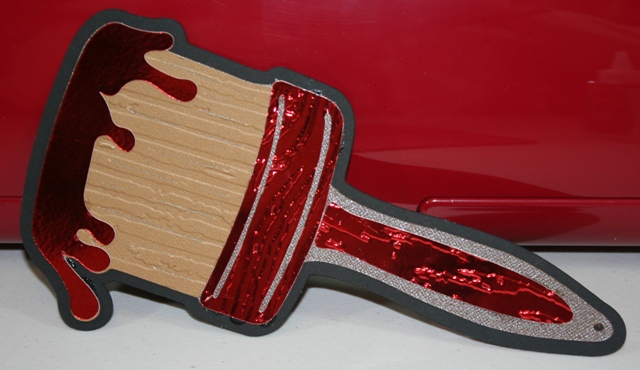
I love how this paintbrush turned out. The embossing made the “wood parts” look almost real.
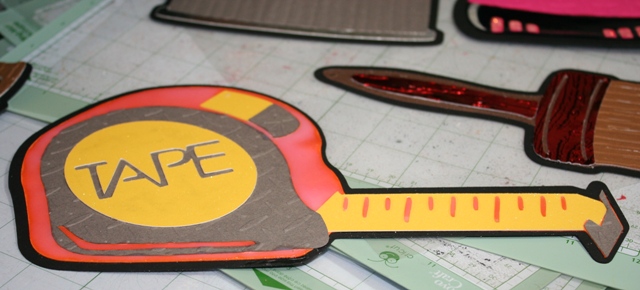
I also used the Diamond Plate Cuttlebug folder to give a metal look like you see on the tape and earlier on the drill. I didn’t have enough silver foil paper, so I made do with gray. You can see more of the milkiness of the Judikins Diamond Glaze drying on the tape measure.
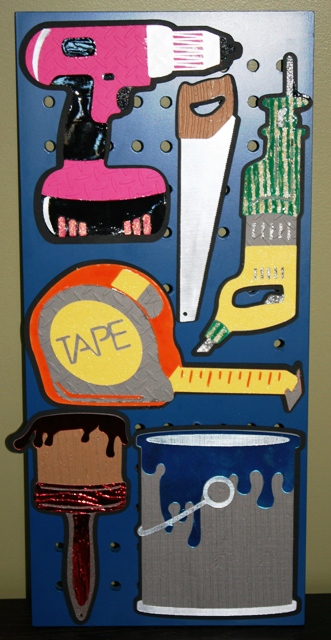
Most tools in this project were cut at 7″. You’ll need to do some test cuts with the saw because it comes out so small compared to the other tools. This is due to its shape, but is annoying nonetheless.
Don’t forget to check out the first HGTV post and leave a comment for the Give Away.

Joy, you are such an enabler, i have a father who is a retired union carpenter and this is cute. I need to get this cart.Do they have car stuff on this cartridge?
This is gorgeous. Now i need to save this and remember what stuff I need to go and get.
charna
I love this. I love all the detail you did. Such a great project! Thanks for sharing!
OMGeeeeee whiz….. I LOVE those. That cart. is on my wish list. It has been from the first time I saw it.
Great job and yes embossing is the bombdiggity!!!
Crystal
I want that cart to do the LO on replacing our roof. Love what you dd to the cuts. Congrats to your friend for getting as far as she did.
Linda A
This is the perfect man’s cart, I so need it. This would of been so handy when I made my husband a tool belt lol.
Kim xXx
This is so cool. A kid would love this.
This is just great!!!
Deanne G
[email protected]
These are great. Didn’t know there was a cart out there for handy man. Have to check it out
Those tools are so cute! Now there is another cart. I will NEED to add to my collection. Thanks so much for sharing.
The HGTV show has only been on once and I already LOVE it. I knew I needed this cartridge, but now I must get it!! I love all the detail you put into each of the tools. You always do such an amazing job on your projects.
I know what that saw is….it’s a SAWZALL 🙂
These tools turned out AWESOME!
Oh that looks great Joy, i can’t wait to get this Cart, my new cricut messageboard friend in OH is going to send me this cart, I can’t wait for it to get here!!!!!! ( I can’t find it anywhere near me, here In Canada) thanks for showing so many great cuts from it….
I love what you did!
Way cool!