Foghorn Leghorn with “Make the Cut” Software for Cricut (How to Convert Raster Images to SVG Format)
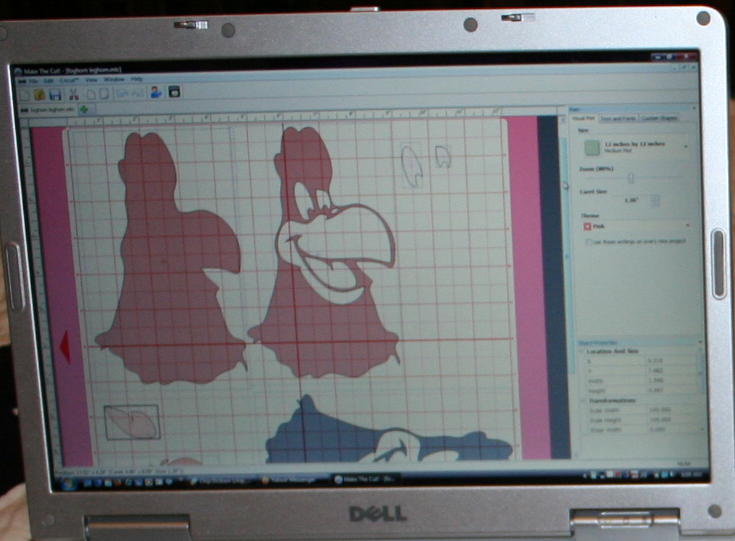
My 1st Project with Make the Cut…Foghorn Leghorn. You can change the color of the on screen mat!! That’s why mine is PINK!
I have to tell you…I’m so impressed with this software!! I made Foghorn really quickly and it was so much fun to do. If you haven’t tried it yet, you can download a free trial version of it by going to the Make the Cut site and clicking Download Now then continuing in Demo Mode.
HOW I TURNED THIS IMAGE INTO PAPER CUT IMAGES:
Following the example on how to Convert Raster Images to SVG Format on the Make the Cut home page I did these things:

- Step 1: Found a .jpg image of Foghorn Leghorn on the Internet.
- Step 2: I imported the image by using the ‘Trace Raster Image’ button. It’s the one that looks like a silhouette.
- Step 3: I adjusted the threshold to clean up the outline of the image and clicked ‘Accept’.
- Step 4: Using Break/Split/Layer and Join, I created the components of the image.
Then as they say… I began to “Make the Cut”.
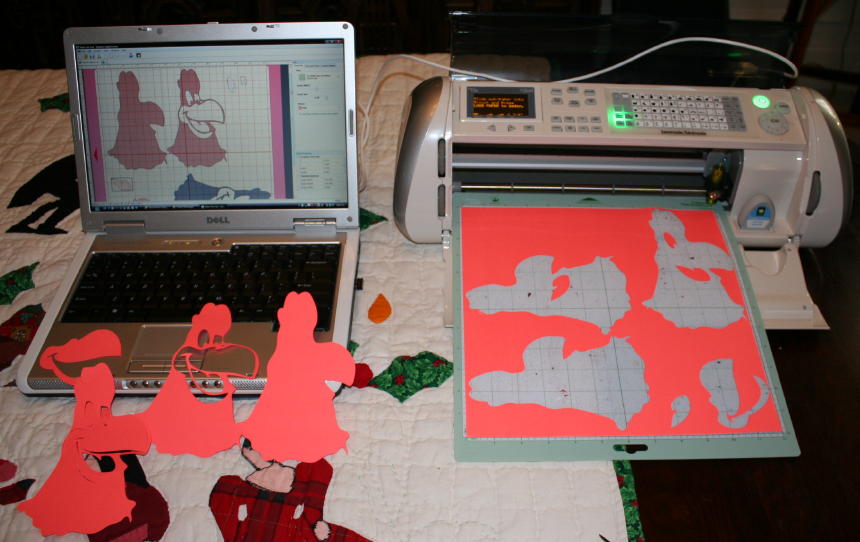
No, this is not a bed. It’s my dining room table with a Christmas quilt on it. I was too lazy to move anything, LOL.
This bad boy worked like a CHARM!! 1st try and I had all the cuts I needed to assemble Foghorn Leghorn. Granted this would look a lot more impressive if I had used different colors for the parts, but hey…it’s a few days before Christmas and I have 1 billion things left to do and a party tonight. So…you’re getting one color today. Them’s the breaks.
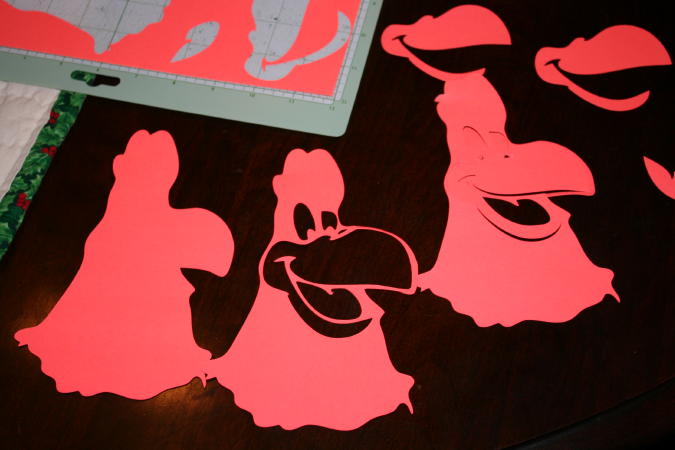
Isn’t that just the coolest thing EVAH?!! This was EASY to do and FAST to learn. Nothing overly complicated about it.
Now, I just need to reprint this in some decent colors and I can go Foghorn somebody’s day with a cute card.
You know you want it! Merry Christmas to you!!


I may have to download that to my daughters lap top. How long is the free trial good for? And I may be buying that soon. When taxes come back if I like it.
I don’t think that the trial expires after a certain time. However, the trial will cut a diagonal line through the cuts if you don’t have the full version. The trial is a great way to get familiar with it though. I find it really easy to use. I LOVE IT! 🙂
My husband bought this software for me for Christmas. I’m LOVING it. No need for Inkscape…..YAY!! The developer has just designed the shadowing capability for it. That comes up in the next update….and with MTC, all updates are free.
Awesome software.
Carol
Downloaded the trial to my daughter’s lap top, Played a little bit with it over the past couple of days. This is something that I intend on buying to put on her computer. I told her that for now we could learn to play and then when the taxes come back, we will get the full version. She wanted some different Disney characters than what we had on the cartridges. She wasn’t too sure she wanted me to download anything, but this program is a must for crafters without a lot of time. What I like most is that you can change the colors.
I agree, Marlene! There’s just so much to like about this program!
Do you like this program better than SCAL2? Trying to talk my husband into getting one of these programs. And do you have to keep buying the carts with either program?
Thanks for a wonderful blog, just love it!!!
Hey Nutty4crafts,
I do like MTC better than SCAL, for me MTC was easier to learn. You don’t have to buy carts with these programs. You can just use images you get for free or purchase from various sites on the Internet like Lettering Delights. 😉
Thank you!
~Joy~