How to Cut Fabric with a Cricut
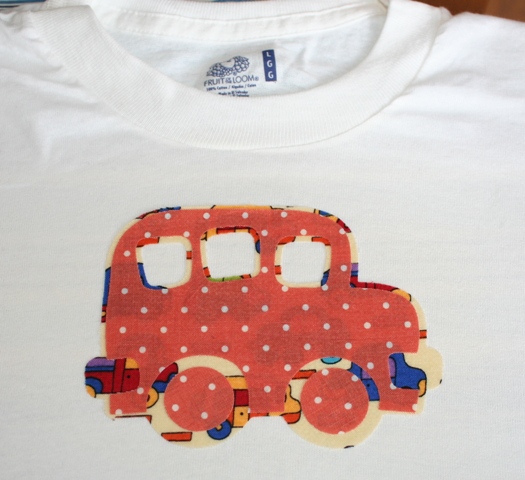
I cut all this out with my Cricut!!
Every time I say the following phrase I can’t help but be reminded of this fiery Cajun girl I used to work with saying it in her full-on Cajun way, “Lemme be honest wit ‘cha.” So, lemme be honest wit ‘cha, I knew people had cut fabric with their Cricuts, but for some reason I was still skeptical. I thought it would be a pain in the neck or other regions, but I was wrong. Lemme be honest wit ‘cha, it was easier than a lot of other projects I’ve done…for REAL. 😉
Here’s How I Did It…
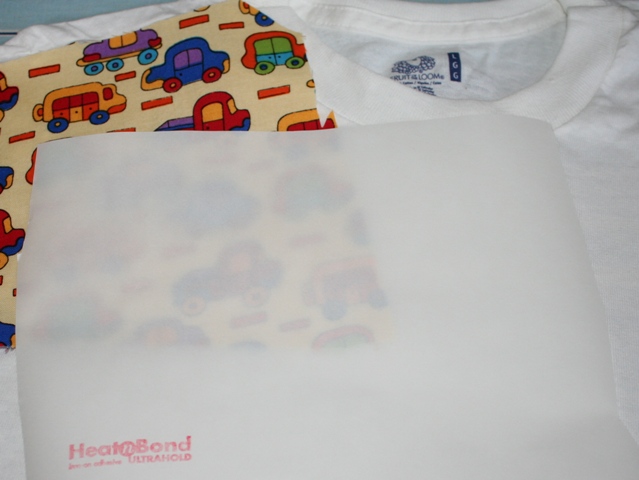
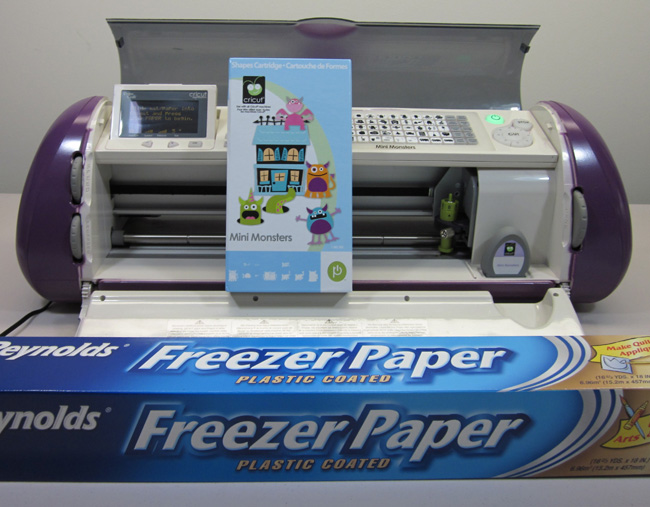
Some of the things I used: Heat ‘n Bond, T-shirt & Fabric.
Since I was just running a test to see if cutting fabric with the Cricut was an urban legend or fact, I used some T-shirts I keep on hand for just such crafting adventures. I just buy a big ‘ole bag of them at Walmart in the Men’s section. They’re with undies, socks and things like that. You’ll find them. It’s an inexpensive and easy way to keep some shirts on hand.
It also helps if you have an MIL (that’s Mother in Law) who is a sewing genius and buys fabric like I buy cardstock. She had some extra fabric on hand so I could keep my costs down and give this a try. So, thank you MIL. I heart you.
If you don’t have a MIL with a room full of fabric on hand, you can just buy it. I do have some that I bought around here somewhere, but that’s sort of the problem. The part where I said, “around here somewhere”. Moving on … I used a 100% cotton T-shirt and fabric. 😉
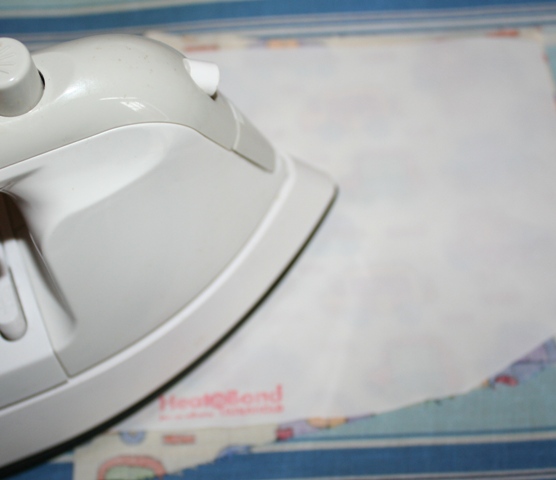
Heat n’ Bond gives your material stability so the Cricut can cut it!
The product that I’m ironing onto the fabric in the photo is Heat n’ Bond Iron On Adhesive. I used the Ultra Hold in the Red package. It’s the same stuff I used when I cut felt with my Cricut. I used this backing on my fabric to give it stability so the Cricut could cut it and also so the fabric would stick to the shirt. You just follow the directions on the package and iron the Heat n’ Bond on to your fabric. If you’re wondering why I could cut felt with my Cricut, but still thought it might not cut fabric … it’s because I believe that it works, if I try it myself. (Or see a really convincing You Tube or infomercial, LOL). Seriously, I believe that “works” and “ability to be reproduced by your average crafter” are 2 different things. I mean, a lot of things “work” but do you really want to spend 14 hours doing it? “Not I!”, said the busy Mom. Well, I can tell you…this is fairly quick. I did it after the kids left for school and before I left for my 10:45 hair appointment. 😉
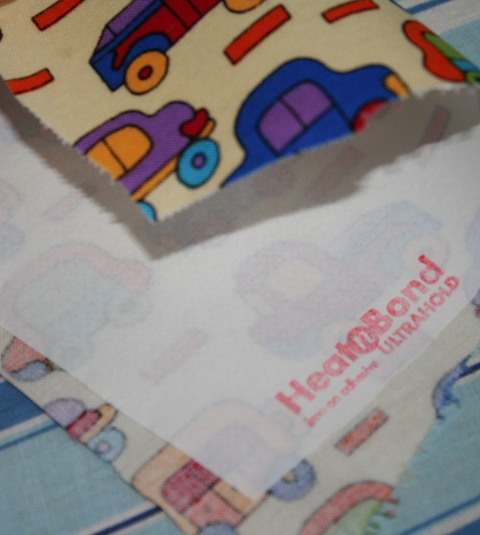
Here is the fabric with the Heat ‘n Bond ironed on to it.
I used my Gypsy to lay everything out on the mat. This was especially helpful when I later added hubcaps and another layer to the bus. First, I made this cut because I was just testing to see if it worked and this looked like an easy cut with no intricate pieces. I figured if it couldn’t cut this, I might as well scrap the whole plan. This bus comes from the Doodlecharms Cricut cartridge. I created the hubcaps (seen in the completed project) using circles from the George and Basic Shapes cart. Something really helpful about using the Gypsy for this is that I could easily size the hubcaps by positioning them over the wheels to make sure they were appropriately sized. Then I drug them to a different area on the mat for cutting. 😀
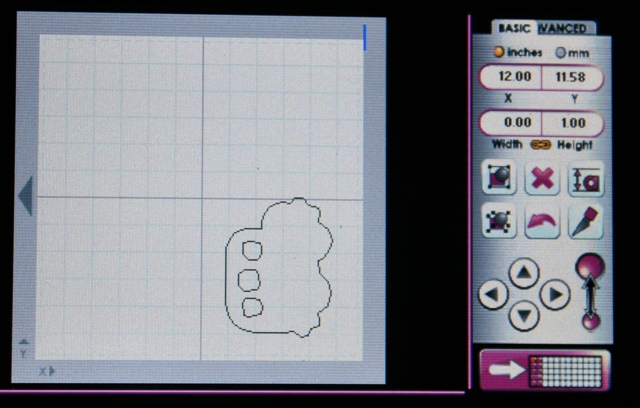
Gypsy, have I told you lately that I love you?
And Now Get Ready for the Cricut to Blow Your Mind…
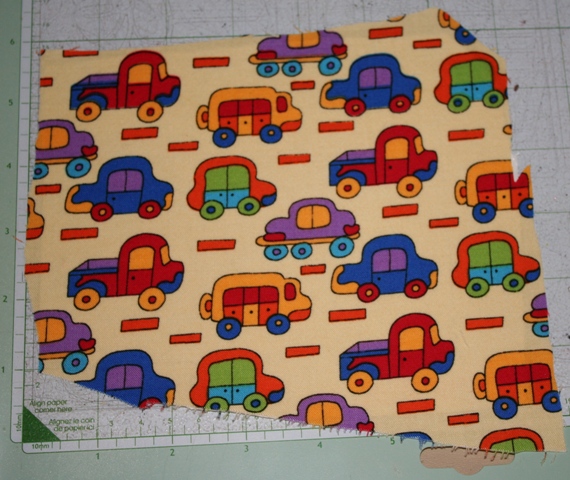
Fabric backed with Heat n’ Bond on a very sticky mat.
Right away I must tell you…USE A VERY STICKY MAT!! Now it doesn’t need to be so sticky that you touch it and it won’t come off your hand without surgery, but it needs to either be new or restuck using a variety of methods. This 505 repositionable adhesive is a good product. Stick your fabric to the Cricut mat Heat n’ Bond side down. Load your mat & try these settings that I used.
Cricut Machine Settings for Cutting Fabric:
I used the regular cutting blade. 😉
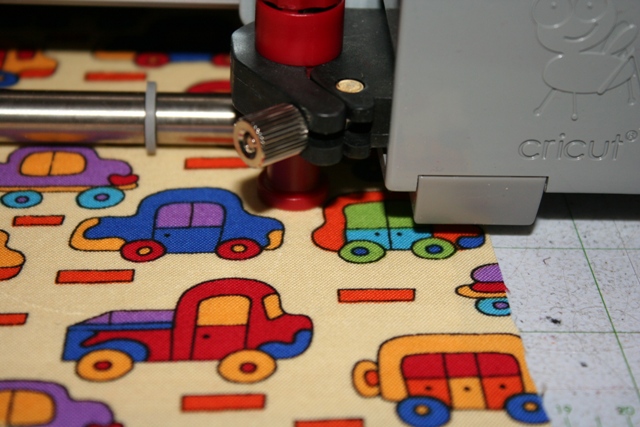
It’s cutting!! It works!!
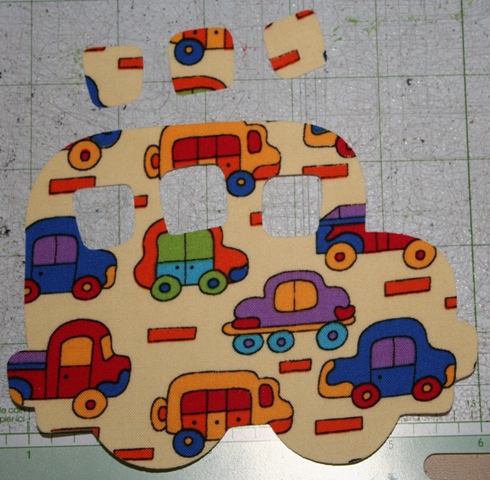
We have a bus. Things were going so well, I decided to give it a second layer.
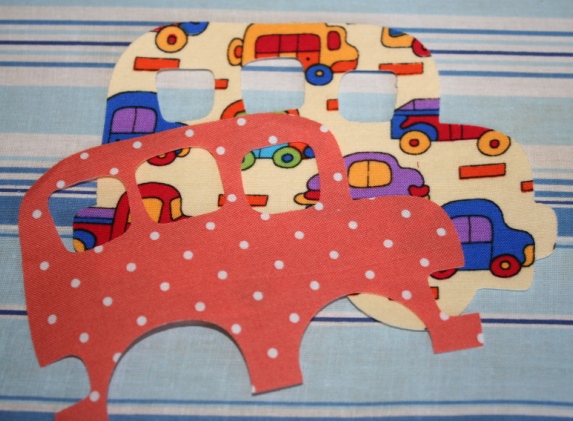
I went through the whole Heat n’ Bond ironing process again. I cut this more detailed layer using Doodlecharms again and then created some hubcaps using George and Basic Shapes + my Gypsy.
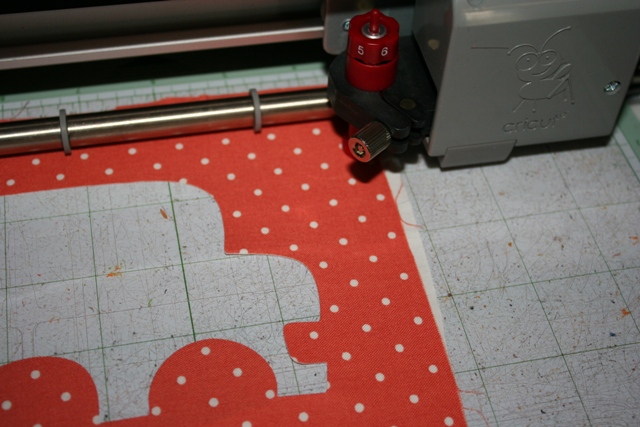
Cutting hubcaps/wheels out of leftover fabric already ironed with Heat n’ Bond.
It’s cool how I was able to position the Cricut to cut the hubcaps out of the leftover material. I used my Gypsy to place the cuts but you can just move your blade using the direction pad on your Cricut.
Remember – Read the Directions of your Heat n’ Bond. Before adhering your project to the shirt you should peal off the paper backing. 😉
Also, for best results first wash your shirt without using fabric softener or a dryer sheet.
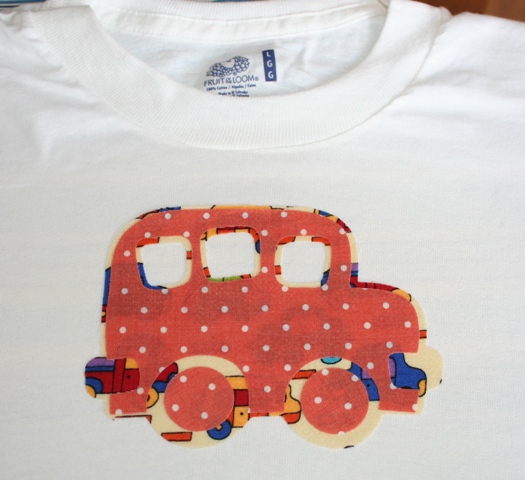
Well, that’s it! You can cut fabric with your Cricut and that is how you do it.
Go Get Your Cut On!!

Joy… I will have to give this a try. I have thought about it many, many, many times but didn’t dare. I see you had your doubts too. Thanks for the tut and the encouragement. Hugs!!!!!!!!!!
I love this! my friend came over and experimented cutting fabric with the cricut and it took her so many tries. I’m definitely going to try this and buy the heat n bond. Thank you for sharing!!
Liz
Joy, I use my cricut all the time for cutting fabric for quilting. It’s a breeze and I love how it will cut out applique stuff for quilts. So easy!
what a cute shirt. thank you. i love that you tell us what blade settings to use. i always had it to my list of settings and materials. i have not cut fabric yet.
chriswooten57
[email protected]
That is so nice Joy! I’ll have to use that for making shirts with the girls when we go like for st pattys and such! It’s a great idea!
I’m so glad you all liked the tutorial and found it helpful! Yay!! Thank you for the great comments! 😀
~Joy~
Very NICE!!! I knew that his could be done but haven’t tried it myself. And if you are a sewer like me, then after applying the zig zag stitch around the cut out will make the project go that much faster! LOVE IT!!! Oh the possibilites…TWO THUMBS UP JOY!!!
SEWER like me? Oh gosh let me rephrase…if you SEW like me…LOL You could also outline the cut out with fabic paint so the edges won’t fray. Great project for the kids as well. Thanks Joy!
When I read that I was like “sewer”? What is she going to say about a sewer? LOL… I’m usually quicker than that! 😀
That’s a great tip about the fabric paint! I really was curious what to do about fraying edges…since I’m not a sewer, LOL!
Thank you for that tip and the one about the zig zag stitch.
Thanks!!
~Joy~
I, too, have been hesitant. Your cuts look great! In addition to the fabric paint and zigzag sewing, I’ve seen the Xyron recommended for attaching the fabric to paper, and heat bond adhesive to attach to fabric. Also No Fray in the fabric section. You’ve convinced me to try it!
Yes!! That’s a great idea too! Xyron the fabric to paper. Thank you! 😀
~Joy~
Wheel’s on the bus goes chrip chrip chrip.
Love doing fabric with mt cricut.
Thanks for doing this hun.
i used a brand new mat so i didn’t need extra adhesive…BUT…the heat & bond paper stuck to the mat like crazy and ripped off in pieces that i then had to scrape off the mat…which of course took lots of adhesive with it! ACK.
Love the Fabric cutting hints! Thanks Joy. I could have used this on Sunday to repair the Granddaughters jean knee after she fell and ripped it, but instead just cut a simple heart out of fabric and glitter netting and zig-zagged away!. Very girly looking patch on her embroidered jeans.
I “heart’ you Joy! I too have “heard” I could do this, but now I know I can! I’ll add Heat N Bond to my list – I have a Joann’s coupon that “needs” to be used. Whee – fabric drawer here I come!
Should you then go over the bus with a sewing machine??
Tonyalyn,
I think going over it with a sewing machine would be best but many people just leave it as is. 🙂
~Joy~