Wood Block Photo Holder – Lori Whitlock Design Team
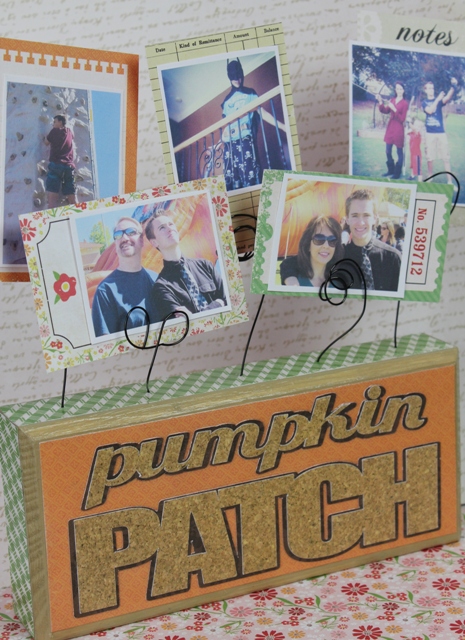
Blocks of wood can be a great canvas for your craft projects. You can have wood cut at your local hardware store or even find some wood blocks at craft stores. My husband had scrap wood from projects he’d done and was kind enough to sand and route them for me to use. (Thanks babe!)
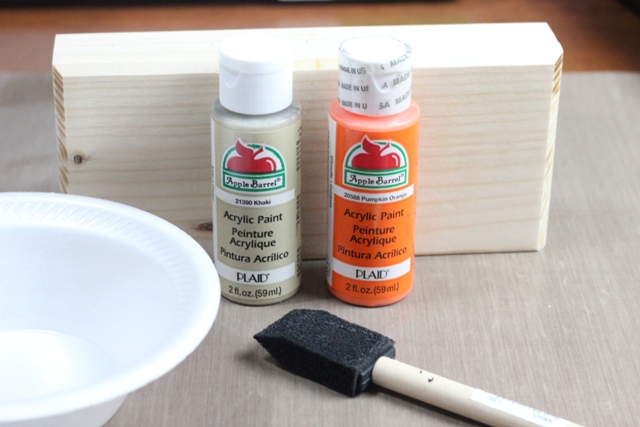
I painted the sanded block and let it dry.
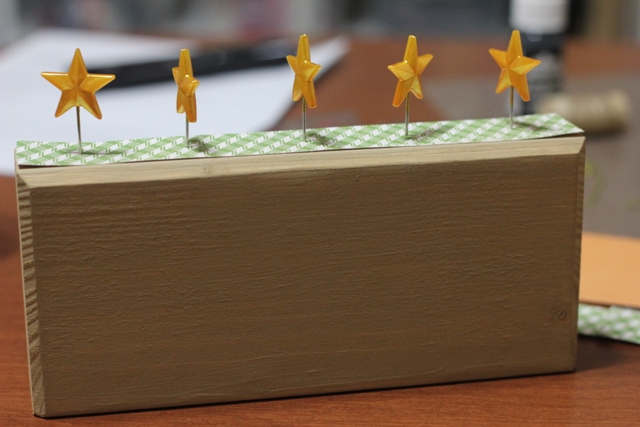
After painting the wood block, I cut pieces of paper to fit the front, back and sides. I’m using Echo Park for the Record 2 Tailored Collection paper. The holes in the top were drilled with a small bit. You can also use a hammer and nail to make the holes. I stuck the star pins in there to help me line the paper up with the holes so I can find them after I adhere the paper permanently.
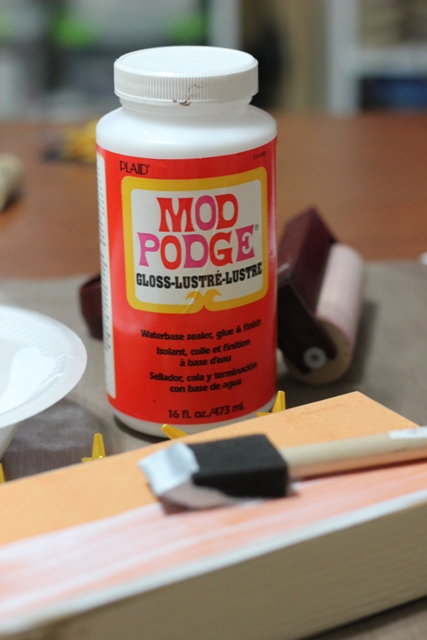
First, I Mod Podged the back of the paper and stuck it to the block. Next, I Mod Podged the front of the paper to seal it to the block.
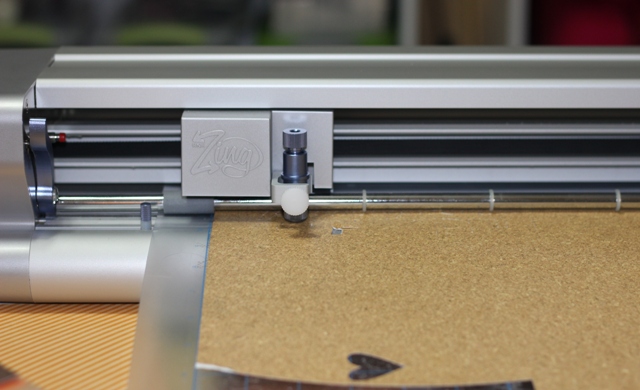
I’m using the Pumpkin Patch title from Lori Whitlock’s 4 Fall Titles cut file and am cutting it out using the KNK Zing. I used one of the titles from that file to create this Fall sign. It’s currently hanging in my kitchen. I really love looking at it each day as I make my way from the pantry to the coffee pot.
Here are other things I’ve made with the
KNK Zing machine.
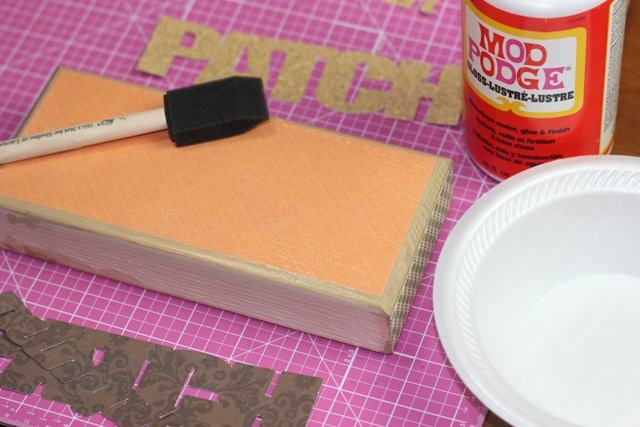
I made a shadow layer of the pumpkin patch words using my Make the Cut software. I added Mod Podge to the front and backs of the words as I did earlier with the paper pieces.
I printed some photos of my family that were all taken in the past few weeks. It’s nice to have some recent photos displayed. After cutting the photos, I glued them to these fun tags that are part of the For the Record 2 Tailored Collection paper by Lori Whitlock.
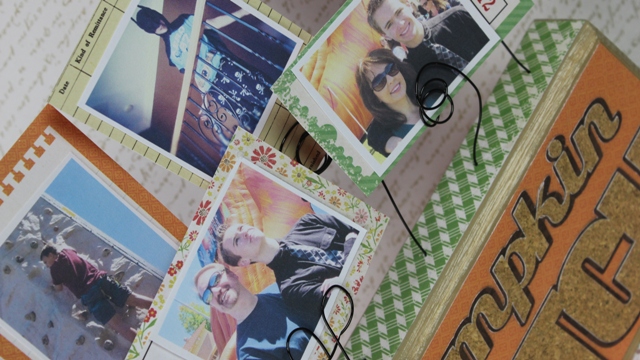
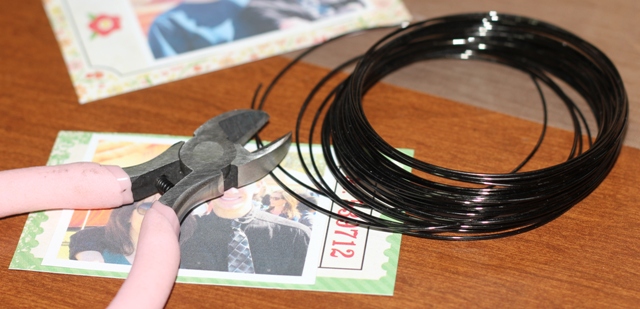
I cut the wire to the lengths I liked and wrapped them around a pen to create the loops. I put the wires into the holes that were drilled into the top of the block, then I added the photos.

I hope you enjoyed this project. I’m so glad I made this. I want to make one for Christmas too! It’s great to have those recent photos out and displayed in a fun way.
I wrote this post while participating on the Lori Whitlock Design Team.


This turned out so cute Joy! Love your use of the cork print paper and the cute curly wires to hold your photo–I can’t believe you made this from scratch! 🙂
This turned out really cute! What a fun way to display photos!
Joy, you do the neatest things. I love all the projects that you post. I may not comment often but always love the crafts you make.
Sherry
Joy what a cute project i will have to go get me some wood because i am seeing so many fun things to domwith it. I love this.mthe wires are so fun too! Thanks for sharing!
Deb C
Bugjuiced
Thank you everyone! 🙂 I love looking at this fun project. My oldest boy claims that it is a shrine to him since he’s in so many of the photos. LOL! He’s also the one dressed as Batman and vacuuming. 😉
~Joy~