
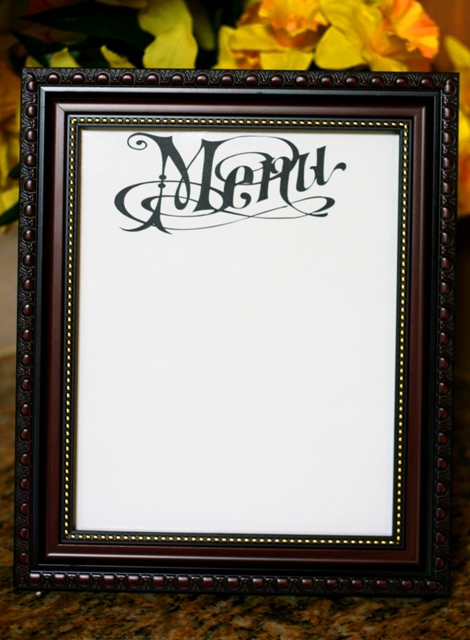
I was struck with how beautiful this single Menu title is. I love the curves and lines of it.
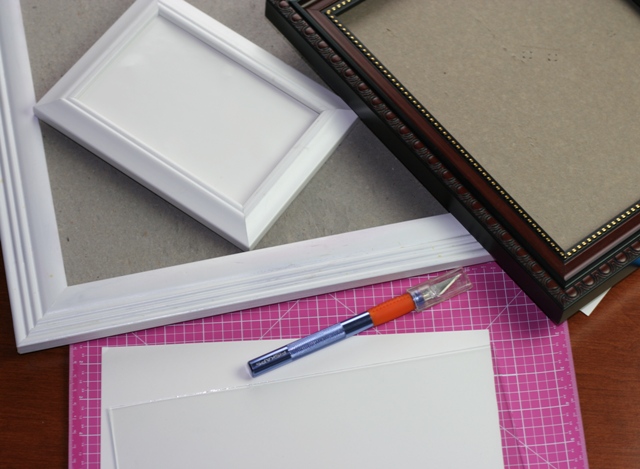
I knew it would look great in my kitchen as part of a menu board so I took apart some inexpensive frames I had on hand and got started.
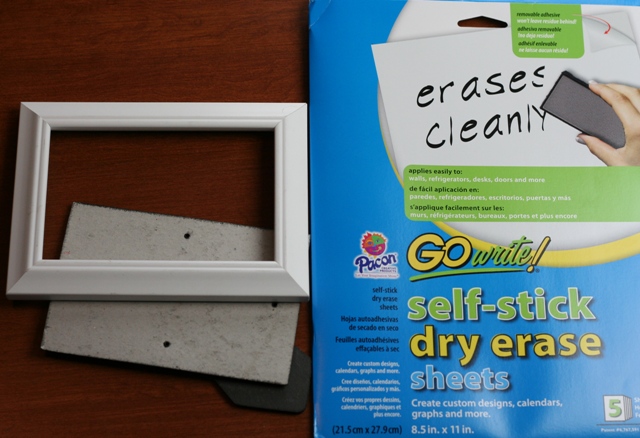
I cut these Gowrite Dry Erase Sheets to the size of my frames. The back peeled off easily and I stuck it to the cardboard backing of the frame.
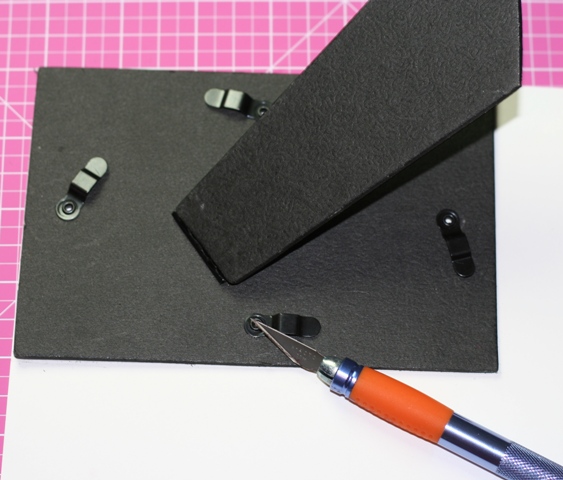
I like to use an X-acto Knife when I work with vinyl. It’s also handy when cutting this Dry Erase material.
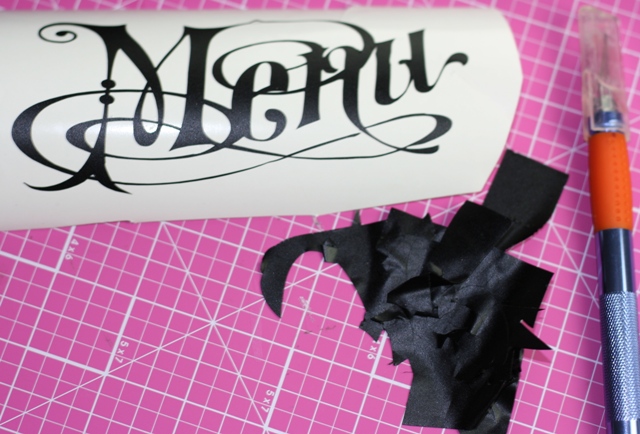
Using my Silhouette Cameo, I cut out Lori’s Menu title in black vinyl. You can find that great file here. I often stick the vinyl I remove to my own hand while weeding. LOL!
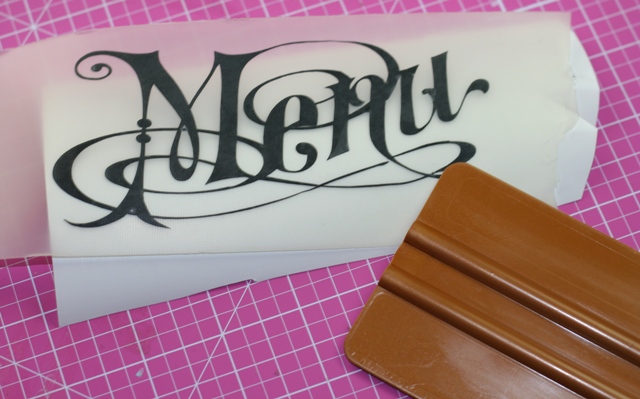
After weeding the vinyl, I used transfer tape and carefully laid the lettering directly onto the dry erase sheet.

Once the transfer tape was removed, I had a pretty menu board all ready to show what’s for dinner!
Now if only I could find my dry erase markers! I think I sent them all in for the teacher’s at my kids schools. Awww man! Well, I did just find this good deal on the fat ones. I like them better than the little pen sized ones: Expo Chisel Tip Dry Erase Markers.
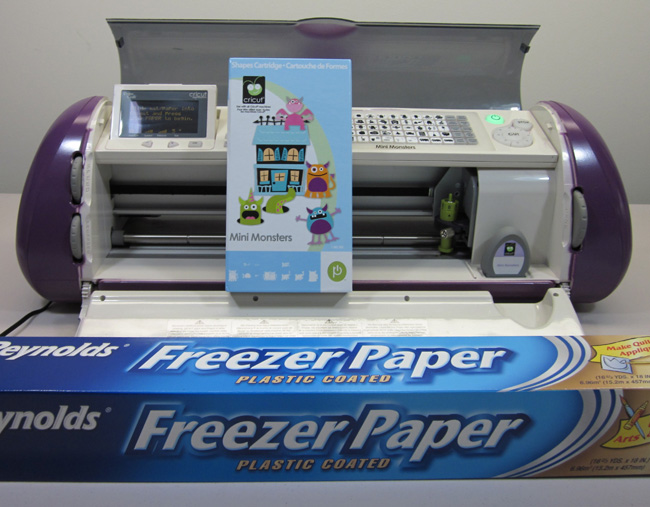
Have a Cricut? Want to learn to use vinyl with it? Check out my 2 Disc, 3+ hour Cricut Vinylology DVD!
I wrote this post while a member of the Lori Whitlock Design Team.


Love this! So simple! Have you heard of dry erase crayons? They’re like thick smooth-writing crayons (sort of like oil pastels) that can write on dry erase boards and wipe away easily. I have them for my 2.5 yo so he doesn’t have to deal with markers and dried out tips. And if any is stuck on, just use a tissue and some eye makeup remover (this works for all crayons too). Anyway…just my 2cents! I also would write “Menu: Dad’s picking up Thai food” 😉
Love it!! Mine would be blank also since I really don’t cook anymore.
I love my Cricut Expression 2, I do wish it would work with other programs.
BEAUTIFUL Project Joy! Well I got my Silhouette today! It’s finally in my hot little hands! I’ve been admiring it for a little while now sitting here on my desk…. So hopefully I will take the plunge and cut something! LOL
This is my first visit and I just love your site! Your directions are so clear for your projects! That’s a huge help! Would love to win some of your giveaways too! Kathy Turner
Thank you, QueenofQ1! 🙂
~Joy~
Wonderful project. Will make a terrific gift.
Karen
LOVE the menu board!!
I’ve seen a couple different menu board ideas on Pinterest, but I do love the simplicity of yours! I think it’s on my list of what I should craft today! Thanks for the inspiration!!