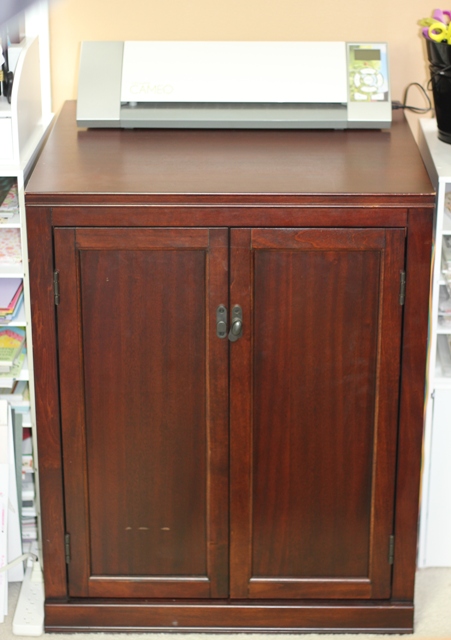
I bought this beast of a cabinet from a Pottery Barn outlet. It usually holds my Silhouette Cameo and Sizzix Eclips along with their mats but I’m using the Eclips for this post so it’s waiting for me across the room. I was sitting in my craft room the other day and couldn’t decide what I wanted to make next. I looked around the room and then finally settled on a makeover for this characterless cabinet. To the vinyl stash!
Need vinyl? I like to buy mine from Expressions Vinyl.
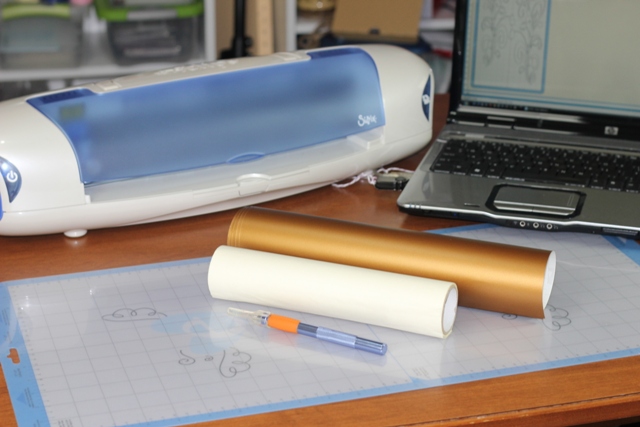
I’m using Bronze indoor vinyl that I bought from Expressions Vinyl. I’m also using some awful kind of transfer tape that I think I bought about 3 years ago. Don’t have transfer tape? Don’t worry your pretty little head. Use masking tape for a quick solution. If you have a Cricut or a Sizzix Eclips, I really recommend getting the 12×24″ mats. It’s terrific to be able to cut things that are longer lengths. You can cut vinyl in a Silhouette Cameo without using a mat but I don’t like to. I prefer using a mat.
Here’s a link to 12×24 mats for the Cricut and here are the ones for the Eclips.
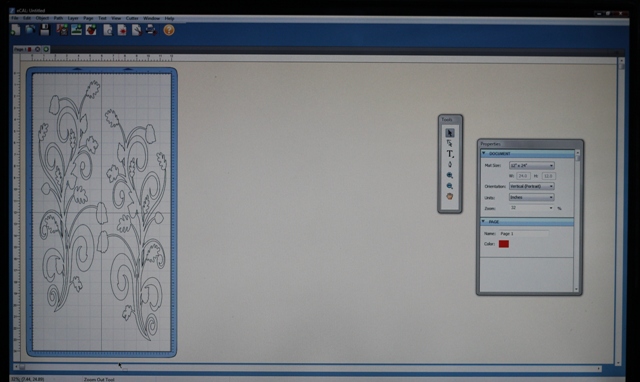
The real star of this show is the Fall Flourish design that I’m using. You can get it from Lori Whitlock’s shop for only .99! Say what? .99 cents? Yep. For real! Using the Ecal software that is made for the Sizzix Eclips, I duplicated the image and stretched it (take off the “keep proportions” setting) so that it would fit inside the panels of my sad little cabinet.
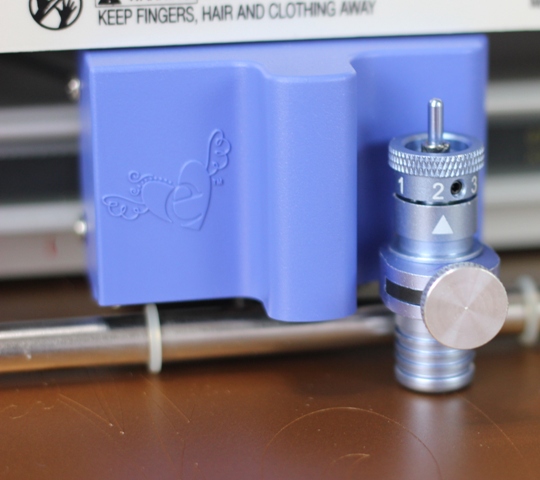
I’ve said it before, right here in fact, and I’ll say it again. The Eclips’ vinyl settings are actually accurate! All you need to know besides “choose their vinyl settings” is to put your blade on 2. I haven’t had it mess any of my vinyl up and that is some high praise.
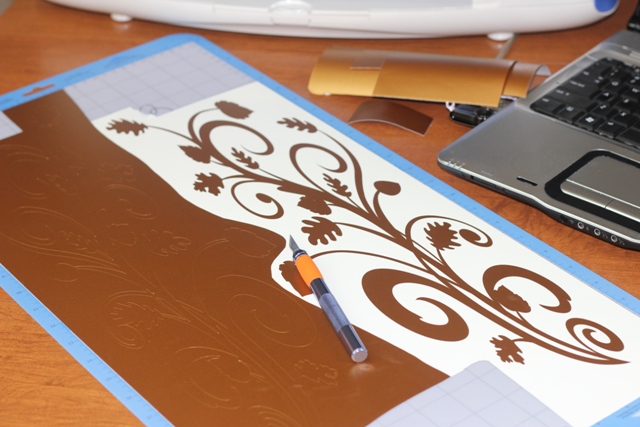
I’m using my Fiskars Craft Knife to remove the vinyl I don’t want to use. Ahhh, such a beautiful design is revealed!
I’ve covered the designs in transfer tape, separated them and removed them from the mat. Now they are sticking to my dull cabinet while I measure them and do my best (until I get annoyed with it) to make them match. When I’m really serious about perfect vinyl application, I use a laser level. I show you how to make it perfect in my DVD, Cricut Vinylology. It’s all about using vinyl with your Cricut.

After making sure I had everything lined up like I wanted it, I removed the vinyl backing. Slowly apply your vinyl using a squeegee or credit card to make sure the vinyl adheres to your surface. Once you think it’s stuck down well, peel away the transfer tape. Easy as pie…but made easier than pie in my DVD…just sayin’. LOL!

I hope you enjoyed this cabinet makeover! I can tell you that my craft room looks a ton better with just this simple change. YAY!

I wrote this post while participating on the Lori Whitlock Design Team.


Perfect title for this post! You did a wonderful job making this cabinet look good and special.
Oh that looks awesome Joy!!!
Wonder if my DH would mind if I vinyled all the cabinets! LOL!
Hugs,
Lori
I love the cabinet…U done an excellent job. And would I ever like to find a cabinet like that to hold my Cameo. TFS
Thank you, Tam! I do love that cabinet for holding my various machines. I felt like I’d hit the jackpot when I found it! 😉
~Joy~
I love your cabinet makeover! That vinyl looks so pretty…like it’s hand painted.
Awesome job once again! Love this project! One of these days I’m going to “vinylize” everything around my house and craft room–thanks for the inspiration!