Back To School 3D Cardstock Backpack
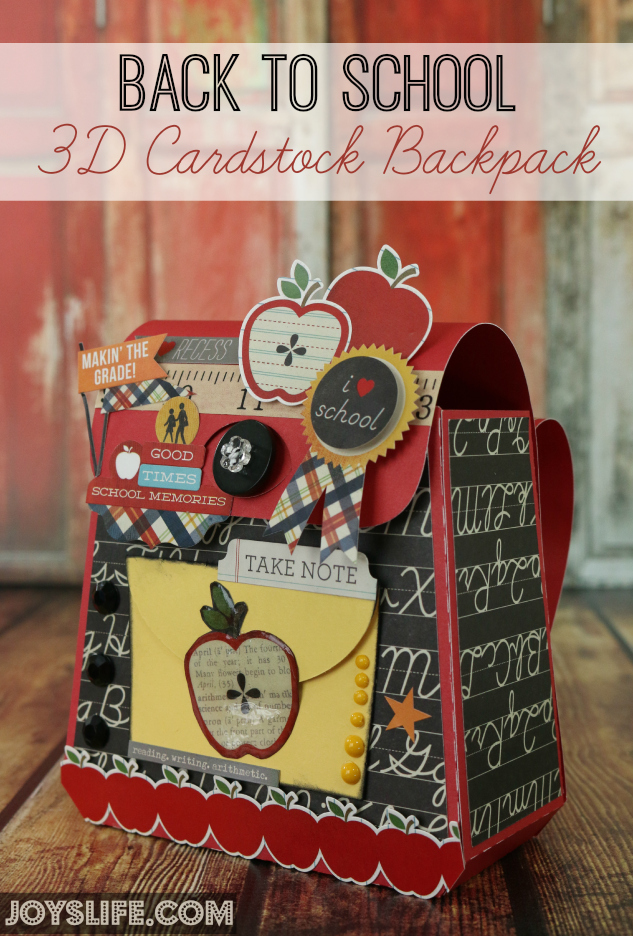
How cool is it that you can make things like this entirely out of paper? It never ceases to amaze me! Today I’m using the Back to the Books SVG kit by SVGCuts.
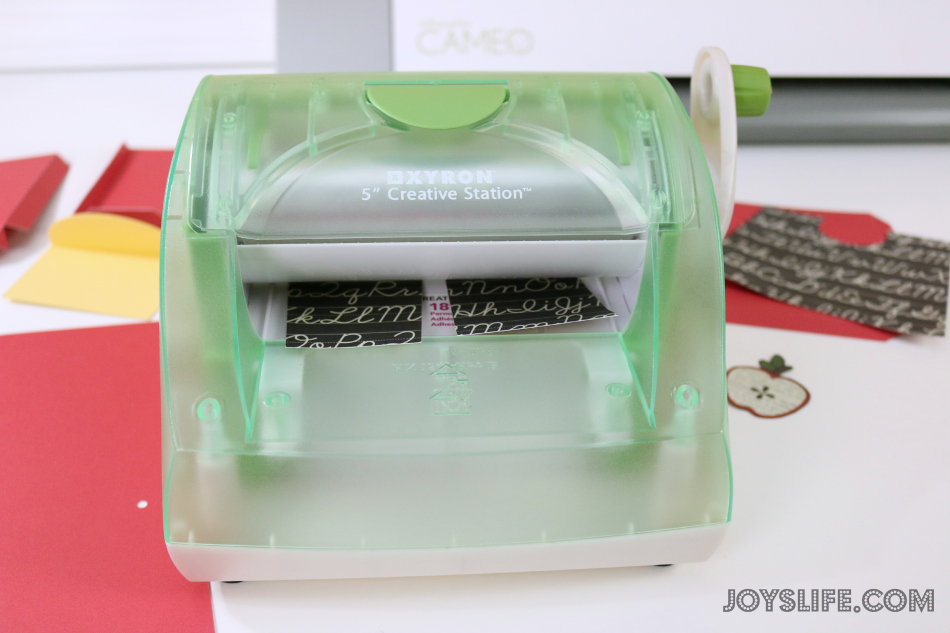
I cut out all the pieces using my Silhouette Cameo. The Xyron 5″ Creative Station made adhering the cursive panels a breeze (even though I cut one of them out upside down). Doh!
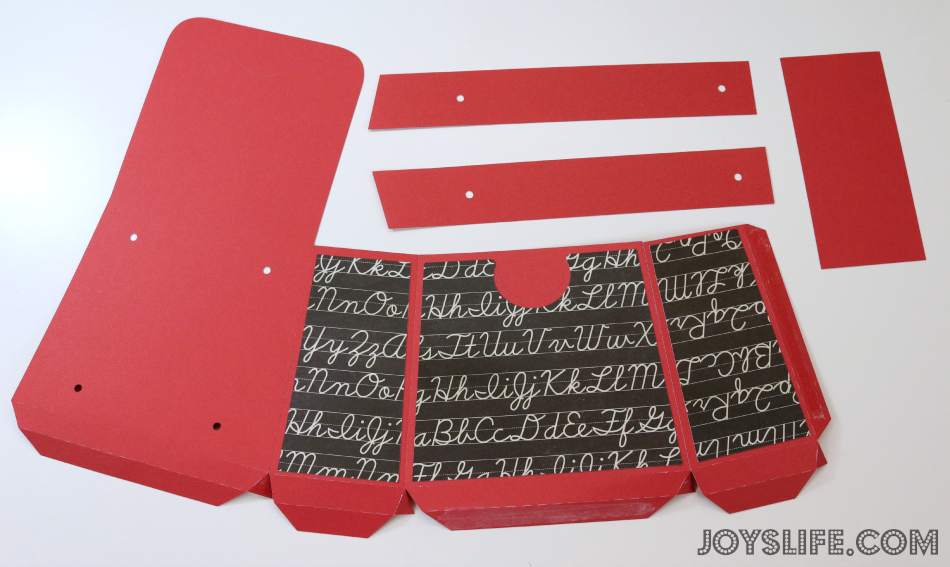
These are all the pieces that create the backpack. Not too tough after all! See how easily the backpack straps will line up to the back of the pack? Just use a few brads to hold them in place. Easy!
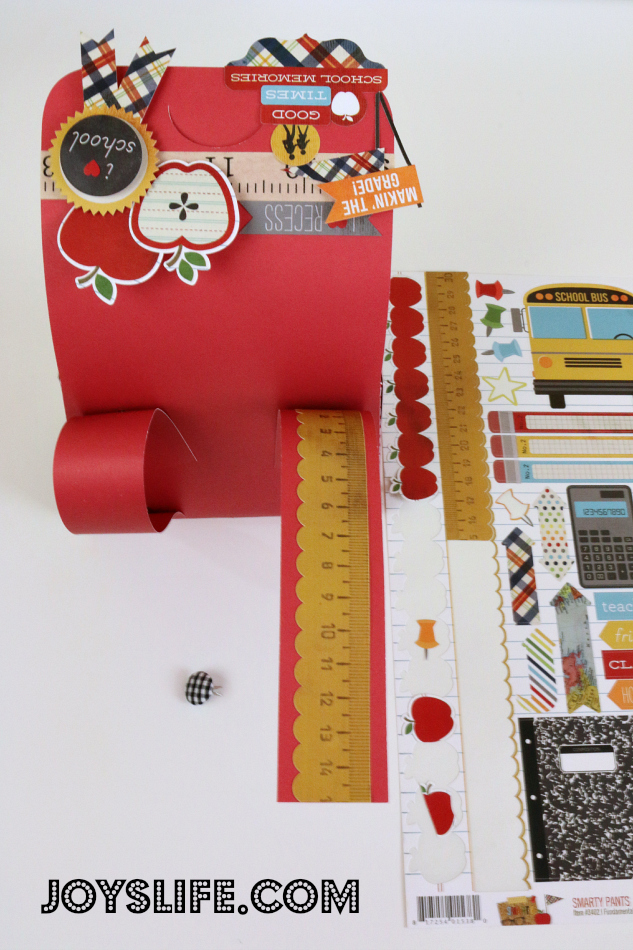
I’m trying something new to me, decorating with stickers! Every time I get a pack of paper with stickers I give the stickers away. Not this time! I’m using paper and stickers from the Smarty Pants Collection Pack by Simple Stories. Did you know that you can use baby powder or corn starch to make stickers not sticky? True story! I’m adding powder from this powder tool to some of mine and then popping them up with foam dots. Adding the powder keeps them from sticking where I don’t want them to stick. The powder tool works pretty well. Honestly, if I could remember to buy baby powder I’d just use that with a paintbrush to achieve the same effect but I never remember. LOL!
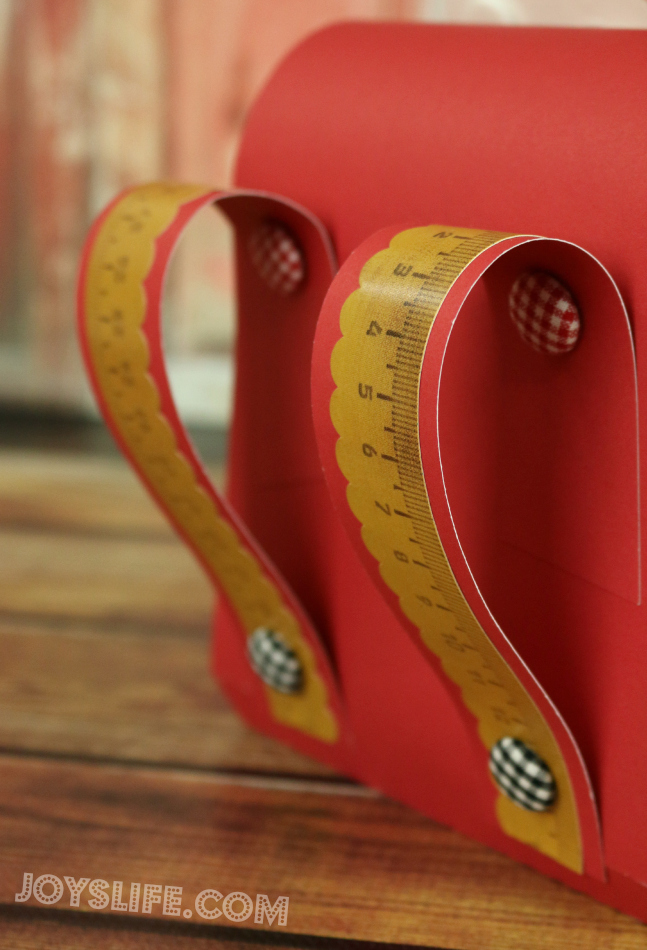
Yo Brad! I’m thrilled that I finally got to use those cute brads on something. They’ve been in my stash for years. I LOVE the ruler stickers on the backpack straps.
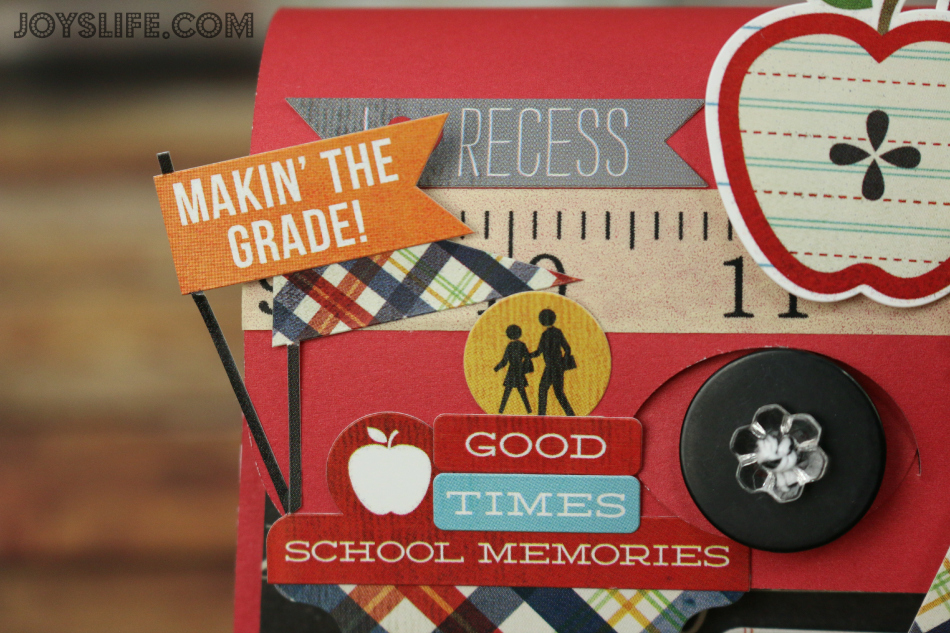
Everything you see is stickers, except for the ruler washi tape. I added two buttons tied together with black and white bakers twine. Here’s how I store my twine.
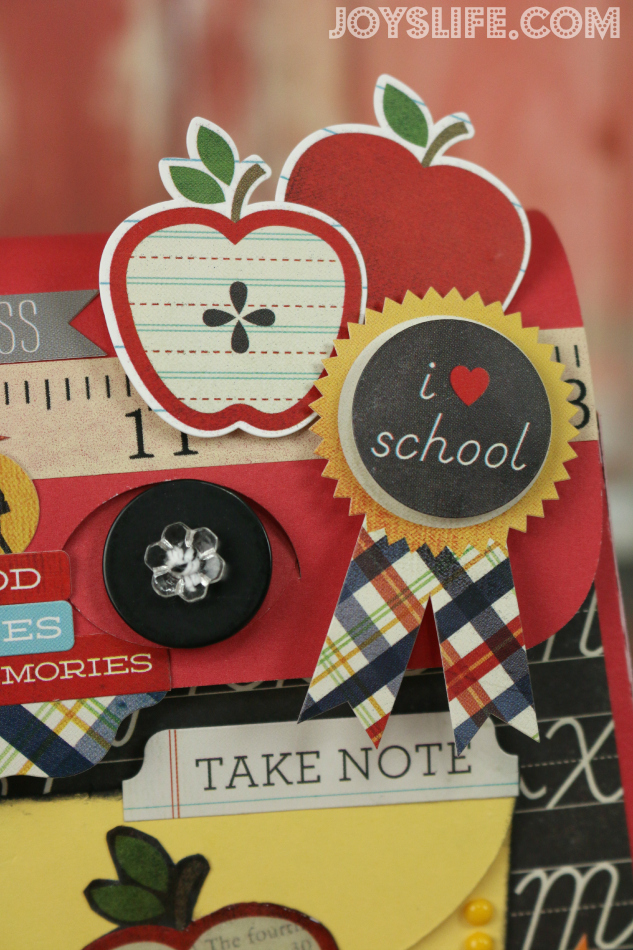
That ribbon sticker originally said star student…or something like that. I used a foam dot and added the “I heart school” sticker for more dimension and to help bring a little black up from the colored paper below.
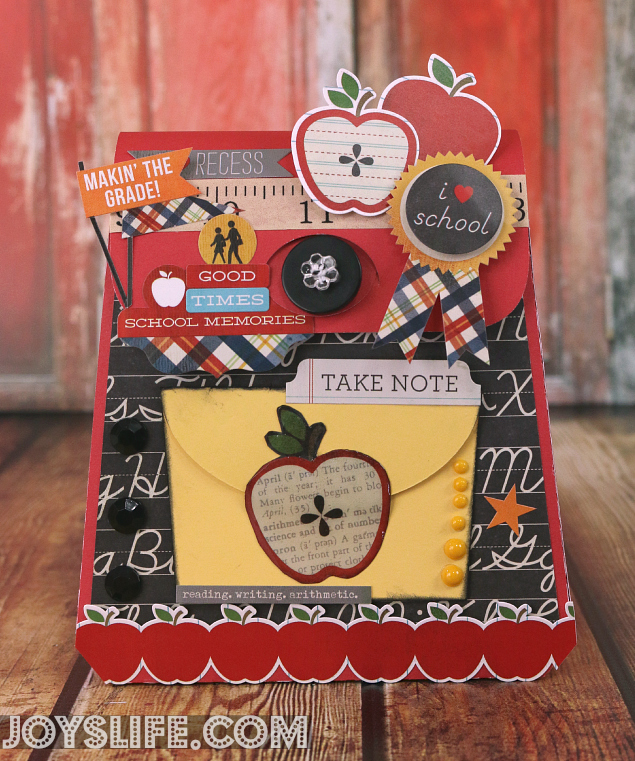

I hope you enjoyed this fun 3D project! This would be so cute filled with fun back to school things like shaped erasers, yummy smelling hand sanitizers and Smarties candies to name a few. It would also make a sweet teacher’s gift!

WOW!! This is AWESOME and so COOL!!! Love it!!
Have a wonderful day,
Migdalia
*Crafting With Creative M*
Thank you so much, Migdalia!! 😀
Joy,
That is simply awesome. SVG has some really neat cut files don’t they? And I’m sure you were trying to save paper when you cut it upside down…done that, then there’s the STU-PID. We try to be so frugal. About the powder…you can also use baking soda, and if you have one of those embossing buddies, that works too. I just keep some baking soda in an old medicine bottle, and use an old makeup brush when needed. I think you did a fantastic job, and I give an A. 😉
Thanks, Blue Rose! Yes, that’s exactly it! I was trying to save paper and flipped it to fit better on the sheet. Sad! The worst part is that I had plenty of room and didn’t even need to flip it. Ack! Oh well. I still love the way it turned out. Thanks for the baking soda tip! 🙂
Joy wow it is wonderful I am going to try and make this. Also can you use the 6×6 pack for the back to school on the pack? Or do you need to buy the 12×12 Pack. Just wonderful….Love SVG cut…Maile
Such a cute little backpack .
Get out! That is soooooo cute and creative!
Thank you so much, Gretchen!! 😀
Joy,
I am new to Make the Cut, and have been reading about how to import files from silhouette into the MTC software. The only help I have found refers to Silhouette V. 1 & 2; I have the designer’s edition V.3. Can you please refer me to a good tutorial. I’m stuck…. Thanks in advance, Angela.