3D Cardstock Spooky Halloween Lantern
This post was previously shared on the Core’dinations blog.
It’s almost Halloween but there’s still time to make some creepy, cool, haunted decor!
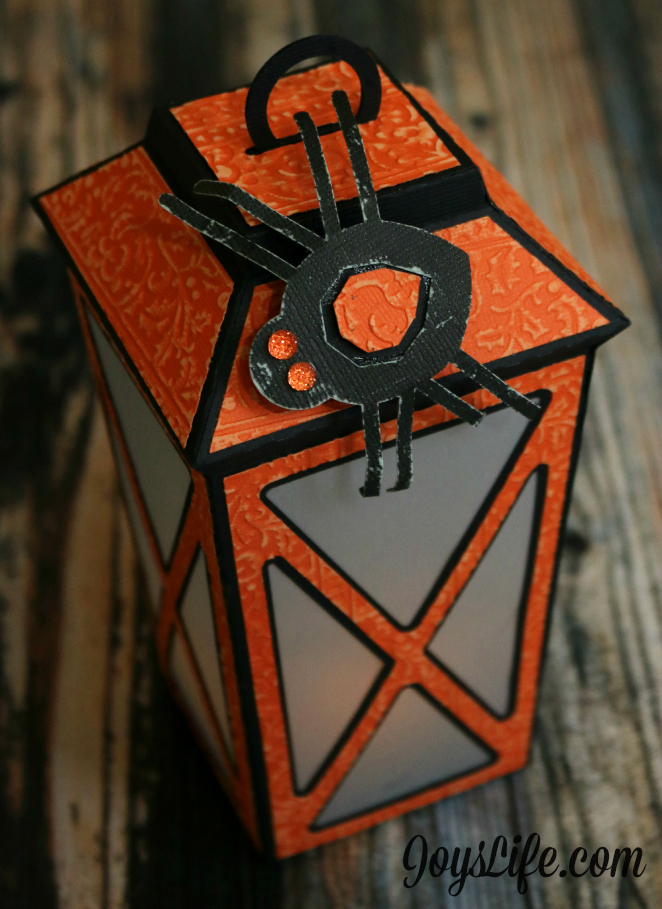
I’m using the Lantern SVG from the Spooky Soiree Kit by SVGCuts. It’s one of my favorite things that I made for Halloween this year. It may look complicated but SVGCuts always has accompanying videos to show you how to put their kits together, turning you into a great designer, fast. I cut the lantern pieces using Core’dinations Bright Color cardstock along with solid black, vellum and black spotted Tillie Dot using my Silhouette Cameo.

After cutting out all the pieces, I used my Cut ‘n’ Boss along with the Cuttlebug Holly Ribbon embossing folder to emboss the orange pieces. Next, I sanded all of the orange pieces and the black Spotted Tillie Dot spider using the Core’dinations Sand It Gadget. Sanding Core’dinations paper reveals a colored inner core. I love the way it looks!
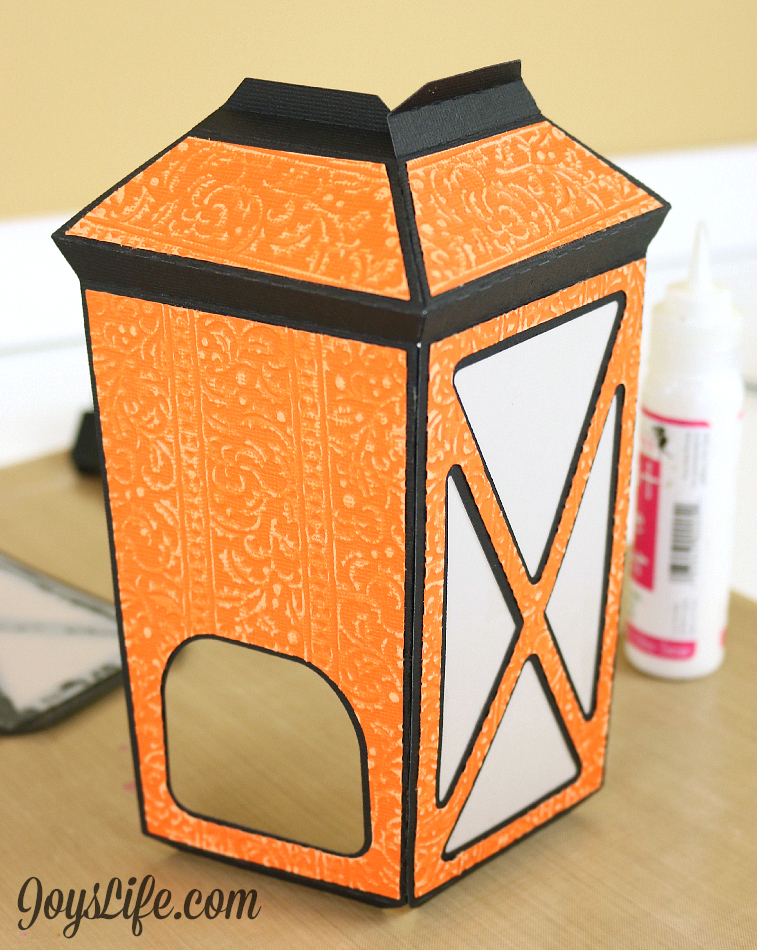
After embossing and sanding the pieces, I ran them through the Xyron 9″ Creative Station and the Xyron 3″ Sticker Maker. Those machines helped me quickly add adhesive to the panel pieces.
I used a liquid adhesive to help me adhere the vellum to the inside of the lantern. By the way, that vellum cut without a problem in my Silhouette Cameo. YAY! Did you know that a new Cameo was recently released? Here’s a post comparing the new (2014) Silhouette Cameo with the previous Cameo.
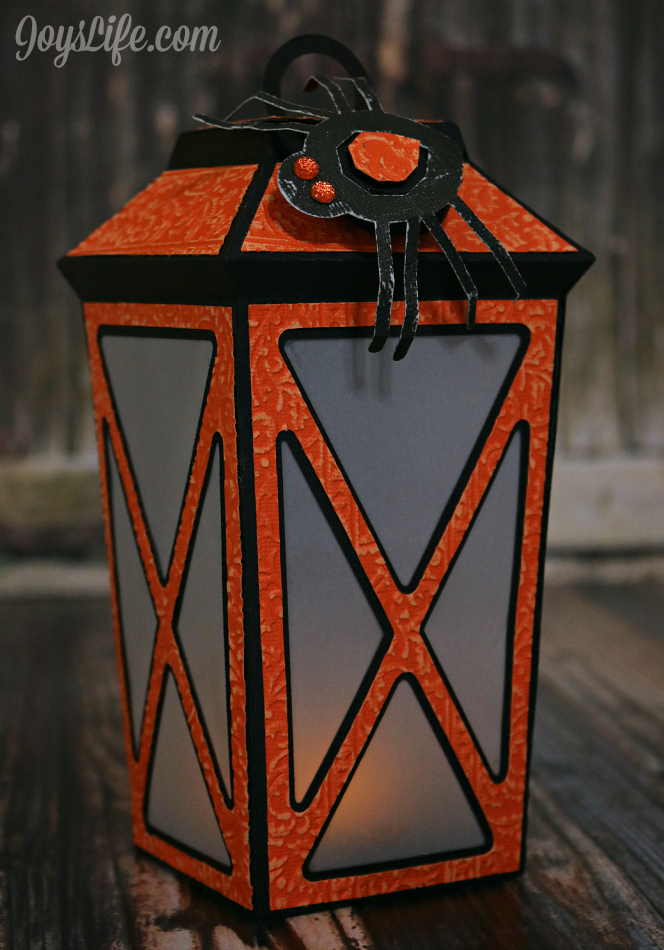
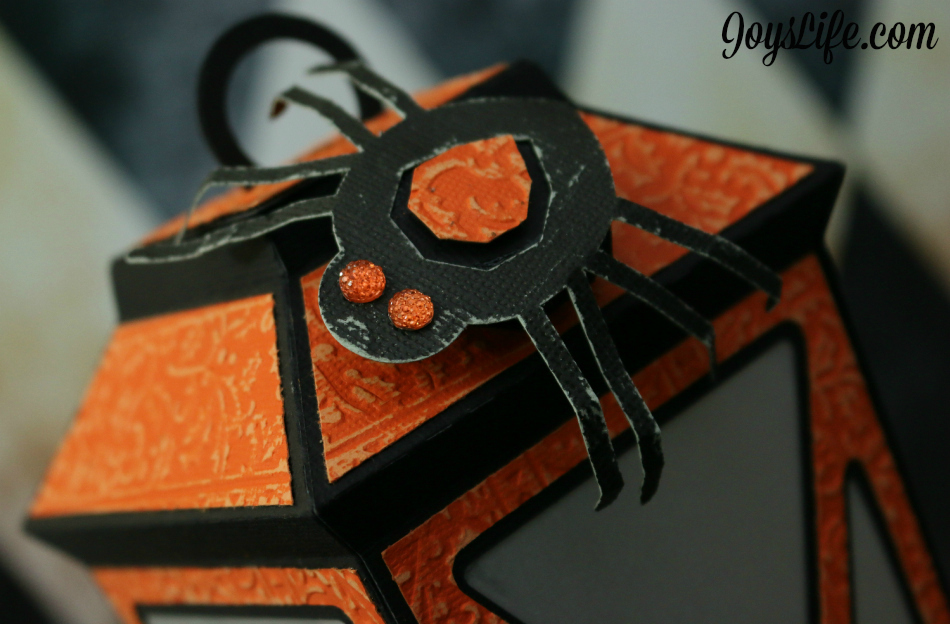
After I assembled the lantern and spider, I added two Self Stick Gems by Darice to create eyes for the spider. Spooky! Finally, I added a black LED tea light by Darice. Ta da!! My lantern is ready to get it’s spooky on!
Happy Halloween!
I created this project while participating on the Core’dinations Design Team.

Joy,
Amazing lantern! I can’t believe you used a Christmas embossing folder on a Halloween project…you can’t tell. Great job. Would you tell me what adhesive you used on the vellum? I always have a hard time adhering vellum.