More Tips on How to Make a Mod Podge Altered Clipboard & Matching Pen
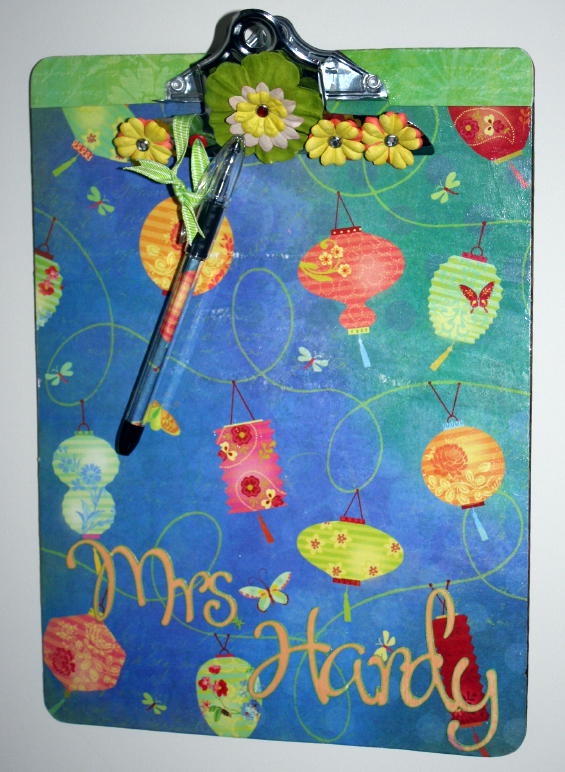
Ok, I’m learning!! 2nd Altered Clipboard…
I’ve got some tips on how to make these!!
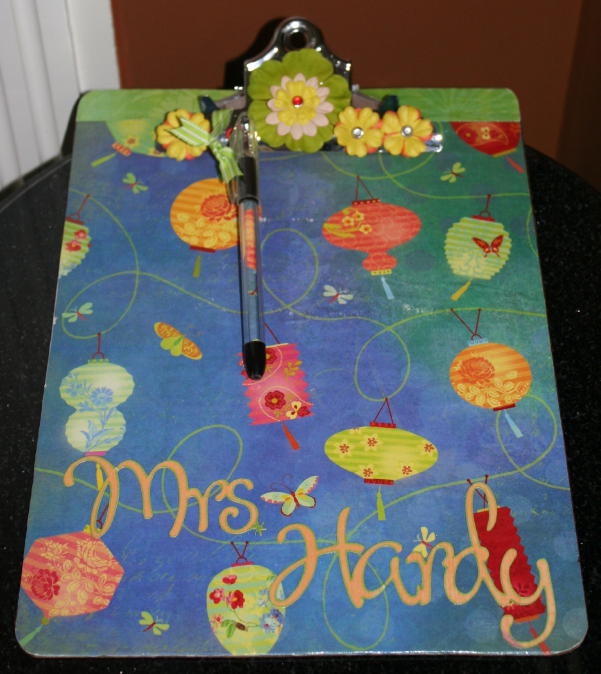
Ok, this time I did try using a solid sheet of paper. This is by K & Co. and is a thick double sided paper. I added Mod Podge to the back of the paper and then laid it on the clipboard. Then I quickly covered the top of the paper with more Mod Podge.
Then I got a Bunch of Bubbles…
So, I used my FINGERS to go over the whole thing while it was wet (blah!) and I flattened out all the bubbles. (You could use a Brayer!! LOL) I learned that the bubbles are actually made of globs of Mod Podge. So, I figure if you’re really talented at putting just enough Mod Podge on the back, without over-doing it, you’ll probably have great success, no bubbles and mostly clean fingers. I lack 2 things for that to happen: skill and patience. So my fingers will be sticky when doing these projects. If you’re like me…have paper towels close by.
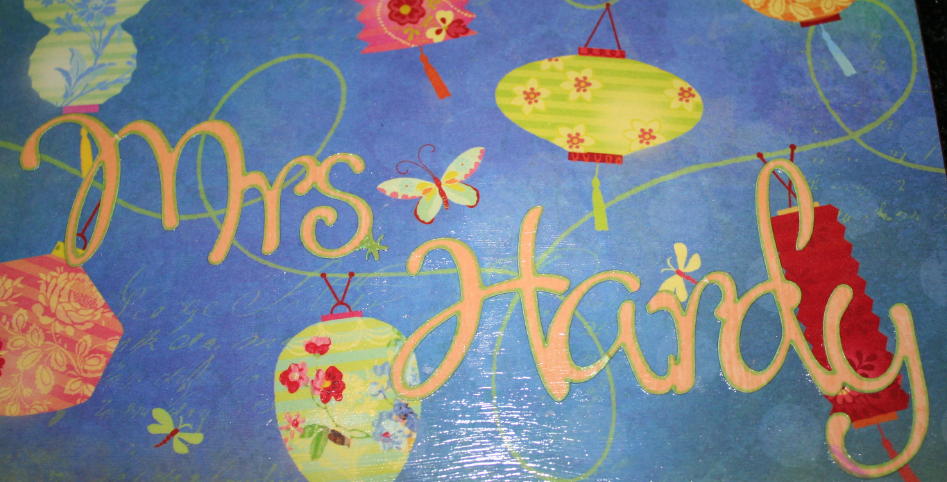
I love the way this name turned out!!
I used Design Studio and Lyrical Letters to make the name. First, I just printed it out and it looked soooo plain! I tried edging the sides with ink, Copic markers, chalk and Sharpies. I think I lack the skill of inking edges. Luckily, I remembered my Cricut markers!! So, I used my green Cricut marker to do the outline then I cut the name out (again).
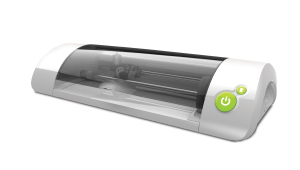
Here’s how you use markers in your Cricut.
After the paper that largely covers the whole board dried, I put Mod Podge on the back of the name and stuck it to the board. Then I covered the name with the Mod Podge. I was very happy to find that the ink didn’t smear. Yay!! I also sanded the edges of the board to get off any paper that was sticking out. *Remember to sand in a direction that won’t peel off the paper that you want to keep stuck down!
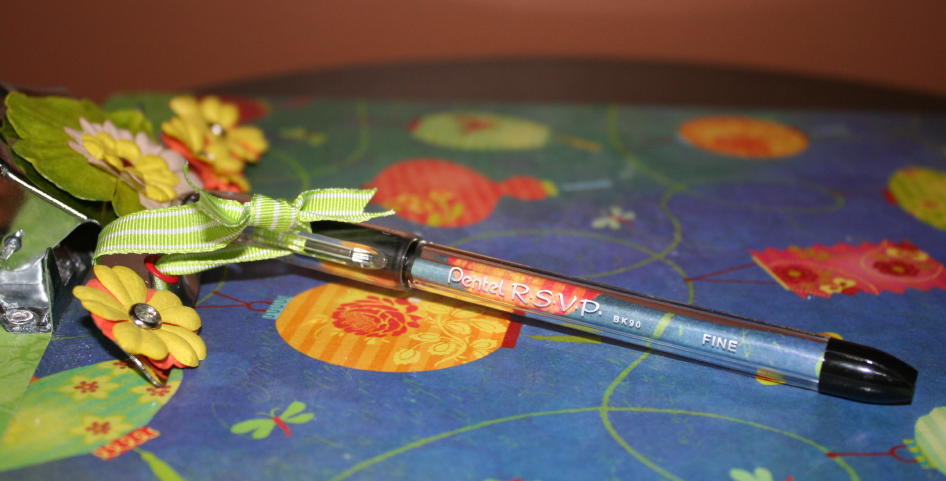
I used an RSVP pen this time, last time I used a Foray.
Ok, making a matching pen is easy. The real trick is getting a pen that opens easily at the bottom and is roomy inside. I know there are some other options, but I can only think of the 2 I’ve tried, the RSVP and those made by Foray. 1st buy those pens, then unscrew the bottom, take out the ink part and roll up a piece of paper to stuff inside. Then you just put it all back together. It really is that simple, though you’ll probably have to work struggle with it a bit to get it just right.
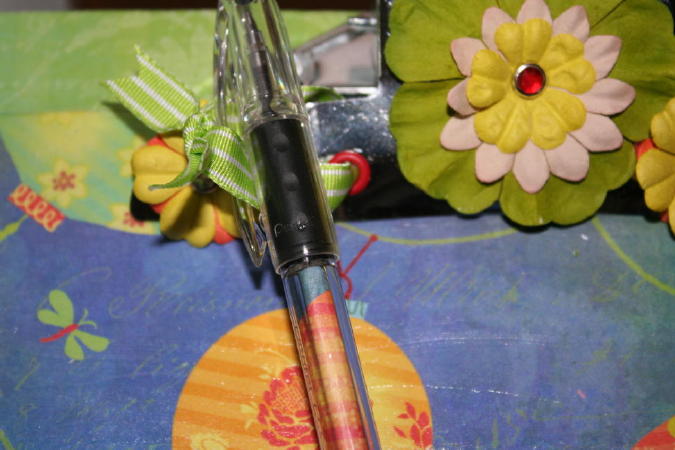
I punched a hole & set this eyelet with my Crop A Dile (the regular small one).
I just try to find a reason to push the limits of my Crop A Diles. I LOVE that I can punch holes in these clips. I attached an eyelet for a ribbon that will hold the pen. I also made holes and attached those flowers using brads. This makes everything solidly attached and leaves the clip able to open without worry of things falling off.

Here are the flowers close up.
I’m starting to really like making these altered clipboards!!
By the way…the secret to getting the paper around the top is to put a piece of paper up there and sort of trace the outline of the clip area with your fingernail or a pencil that is new and not sharpened (flat on top). That’s what works for me. Then I just cut it down to the correct size. I REALLY need to make a template!!
Here’s a link to the 1st Altered Clipboard I made.
Happy Crafting!!


Love this Joy! I’m partial to any shade of green. Your idea for the altered pen is Brilliant! I’m sooo going to make myself some fancy pens! I’ll be the envy of the PTA! And the little alligator clip on your first clipboard, too cute. It’s all in the details!
I love this and have been wanting to do an altered clipboard for awhile. I’m so glad I stumbled upon your blog as I just love the idea for the pen. Thanks for the inspiration.
when in doubt, alter a clipboard! i also purchased the minis and the 6×9’s clear, the all make a statement. love your colors!
also the blank cups from the dollar store , just take the liner out , cut your paper to size stick it in and viola!!!!!
This might be a dumb question, but which Mod Podge did you use, the original orange bottle or the one that says for “paper”–thanks Joy!!!
LOVE THIS VIDEO!
LOL I MEAN IDEA!