
This week’s “52” will be delayed. I had to have more work done on the tooth that I had a root canal on a few weeks ago. Ouch! I hope you enjoy this post while I take some time off for healing.
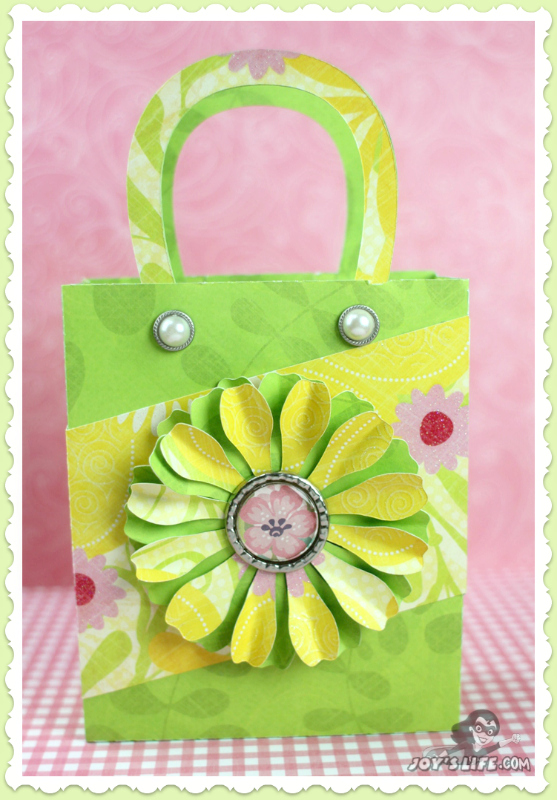
I made this gift bag using the .svg file “B is for Birthday” from Svgcuts.com. I’m so impressed with how easily it came together and how sturdy it is!
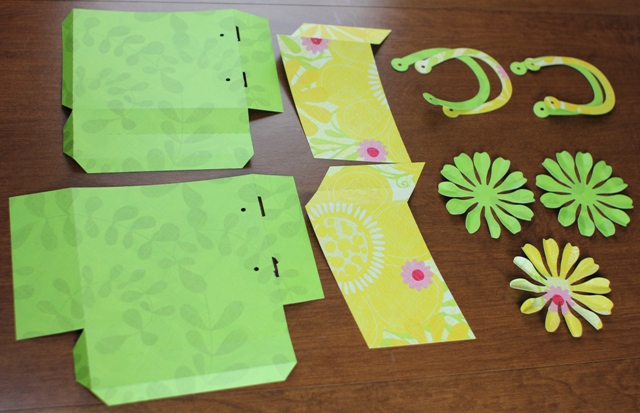
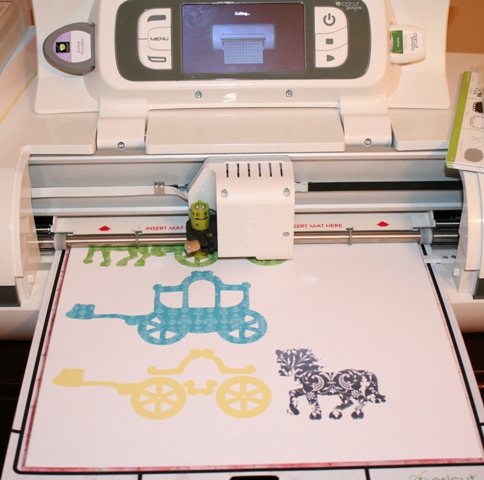
I cut out the layers of the bag using my Sizzix Eclips. Have you seen that machine? I love it! Here are some other projects I made with the Eclips.
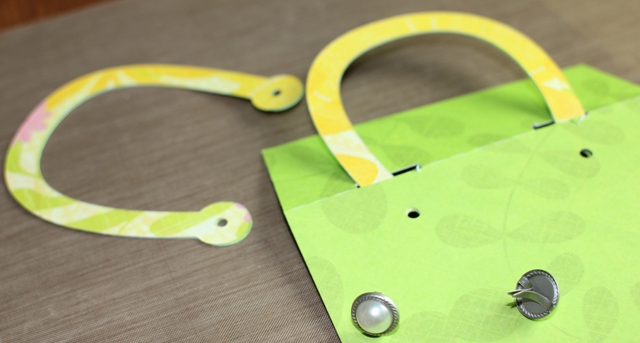
I attached the handles using brads. This bag is so nice. The area where the brads are attached on the inside are covered by a fold of paper. It makes a really nicely finished bag. Two thumbs up to that…and if I had another thumb I’d put it up for not getting scratched by brads due to that fold.
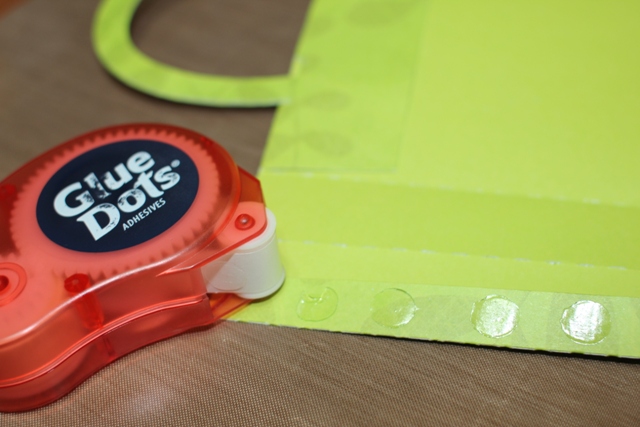
I used Craft Glue Dotsto attach the different layers of the bag.
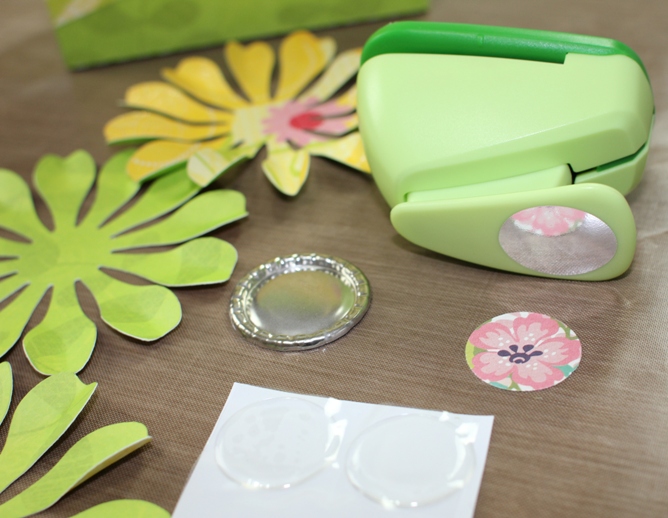
Using a 1″ circle punch, I cut out a coordinating image to fit inside a flattened bottle cap. I attached the 1″ circle to the flattened bottle cap using Craft Glue Dots®. Next, I covered the image with a 1″ epoxy sticker.
Want to make your own flattened bottle caps? See the video on this post!
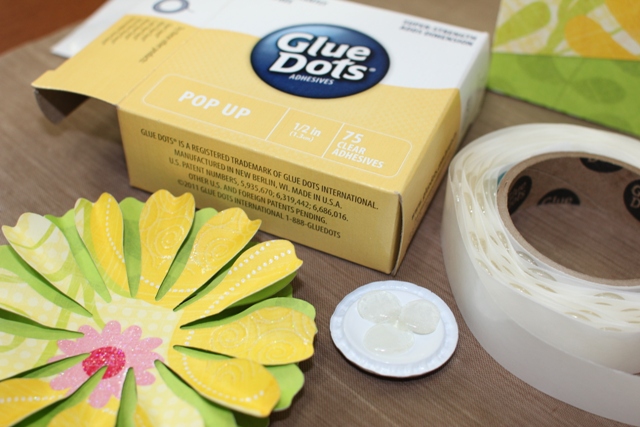
I attached the bottle cap to the bag using Pop Up Glue Dots. The paper I’m using is K & Company Citronella and K&Company Brights designer paper pads.

Want more bottle cap information and ideas? Check out these posts and videos!
I wrote this post while on the Glue Dots Design Team.
Have a great day!

Super Joy, I’m so sorry you are having such a hard time with your tooth! I’m sending good wishes your way and pray for a quick recovery!
Super Joy, I’m so sorry you are having such a hard time with your tooth! I’m sending good wishes your way and pray for a quick recovery.
Thank you, Mcfsmimi! I really appreciate that! 🙂
~Joy~