Cottage Style Upcycled Welcome Sign with SEI
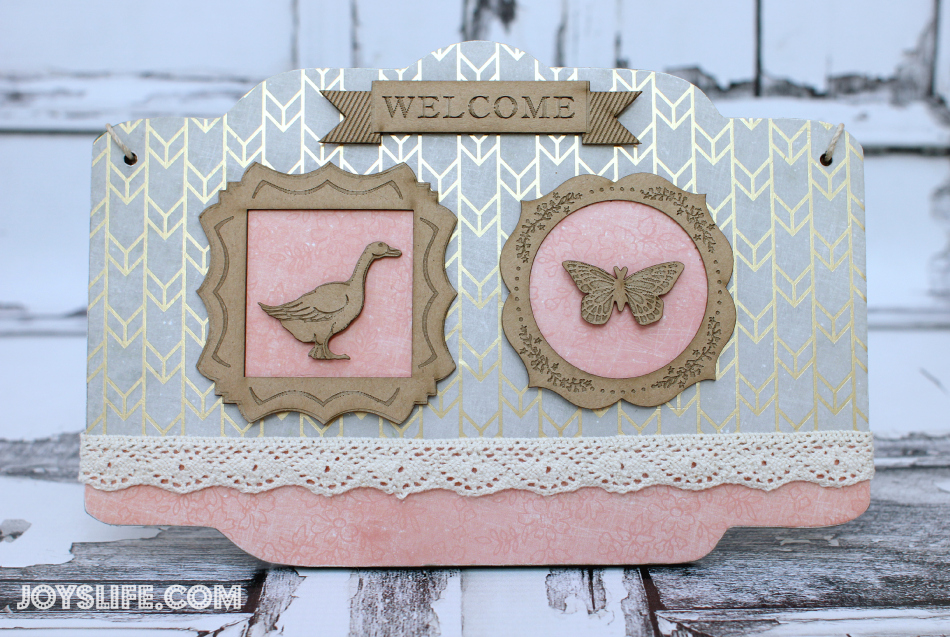
Just a few supplies make a big impact! This sign used 1 piece each of ribbon & twine, 5 craft chips and less than 1 sheet of 12×12 paper. Isn’t that cool?! I always say, “Use awesome double sided paper to get the most bang for your buck.” Scroll down to see how horrifying this sign was before the makeover. Yikes!
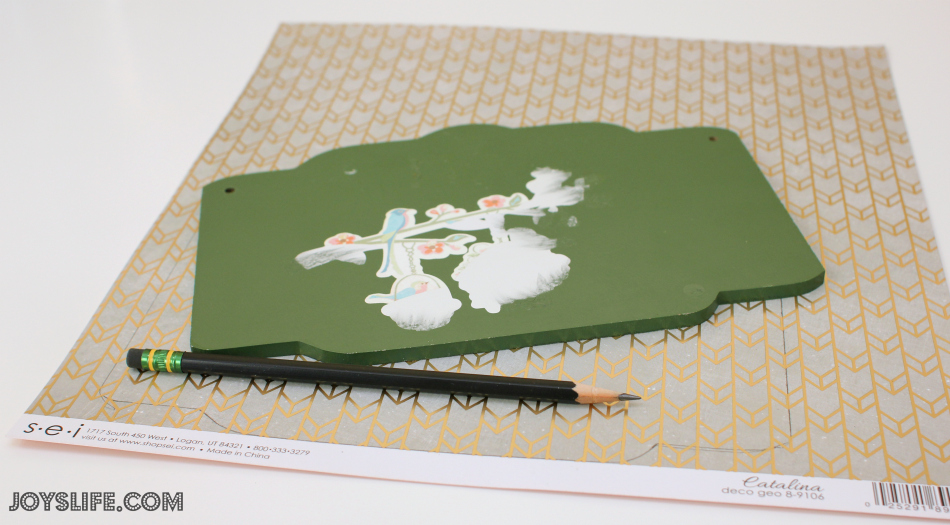
About a million years ago I made this little sign. It wasn’t much of a sign. I just printed something out and stuck it to the painted wood. So, today I’m really excited to be able to turn it into a MUCH prettier sign. First, I used traced the outline of the wood onto that pretty piece of Catalina Deco Geo foil accent paper by SEI.
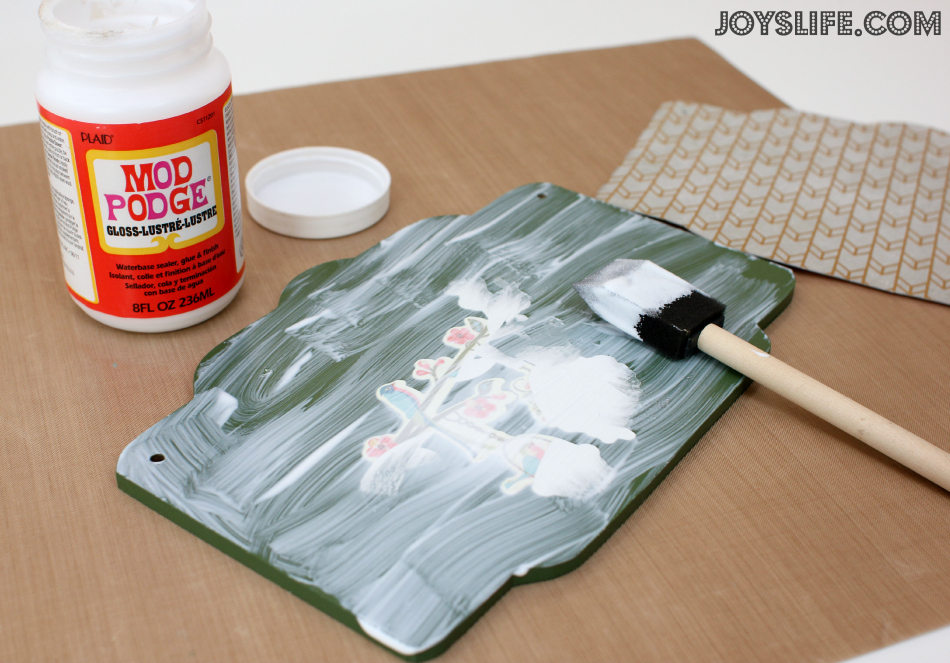
I tried to peel off all of what had been printed vinyl but it was such a pain in the neck, I gave up. I opted for some Mod Podge and covered it completely with that using a sponge brush.

After the Mod Podge was dry, I sanded off the edges where the paper overlapped. You can use a nail file for this if you don’t have any special filing tools.
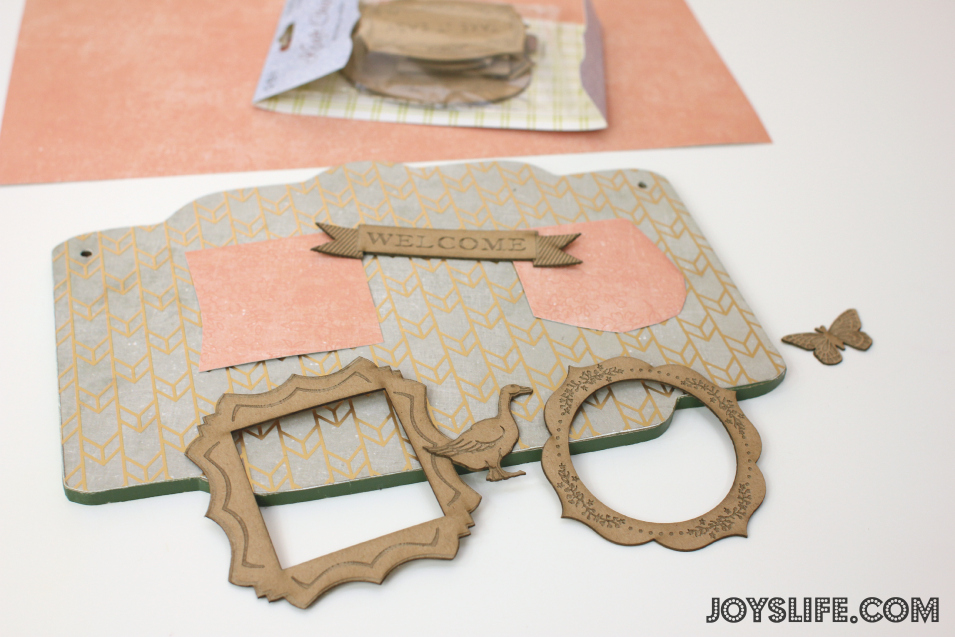
Aren’t those pieces cool? I’m using SEI’s Pembroke Kraft Chips. You’ll notice those excellent details due to laser cutting. Nice! Turn them over and they are colored on the other side. Many have completely different designs and sayings on the back. Really cool.
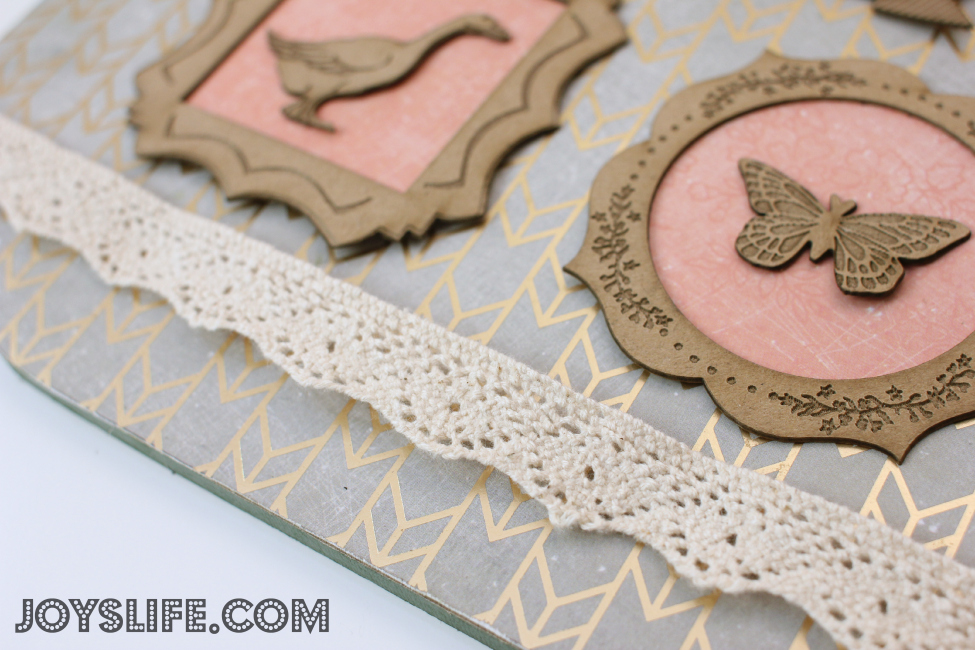
I glued the paper to the pieces and used pop dots to elevate the designs.

YAY! This sign is such an improvement over the last one, I wonder why I waited so long to make it?
Have you got any projects that could use a makeover?
I wrote this post while participating as a member of the SEI Design Team.


Wow Joy, the sign looks great! I love the SEI paper, and those Kraft Chips are gorgeous, such detail. You did an awesome job.
Thank you, Blue Rose! My daughter told me that she wants to hang it in her dorm room when she heads back to school. YAY!