When I saw these pumpkins that Christina had created I asked her immediately if she would do a Guest Post on Joy’s Life. How could I not? They’re beautiful. You’re going to LOVE this. While you’re reading, I’m off to Wal-Mart for a foam pumpkin!
This project uses varnish, but you can easily substitute Mod Podge for the same decoupage effect.
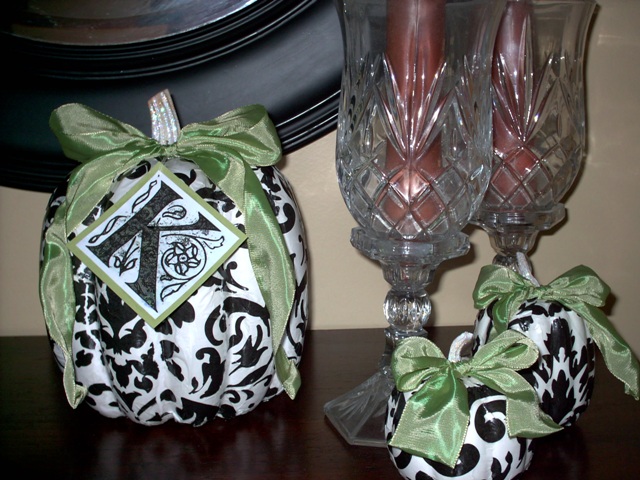
Decoupage Pumpkin by Christina K.
from Cartersville, Georgia
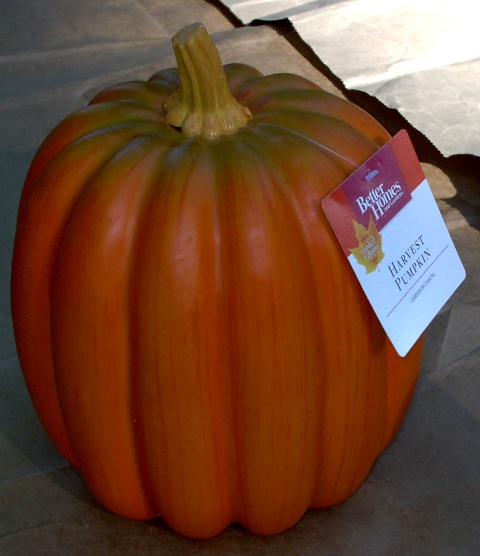
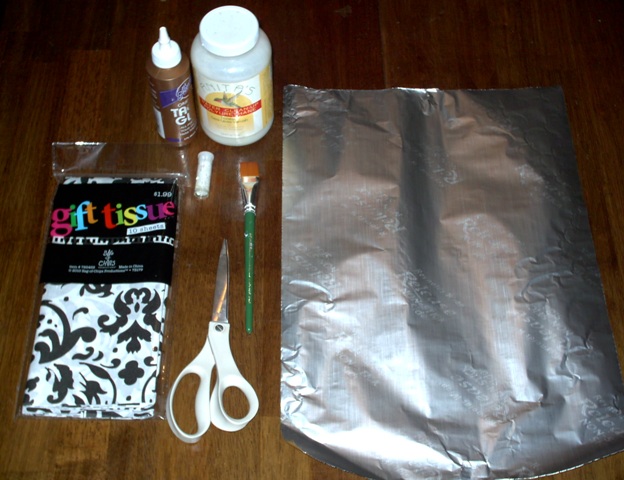
Suggested supplies: Foam pumpkin (Walmart $5.00), One standard size can of white spray paint (Walmart .97), High quality tissue paper or paper napkins (print of your choice), Mod Podge or craft varnish of your choice (I used gloss finish), short bristle craft or paint brush, craft glue, glitter (I used white), scissors, non stick aluminum foil or wax paper, Optional embellishments of your choice.
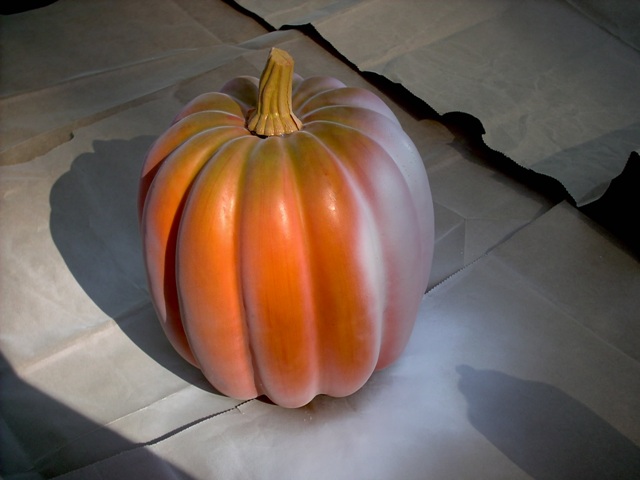
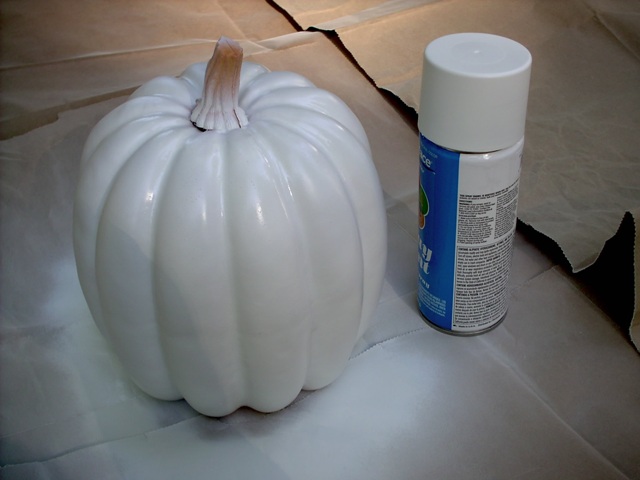
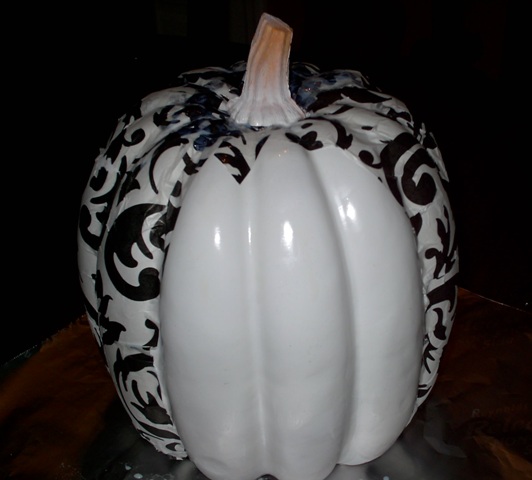
Step 1 – Spray the pumpkin white. This will take at least three coats to cover the orange. Don’t worry about covering the stem completely as the paint will not dry on the rubber stem with too many coats. Let pumpkin dry completely.
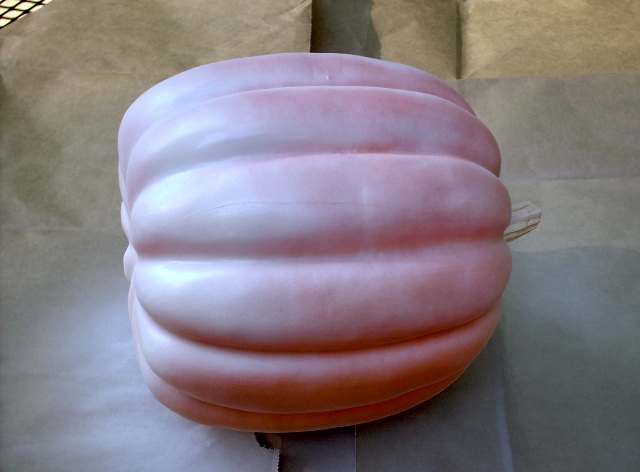
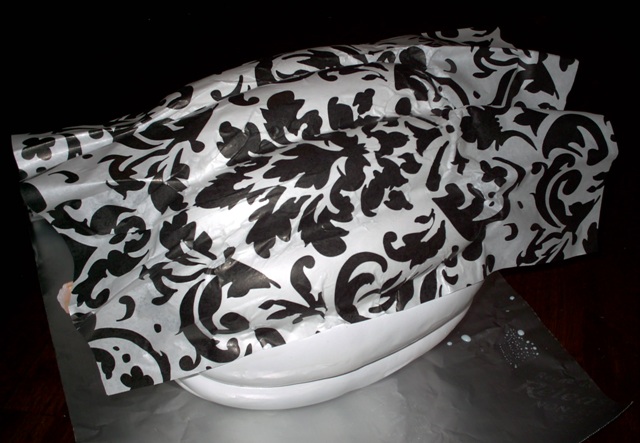
Step 2 – Cut the tissue paper or napkin (use one single layer of paper or napkin) to the correct length for the pumpkin, be sure to leave enough to reach the stem and for the bottom.
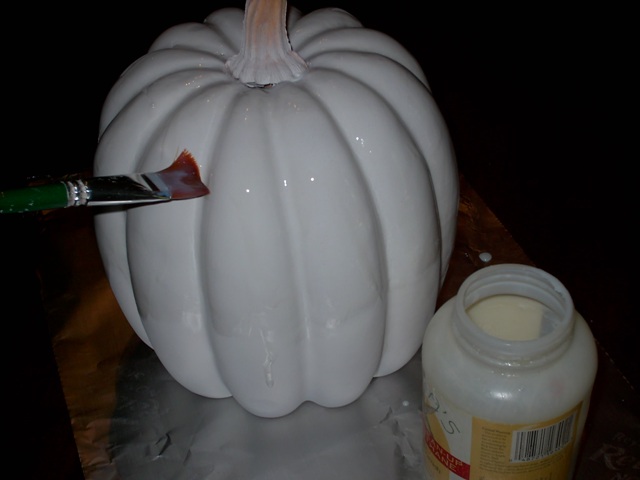
Step 3 – Cover your work surface with non stick foil or wax paper and coat the entire pumpkin with a thick layer of craft varnish (or Mod Podge).
If you prefer, Mod Podge works beautifully for this project. It acts as both an adhesive and a sealer, making it perfect for decoupage on foam pumpkins. Use a thin layer to attach your paper, then seal with another coat on top.
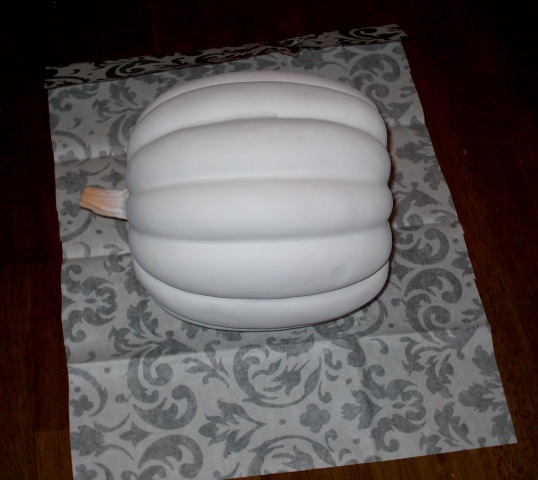
Step 4 – Start on the side and press the paper onto the pumpkin as you work your way around. The paper may tear in places, if this happens just piece it back together (my Damask pattern was very forgiving).
Step 5 – Cut relief slits on both the top and bottom paper edge so the paper will fit easily around the top and bottom curve.

Step 6 – Paint each piece of paper with craft varnish and adhere around the steam and bottom of the pumpkin. Trim the pieces as much as possible to avoid too much pattern overlapping as it can be seen once dried. If your paper did not reach all the way around the pumpkin then trim both the existing paper and the additional paper so it fits into the grooves of the pumpkin to hide the seams.
You can find more Mod Podge projects and tutorials on my Mod Podge page here.
Step 7 – Once the entire pumpkin is covered in paper take your hands and carefully “burnish” the outside of the pumpkin. Make sure the paper is securely stuck and smoothed as much as possible (the outside of the pumpkin is still relatively dry at this point so it’s not very messy).
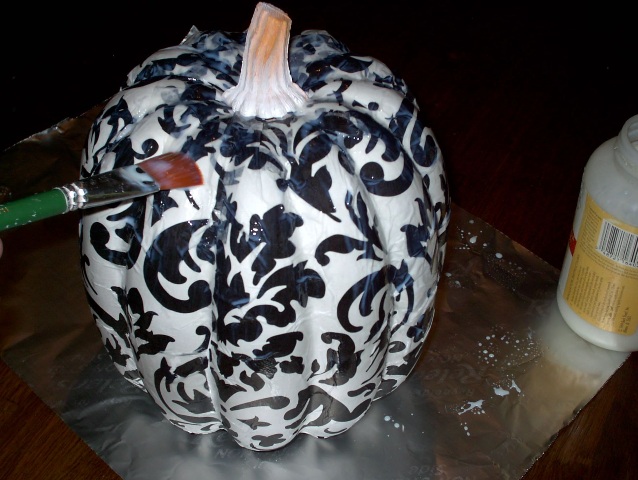
Step 8 – Start at the stem and coat the entire pumpkin with three or four coats of craft varnish (letting dry between coats).
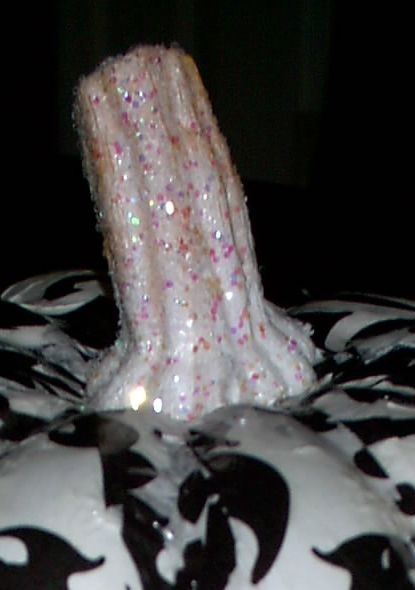
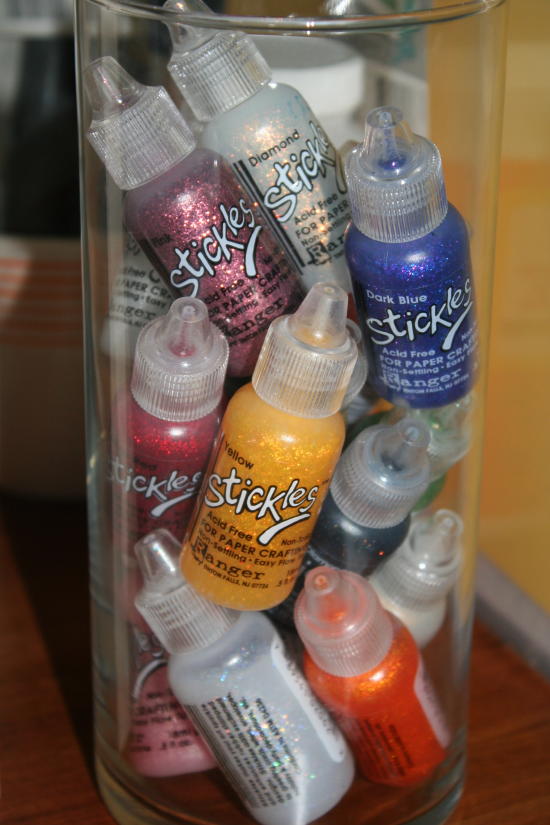
Step 9 – Brush the stem with a heavy layer of craft glue and sprinkle with glitter color of your choice.
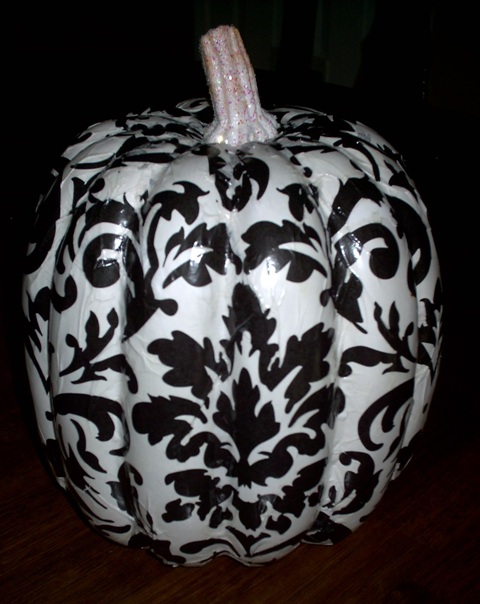
Step 10 – Your pumpkin is now complete. Embellish your pumpkin as desired (I used green ribbon and a monogram tag) and enjoy your unique decorator pumpkin!
Thank you Christina!! You did an outstanding job both on the pumpkin AND the tutorial. You’re GREAT!!
joy
GUESS WHAT? Christina is giving the above pumpkin away to one lucky winner! Just leave a comment on this post to be entered to win. I’ll use Random.org to choose a winner on October 13, 2010.
WINNER!
# SherriC. Says:
October 10th, 2010 at 11:09 PM e
Love Love Love It Christina!!!!! TFS
Thank you Christina!!!
By the way…my husband is threatening to enter this contest because he thinks this pumpkin is awesome. LOL! This really surprises me since I long ago agreed not to “girlify” the house too much. Luckily, we both like warm colors and big furniture. Could I have snuck in a damask print this whole time? Good grief! 😉


Wow Christina beautiful work! So easy wonders why Ib didn;t think of it? Joy you are sooo witty!
[email protected]
beautiful!
Bootiful!
Beautifully done!
Very cool!!! Looks like it takes a LOT of time, though!
I want it and I want it now!!!!!!! just fabulous——-
It would look great at my house!
Love Love Love It Christina!!!!! TFS
Wow – that is one awesome looking pumpkin! Thanks to Christina for sharing the instructions 🙂
Cute, cute idea. Almost threw away an old fake pumpkin from last year because it looked soooo fake! Gotta do this! Love it.
Way cool !!!! Great craft to make with the kids! I bought some of those pumpkins on clearance last year. Can’t wait to give one to the person who said why are you buying 5 of those! Love it!!!! Oh, and Idk what I was thinking when I said 15 minutes a day. That’s hilarious! I am like a sponge absorbing all this info in. I can not stop reading, my kids think I am nuts because I am like “No way!, how cool is that, wow! I didn’t know you can do that” and many more.LOL Yes ladies I am talking to myself when I am at the computer. How many women do the same thing? lol Love this site. Have a great Columbus Day everyone!
So cute!! Thanks for the opportunity to win it, Christina!! 🙂
This is such a cute idea! I love this pumpkin!
This is beautiful! I’d be proud to display this in my home! 😀
What an awesome idea! I love the black and white pumpkin! Would love to win it. Thanks for sharing!
This is a very cool gift to make for my gal pals that does not cost much but is so unique. Love it!
that pumpkin is so darn cute!
Everything I look on your blog I am just amazed by your creativity. I love these pumpkins, you could leave these out all year with the right decor. Thank you for sharing all the incredible ideas with us.
Very neat and turned out so pretty!!
What a great decorating idea! I don’t think DH would go for the damask, though! I’ll have to try this! Thanks for sharing!
This is a great idea I have a white pumpkin that I bought on clearance a few years ago and every year I look at it and wonder what I can do with it I will need something scary
Thanks,
Teri
[email protected]
That’s a darn classy pumpkin! You are keeping my list of things to create very long. Thanks for all the wonderful inspiration.
What a great idea! I love the black and white color combination! Thanks for sharing!
wow this is beautiful!! Great idea!
So, so, so awesome!!! I’ve GOT to make some of these!!!
Love these! I wanted to make them too, but can’t seem to find any tissue paper that I want to use. I will cross my fingers for these to end up at my house! Thanks for all you do Joy!
I love it, so very pretty and you could leave it up through Thanksgiving!
LOVE this! i need to give this a try! 🙂
What a beautiful fall decoration! It would certainly look nice at my house! 🙂
Pretty neat pumpkin!
Thanks so much to OMC and you for allowing us to enter for such a fun, spooky prize.
Just a couple of things I learned the hard way while trying to duplicate this gorgeous project: firstly, get a pumpkin with a long-ish stem. The one I got from Michael’s had a short stem that did not work with the ribbon. Secondly, don’t use wrapping paper! LOL. It definitely does not work like tissue paper. I’m still trying to find similar tissue paper because I LOVE this project just as it is in the picture! 🙂
~ Frances
Fvanatta,
Try paper napkins! I think that’s what Christina used. 😉
~Joy~
P.S. Christina shipped the pumpkin to me and then I shipped to the winner. Before I shipped it, I opened the box to see the pumpkin. It was sooo pretty!! I wanted to keep it, LOL!
Seriously, this is a great idea! I absolutely love it! Thanks for sharing.
I don’t think I have ever seen an elegant pumpkin before. These are gorgeous.