Cricut Imagine Candy Bar Gifts 12 Days of Christmas DAY TWO GIVE AWAY

SWEET!! Guess what’s in there? Go on…guess! Who guessed candy bar? No, that’s not it. Keep guessing. Ok, you were right the first time. I just thought you guessed too easily and I was trying to drag out the suspense. 😀
Let’s take a look at how we can make an ordinary chocolate bar look like a special treat!

(ugh…milk chocolate…I really don’t like milk chocolate, but treat dark chocolate like a winning lottery ticket)
First, we’ll need some candy bars. It’s easiest to work with flat ones and not ones that are shaped like Butterfingers or Snickers…2 of my favs that don’t work well for this. 😉 I bought a box of these at my favorite wholesale store. My daughter is going to give them to friends at school for Christmas treats.

Now we need to cut some paper to fit the candy bars. It should be able to wrap all the way around the candy.
The paper I used is by Stampin’ Up. It’s 12×12. I cut it into 6×6 pieces and they were an almost perfect size for the candy. They could stand to be cut just a tad smaller. After I had all of the paper ready, I simply taped one side of it and stuck it to the candy wrapper.

After completely wrapping the paper around the candy bar, I glued down the last side. I used my ATG gun for this whole process. So simple! YAY!

I wanted to add a little WOW factor to my candy bars so I used my Cricut Imagine to print a pattern from the Mr. Frosty cartridge directly onto some clear vellum. FUN! It has a pattern, but you can also see through it. COOL!

This is another piece of vellum I printed using my Cricut Imagine and the Mr. Frosty cartridge. Isn’t it cool?

BUT WAIT! THERE’S MORE! I used 3M Post-It Craft Paper to add some fun elements to decorate the candy bars further. I also used the Winter Lace cartridge to cut out the snowflakes.

Here I’m cutting out some snowflakes using the Post-It Craft Paper. It’s so simple to use. You just cut it out, peel off the backing and stick it to your project. AWESOME! Even cooler? You can peel it off and stick it back down if you make a mistake, or even if you want to reuse it somewhere else.
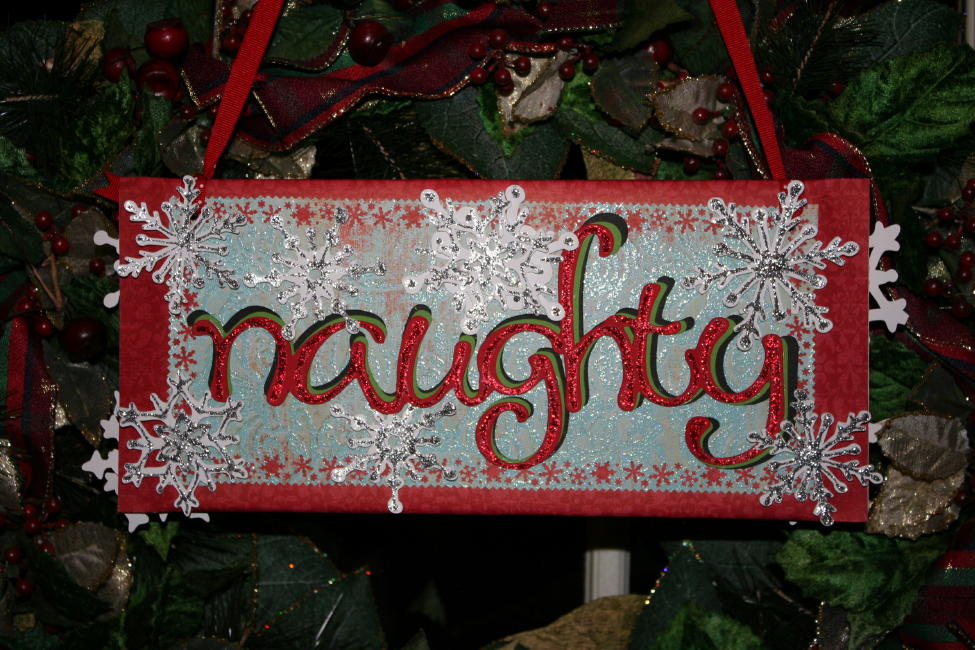
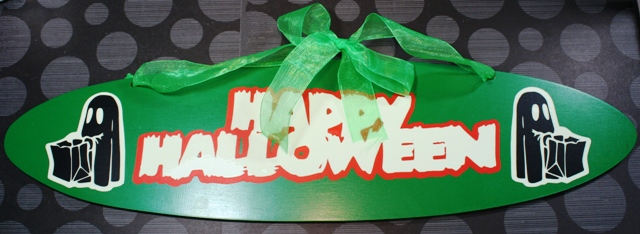
Here are some other projects where I used Post-It Craft Paper.

Here we are BEFORE adding some Post It Craft paper embellishments from my Cricut.

TA DA!! Pretty and Yummy Treats!
All of the embellishments on the tops of the candy bars are cut using Post-It Craft Paper. You can see I have layered some of the images and even added Stickles to several of the cuts. I hope you enjoyed this simple but fun project. It’s a great way to make a quick gift for someone with your own little twist to it.
On the 2nd Day of Christmas 3M Post-It Gave To One Winner….
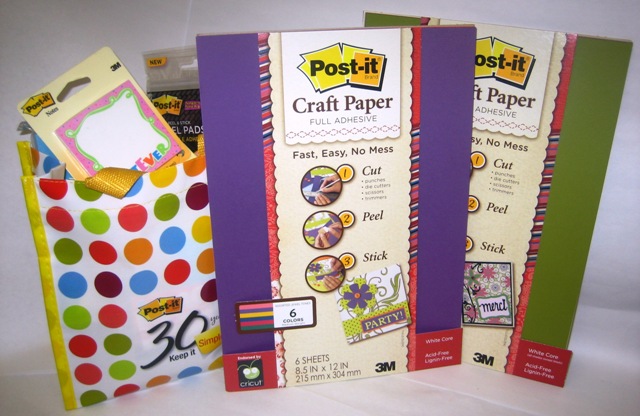
3M Post-It is giving away a gift bag and Post-it® Craft Paper. The gift bag includes a variety of Post-it® Notes and other Post-it® products as well as some Scotch and 3M goodies! Retail value is over $50. To be eligible to win please leave a comment on this post. The winner will be chosen by Random.org on December 13.

Super cute and super yummy….love how each one is different!!!
hugs,
Sarah
liveloveandSCRAP.blogspot.com
I walked past the post it paper at joanns last week thinking that it was pretty expensive but now I know what it does! and free would be nice! Love this idea Joy!
The post it notes make this project super simple. I can’t wait to get some to try.
Love the candy covers, they turn a reg candy bar into so much more, makes the perfect little gift
What a cool way to add a little bit of pizzaz to some cool chocolate treats. I am thinking of more ways this project would be cool. Advent style or slip a note inside the paper so when its opened it reveals a little bit of love from home.
Adorable! TFS, you are so prolific! neldacnm at yahoo dot com
LOVE the candy wrappers!!
This is such a good idea!
Joy fantastic IDEA!! I have an imagine and NEVER thought to run my velum through it! And I ALWAYS love decorated velum!
Love the chocolate treats!
{{HUGS}}