Make a Mod Podge Altered Clipboard & Matching Pen
Well, it took me 2 tries, but I finally cranked out my 1st Altered Clipboard. 😀
I learned a few things while making this clipboard. 1st – Mod Podge will not defeat me. 2nd – It helps if you apply the paper in slips or pieces instead of one whole sheet. I learned #2 after trying to apply 1 solid sheet of paper with Mod Podge, having it go on perfectly but then dry like a big twisted waffle. So sad. I had to rip all that stuff off and start over.
What ended up working well for me and produced no bubbles was to…
Use strips of paper covered in Mod Podge on the back and on the front of the strip. It’s sort of a mess to handle, but it produced bubble free results. Frankly, I think I will try that again with a whole sheet. When I did the whole sheet, I didn’t put Mod Podge on both sides. I was trying something crazy and taped the bottom down instead. Did NOT work for me using tape. I sanded the edges of the board after the paper dried.
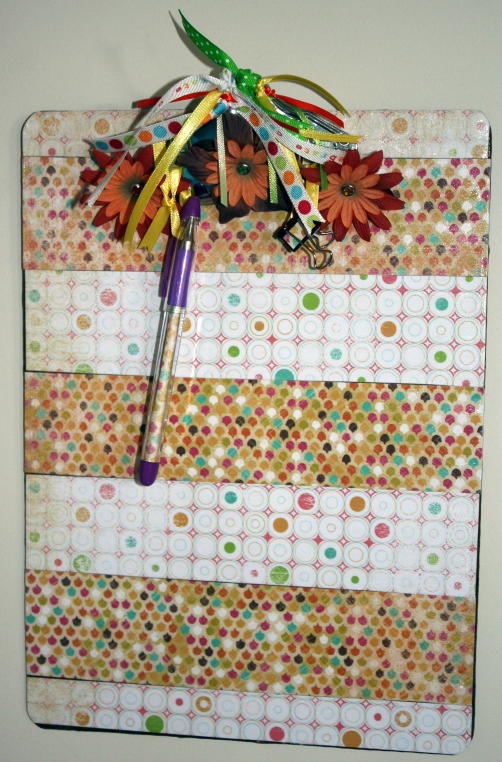
I also made this cool matching pen…

Well, I didn’t make the pen, but I did use matching paper that I tightly curled with a quilling tool (’cause I had one and it was easier) and inserted it into the pen. I love that purple pen. I found a pack of them at Office Depot.
You’ll notice the lines between the paper slips…it bugs me too. Next time I’ll push them closer together.

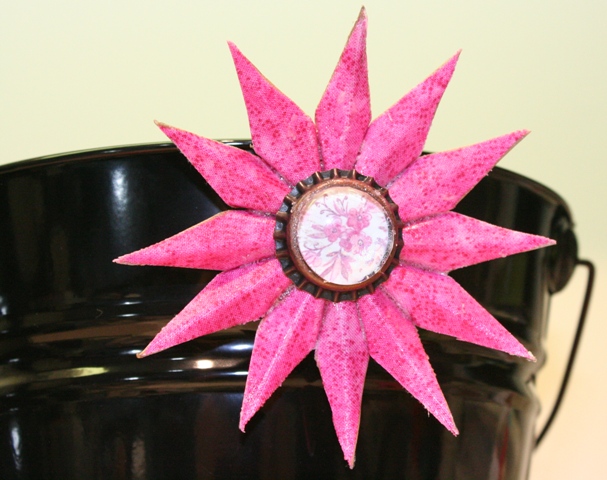
I used my Crop A Dile Big Bite to put a hole into the clip and then I inserted an eyelet. I tied a ribbon through the eyelet to hold the pen on one and a small clip that I covered with matching paper on the other. I also put holes in the clip so I could attach the flowers. This way the clip is still usable. The flowers are firmly attached and won’t come off when opening the clip.

I just used my ATG gun to attach the paper to the clip.
I used K & Co. paper for everything.
I think my next one will be even better!!

What a great job you did! I love it. it’s hilarious – I recently did a clipboard from the same “Urban Rhapsody” paper pack! It’s right here:
http://modpodgerocks.blogspot.com/2009/08/i-love-clipboards-so-i-gave-one-go.html
If you need help with the wrinkling, come see me. I’d love to help! Though I’d say your clipboard was a success.
Thanks Amy! LOVE your blog!! I just did my 2nd clipboard and think I’m starting to understand what works. I did mean to use my Brayer yesterday when I did my newest one, but I forgot. That seems like the perfect idea for getting rid of bubbles! Also, I’ve just GOT to get to Michael’s and get some of those clipboards like the ones you used. What I think mine really lack are the painted clips. The boards I bought came from an office supply store and those clips just don’t come off. I love your work!! Thanks for visiting! 😀
How cute I like the paper combination and “pen”.
I have several friends who are teachers and our craft club meets this Friday. These would be such a cute end-of-year gift for room aides (and my teacher friends!) Thanks for sharing!