Xyron & Perfect Paper Crafting Blog Hop – Fish You Were Here Sequin Shaker Card
Welcome to the Xyron and Perfect Paper Crafting blog hop! Be sure to check out both of the blogs for prizes! If you fall in love with the Perfect Layers tool, like I have, then be sure to use discount code Xyron10% to save 10%. Woo hoo!
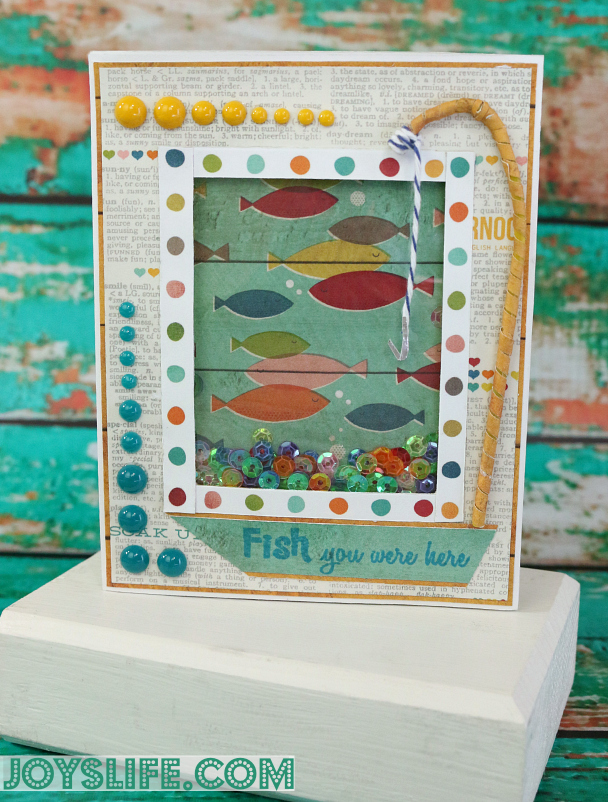
This is the first shaker card I’ve ever made! It was super fun! I made it for my daughter because she’s back at school (like a fish! fish…school…you got it) and I miss her, even though I’m happy she’s off pursuing her dreams. YAY to that!

I’m using Simple Stories I Heart Summer paper, the Mini Perfect Layers and the Xyron 5″ Creative Station.
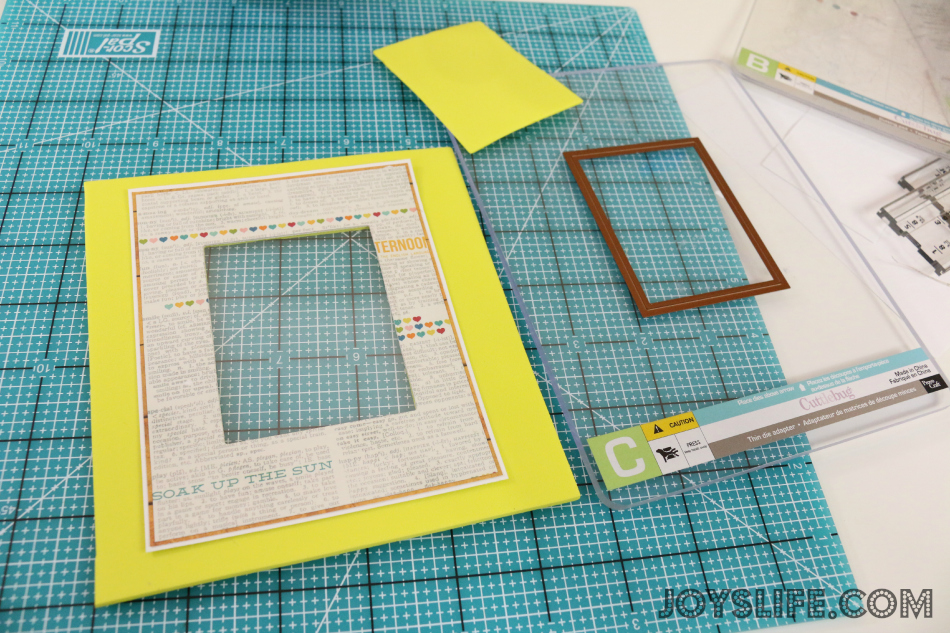
I ran the newsprint paper through my Xyron and stuck it to this woodgrain piece. Next I used the Mini Perfect Layers tool to help me create a perfect 1/16″ layer! I was impressed! I cut the paper using my favorite Fiskars craft knife on a self healing mat. Don’t use a craft knife on anything except a self healing mat or risk some pretty messed up tabletops. Just sayin’.
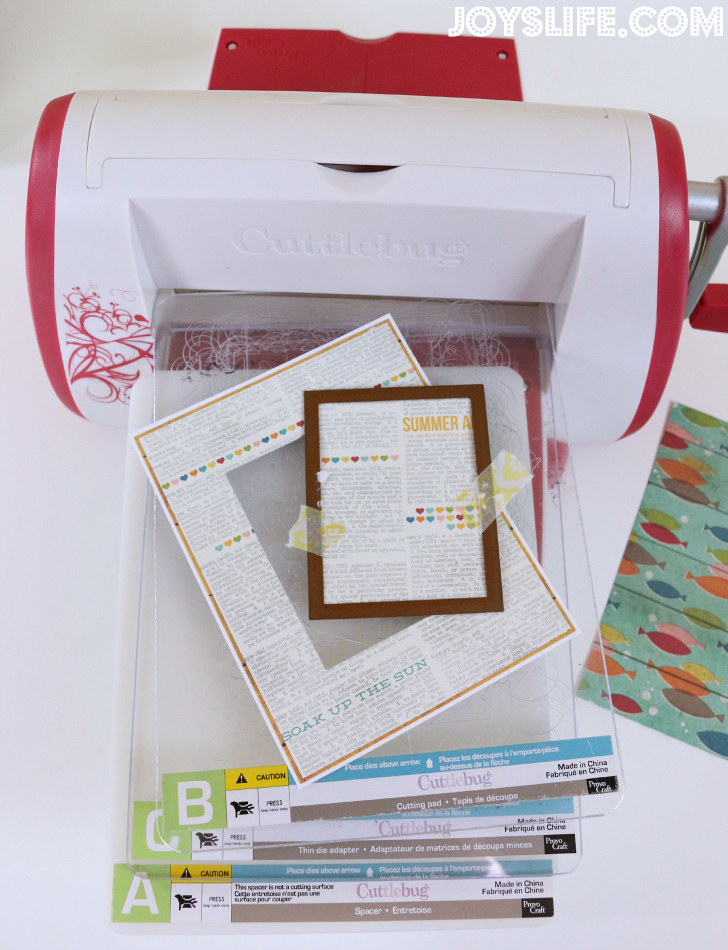
Next, I used a Spellbinders Nestabilities S4-132 classic rectangle die in my Cuttlebug to cut a nice space out of the center of my card. (I also totally took this photo so I could remember how to make the “sandwich”.) A plate, C plate, die and B plate. Later I put C where B goes, it makes no difference. Just make sure the cutting area is facing the plate you want to etch with the blades. Etching them while cutting is just going to happen.
As I said, I haven’t made a shaker card before but I have made a shaker mini album page. When I did that, I used a ton of foam adhesive. This time I decided to use craft foam to create the void between a layer of acetate and the back of the card. It worked even better (I thought) and will help me get rid of the ton of craft foam I have on hand. By the way, I’m using that super bright yellow because it’s what I had, white would be a better choice. I cut a rectangle out of the foam. Next, I placed a piece of acetate between the paper layers and the foam layer and glued everything together.
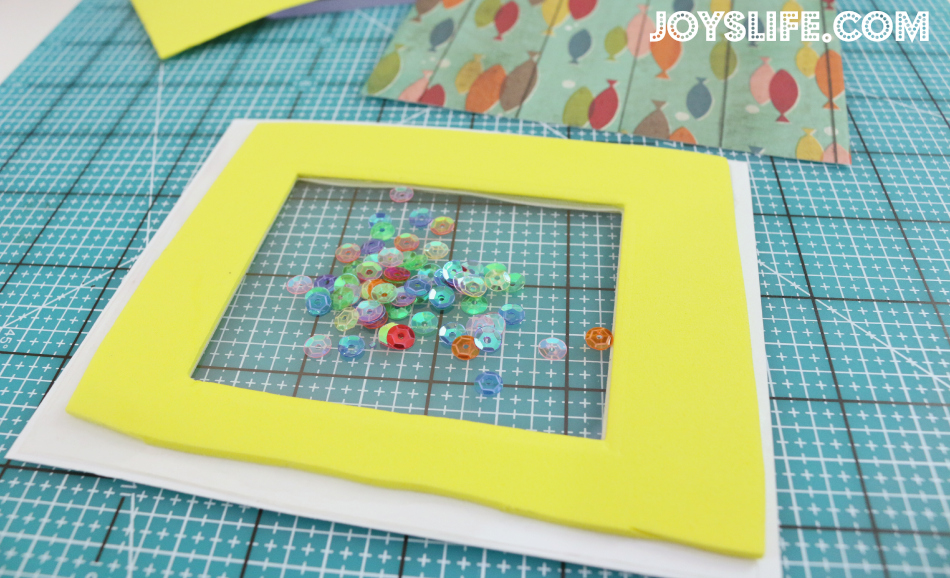
Now the fun part!! Add sequins. Next, glue paper to the foam. Ta da!! Shaker box! Also, your foam size should pretty much match the paper size of your card. I have no idea why I kept hacking away at it like that. Wait. I do remember. It’s because I didn’t want that blinding yellow to show…and that’s why you should use white. LOL!
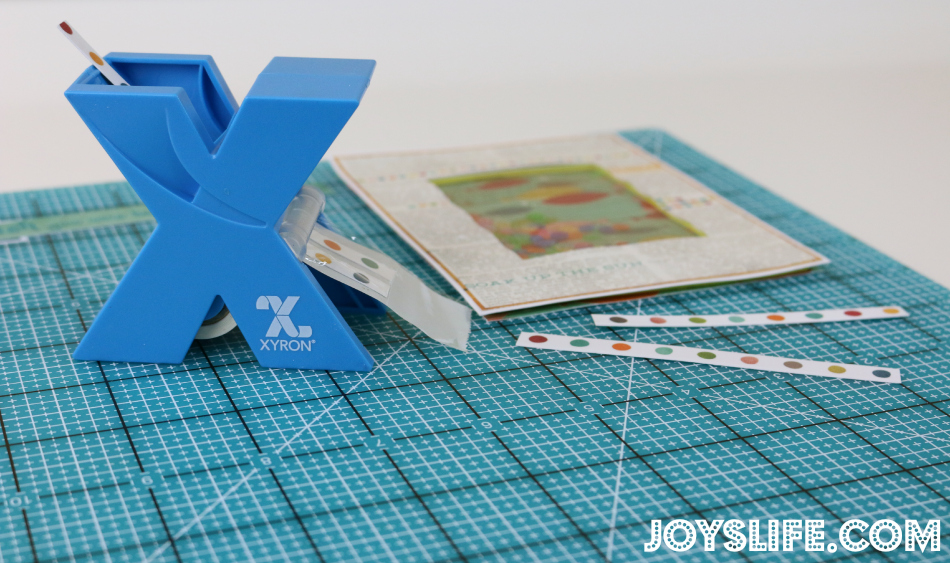
After I assembled the shaker, I cut some pieces of paper from the Simple Stories I Heart Summer paper and created a little border using the Xyron Mini Sticker Maker to turn that paper into stickers. It also helped hide the hideous yellow foam. Just keepin’ it real.
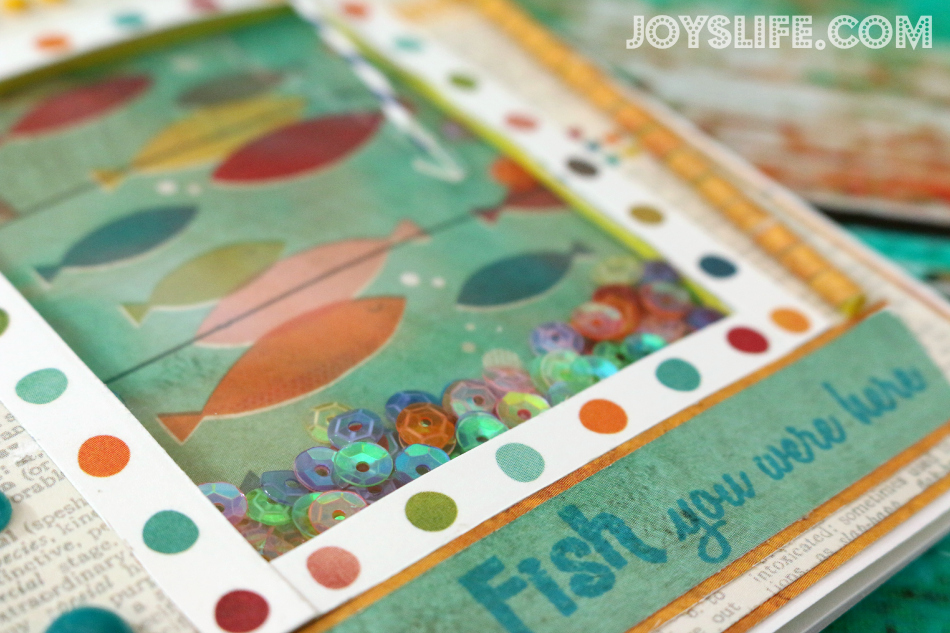
Look how exact those 1/16″ mats are! Look just above the sentiment (which is from the Joy’s Life Wildlife Puns Stamp set) and then below it. Look at the light brown paper just below that…also 1/16th…and the white cardstock just below that…yep…1/16th. Nice. I received the Perfect Layers Mini set for this blog hop but you can bet it won’t be the last time you see it on my blog. I will definitely be using it again…and again! Two thumbs up to this product.
I made the fishing pole using a plastic drink stirrer and bending it by heating it with my Darice heat gun and a pair of tweezers. I wrapped a piece of leftover paper (it matches the borders!) around the drink stirrer and glued it down. I cut a tiny piece of metallic paper into a hook shape and Voila! I had a fishing pole.
I hope you enjoyed my project (and learned from my mistakes). You should check out Xyron and Perfect Paper Crafting blogs each day during the hop for prizes and cool creations!
I wrote this post while participating on the Xyron Design Team. I received Xyron products and the Perfect Layers Mini crafting tool for the purpose of this post.
A very cute shaker card!
Thanks for all the tips.
Carla from Utah
Wonderful shaker card, thank you for the great turorial. Your Cuttlebug B plates look like mine, etched from top to bottom. The papers, colors and elements you used on your card are perfect.
Sue
http://suek86401.blogspot.com/
Sue, YES!! Sooooo etched! 😉 Thank you!
TFS!!! Cute projects and I also luv all 3 of my Xyron’s….
that is so fun!!! what a great shaker card.
is a fabulous shaker card, i love the color, the design and the idea of twine!
Great idea! Such a cute card. Love the fishing pole and the sequins! Thanks for sharing.
Katie B.
What a fun card!!!
FUN & FABULOUS fishy shaker Joy – LOVE IT ALL!!!
THANK YOU for sharing your CREATIVE INSPIRATION and your tutorial too 🙂
A darling shaker card, Joy!
Awesome card!!
Thank you all so much! 😀
I can’t believe this is your first shaker card! It’s adorable!
Super cute shaker card – love the fish and the sequins.
isoscia at aol dot com
I love this card. Those fishies are so cute!
LOVE your shaker card. How fun!
Love the shaker card thanks for showing us
Joy,
I think you did a great job on your first shaker card. Love the fish paper, and those sequins, their transparency makes them perfect for the underwater scene. Great idea on the fishing pole. A little tip on the foam, although I was not making a shaker just a raised circular surface, also with Nesties, I cut my front focal center with the sixth die, and the foam with the seventh die, this way the foam was 1/4″ hidden under the front panel, and I did it in reverse for the finished square. Used the largest square for the front, and second largest for the foam. Maybe it’s a wee bit confusing, but it worked out. Your dots, are they premade or homemade?