Pikachu Embroidered Towel for Pokemon Fans
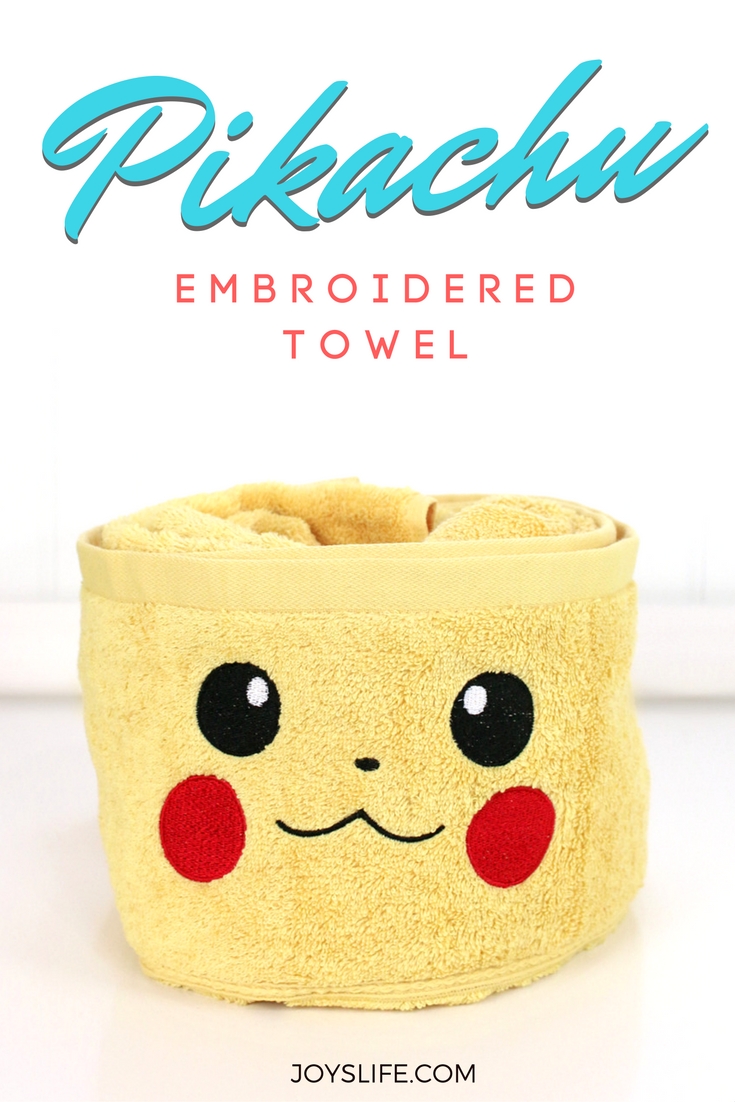
Hey friends! I’ve made a lot of things, but this embroidered Pikachu towel is the one that thrills me the most…as of right now. LOL! My kids have always loved Pokemon, and I thought eventually that love would wane. It didn’t. This is for my son in college and he loves it! I’m not surprised, because I made him an Ash Ketchum vest when he was 9 and then again 6 years later. Here he is at Christmas wearing a Pikachu hat. (You can get that hat here.) Then I made him this easy Pokemon Team Rocket Grunt costume. Here he is looking fancy, but normal. LOL! With Pokemon Go being a fun craze lately, you really can’t go wrong making a Pokemon or Pikachu fan a gift like this. So, let me show you how I made this!
Pikachu Embroidered Towel for Pokemon Fans
You Can Have a Bigger Hoop Than 4×4 with the SE400 Embroidery Machine
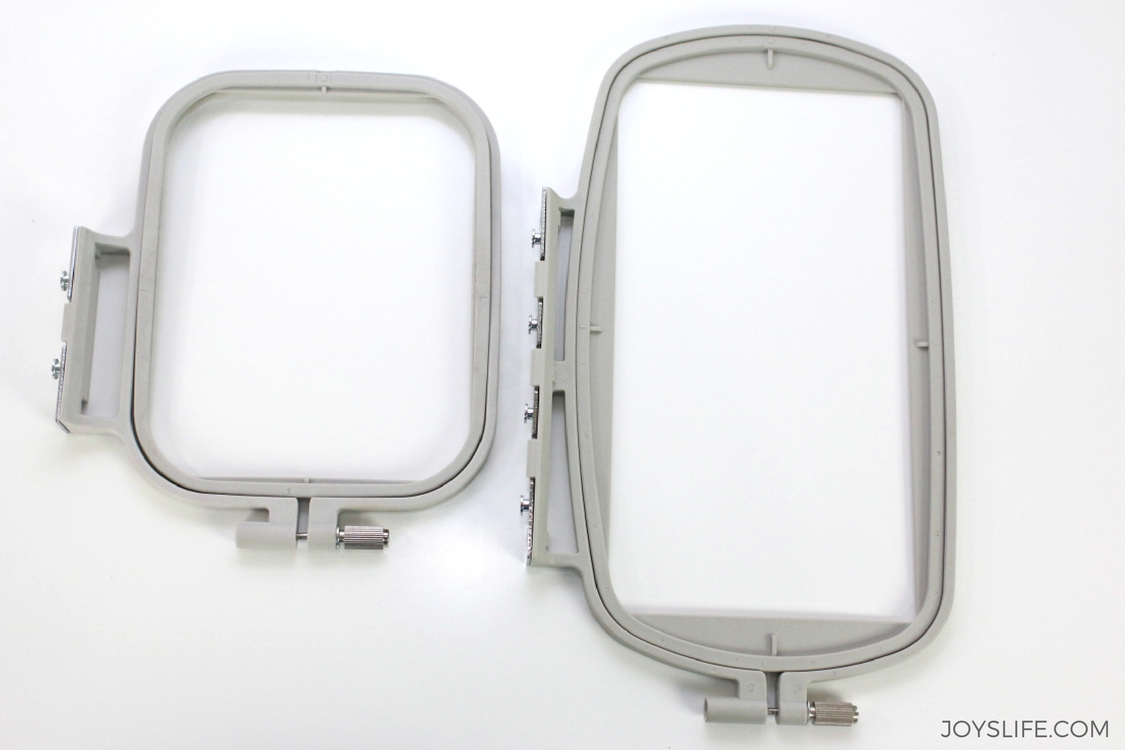
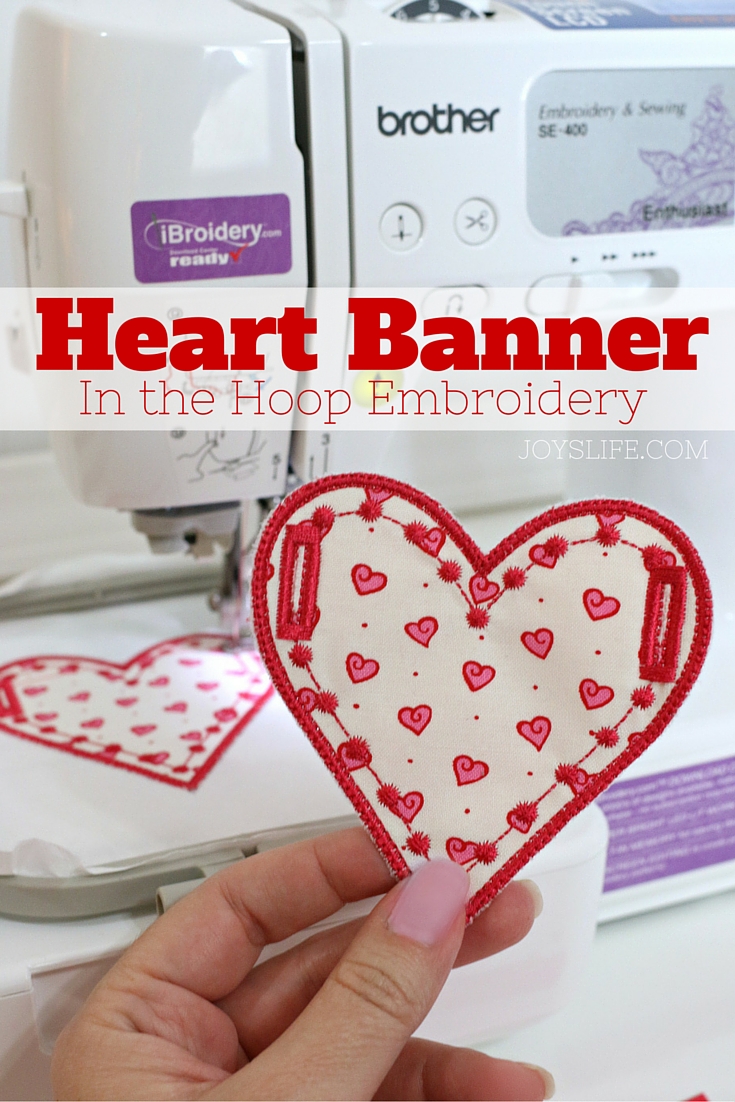
First, I want to tell you that you CAN have a bigger hoop for the Brother SE400 embroidery machine. The 4×4 hoop on the left comes with the SE400. If you buy this hoop, it will work with this machine. No hoop size larger than this will work AND you also need it to have those 4 “pins” on the side. See how the 4×4 just has two pins? You need the large one to have 4 so you can move your hoop, that’s how you create the larger sewing area. You can also buy this large hoop in a set. I did. It also comes with an extra 4×4 hoop. Because I had two 4×4 hoops, I was able to keep my machine continuiously going with this heart banner project. That helped me get done a little faster.
The way the larger hoop works, is that you break the image into two parts and manually move the hoop after the first side of your image is embroidered. You will need special software to do that. I use Embrilliance Essentials. It makes the process of splitting the image, very easy. I think the cost is very reasonable considering that it allows you to get so much more size out of your machine. It beats spending so much more for a different machine with a larger hoop.
Supplies:
Pikachu Embroidery File – I bought this one on Etsy.
Embroidery Machine – I use and adore the affordable Brother SE400
Yellow Towel – I got a bath towel in Beehive Yellow from Target
Stabilizer – Water Soluble Stabilizer & Tear Away Stabilizer
Scissors – I use these embroidery scissors and these fabric scissors.
Black, White & Red embroidery thread.
Optional:
Basting Stitch file – Free from SWAK Embroidery
Spray Adhesive – Sulky Temporary Spray Adhesive
If you’re using the Brother SE400, for this size Pikachu, you’ll need this hoop. You’ll also need an embroidery software program to break the image into two parts for the larger hoop. I use Embrilliance Essentials. It’s easy to use and never fails on me when I want to divide images so I can use the large hoop with my smaller machine.
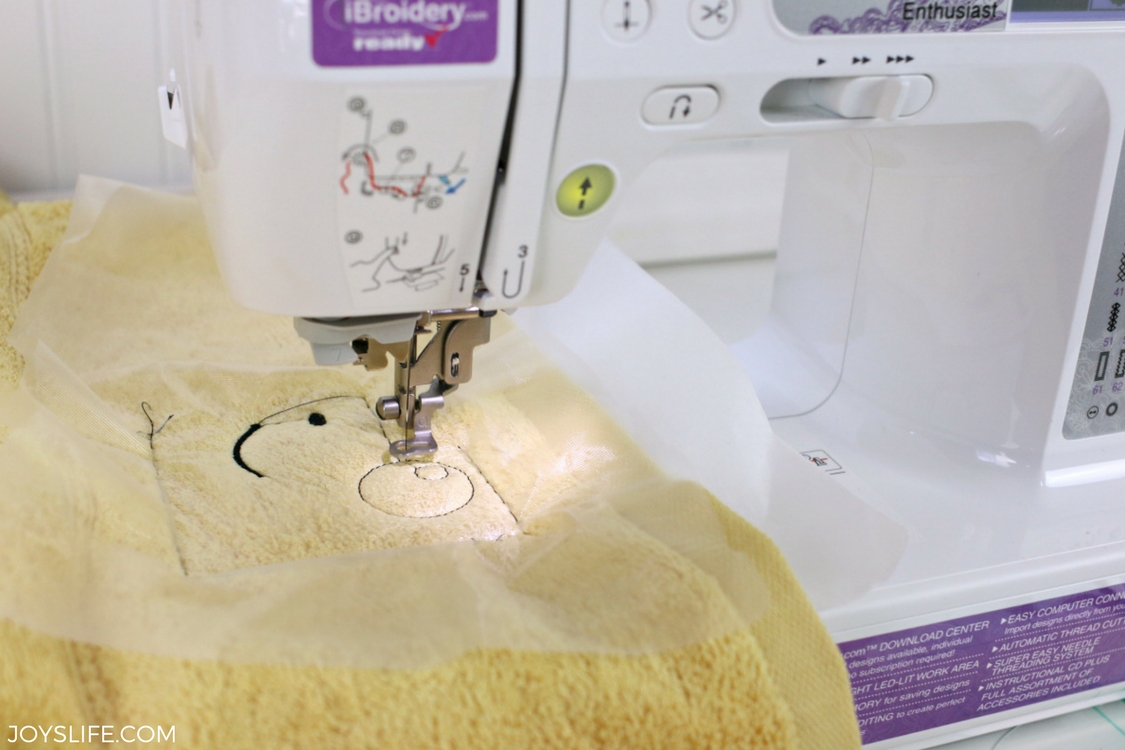
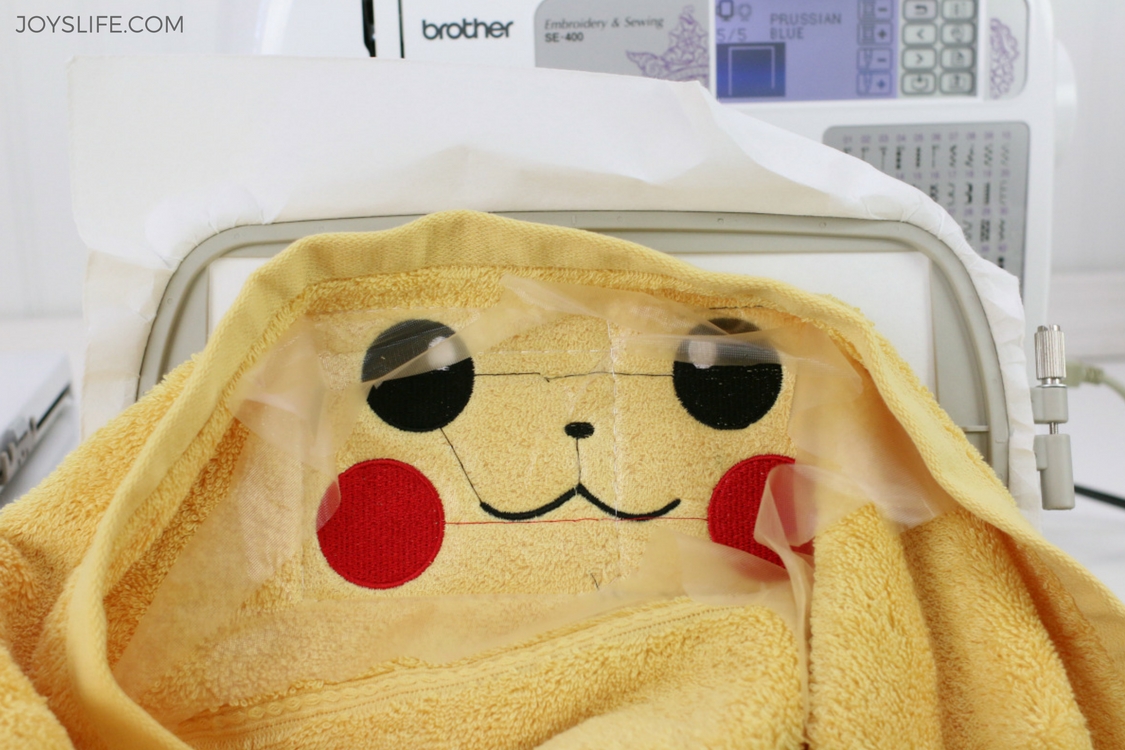
First, hoop the tear away stabilizer and float your towel on top. That bascially means, lay your towel on top of the hooped stabilizer a.k.a. don’t hoop the towel. You can use temporary spray adhesive to help keep your towel stuck down to the stabilizer. I didn’t do that this time. I held my towel in place and used the free basting stitch, that I linked to above, to help keep everything in place. Before you stitch the basting stitch or anything else, add the water soluble stabilizer to the top of the towel. That helps keep the stitches from sinking down into the towel, making them hard to see. It also cuts down on pulling the towel loops.
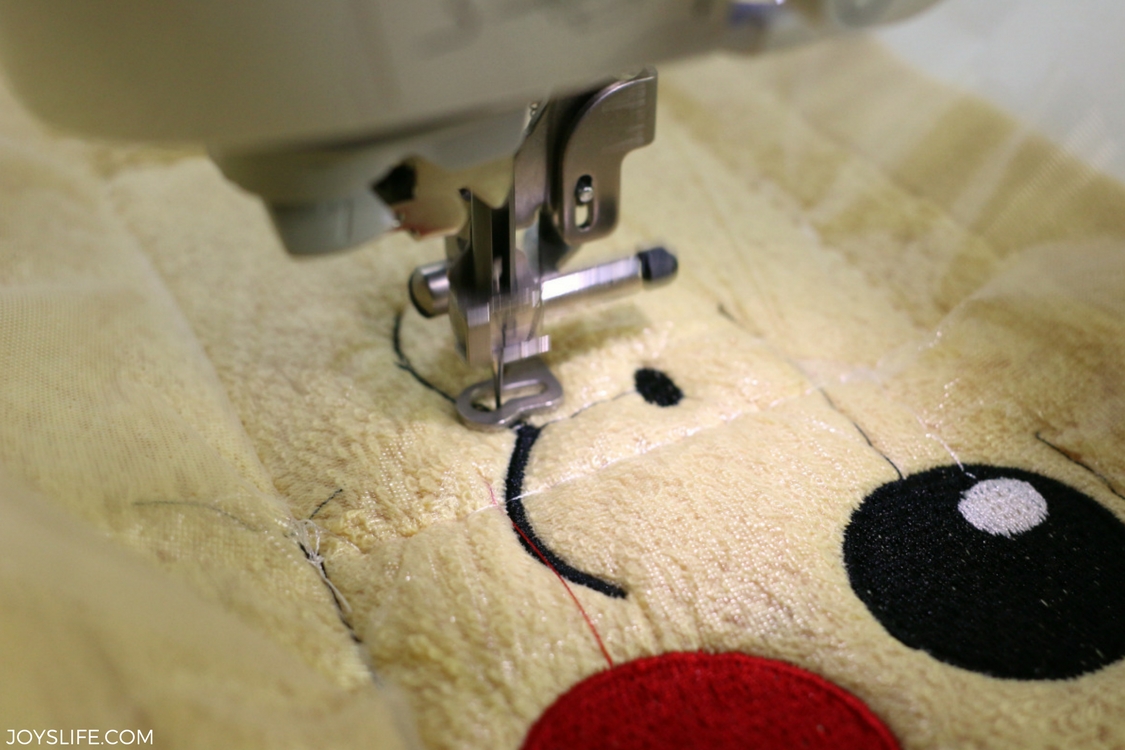
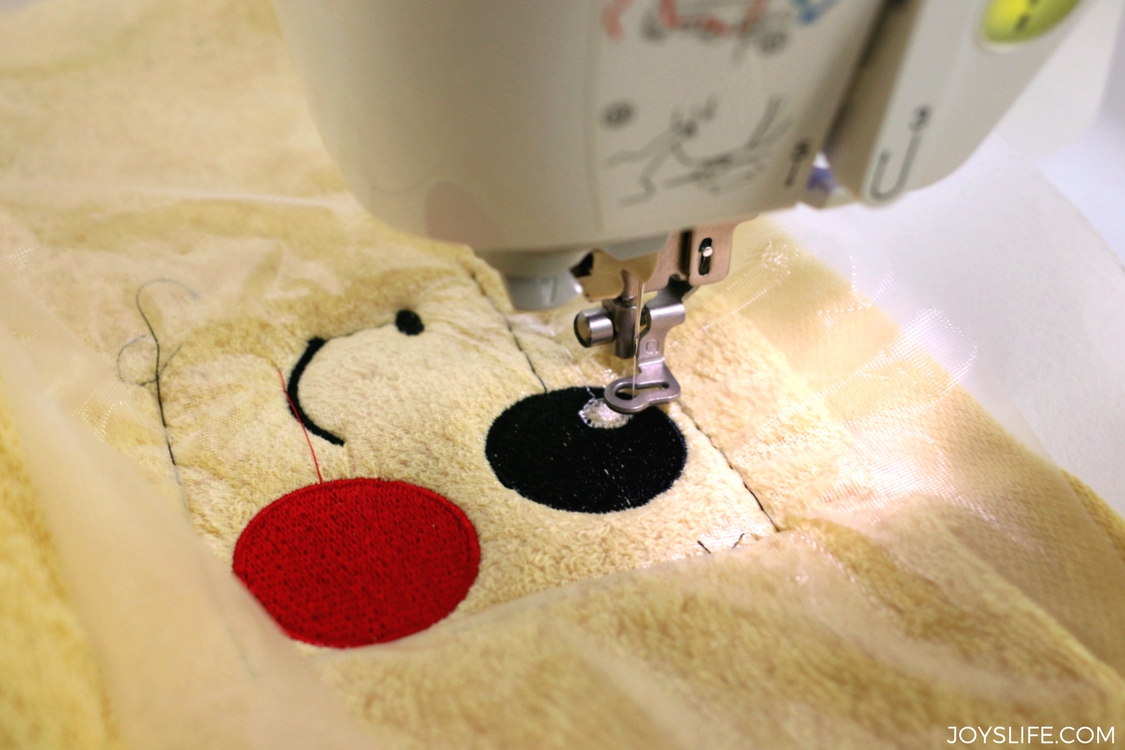
Because I wanted to make my Pikachu face bigger than the 4×4 hoop, I broke the image into two parts for the larger hoop using Embrilliance Essentials. When you do that, your project will complete in pieces. For Pikachu, that means it embroidered half of his face first. After the first part is finished, you remove your hoop and move it to the next few pins of the hoop, so it can sew the other side of the project. You can see the basting stitch in white going around the perimeter of the face. It’s easy to remove when the face is finished. Notice how well the water soluble stabilizer keeps the towel loops out of the way and how the stitching sits nicely on top of the towel, nothing getting buried in the pile.

This is so much fun! I love that you can take a store bought item and turn it into something personalized, a great gift or something you want or need for your own home.
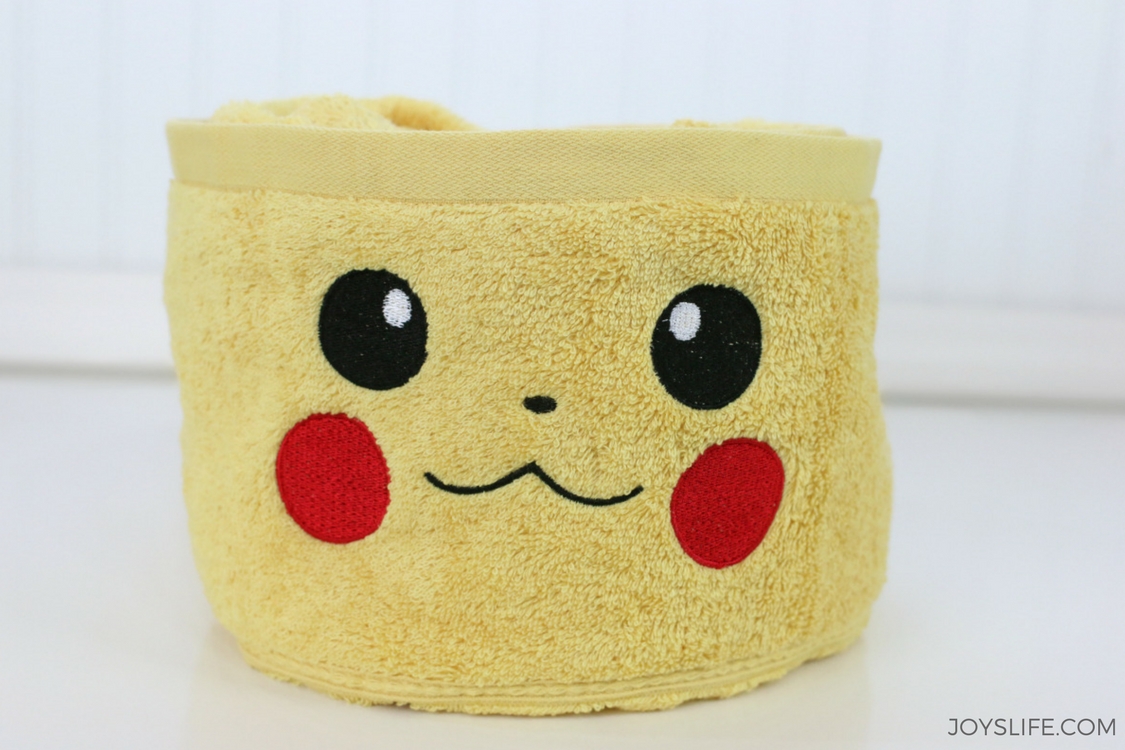
Once the stitching is complete, remove the hoop. Your Pikachu towel will look like this.
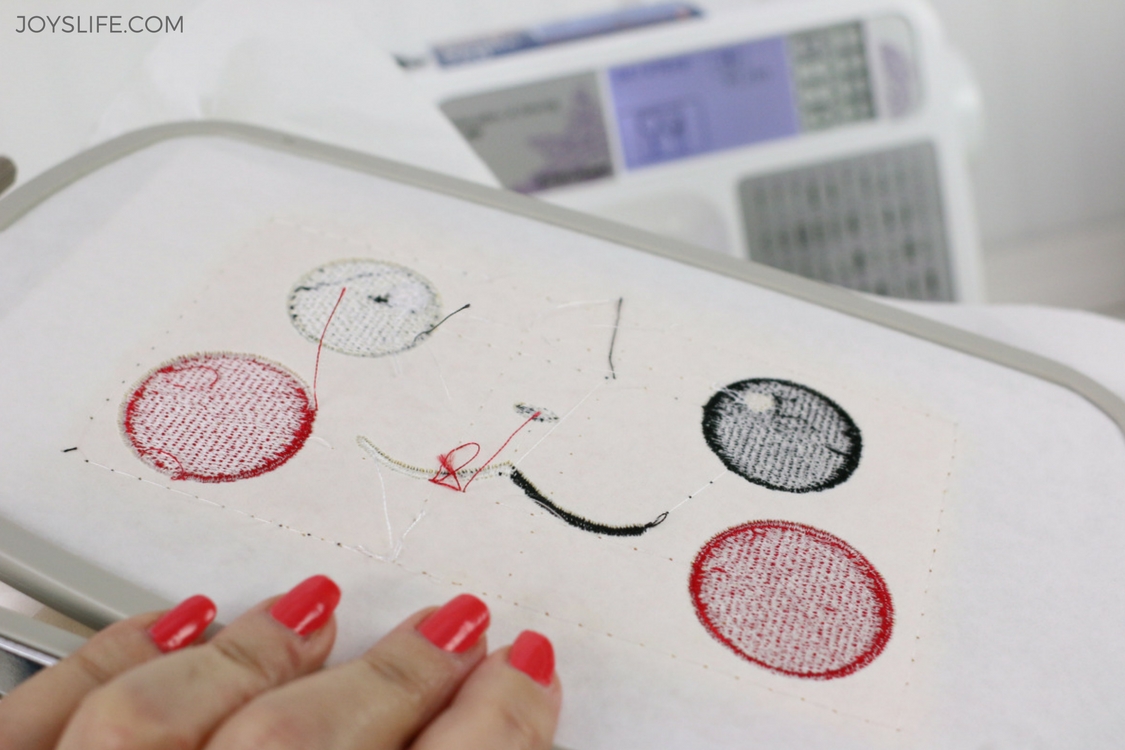
Here’s what the back of the hoop looks like. Remember, unless you add that basting stitch, you won’t have that stitch going around the outside of the face.
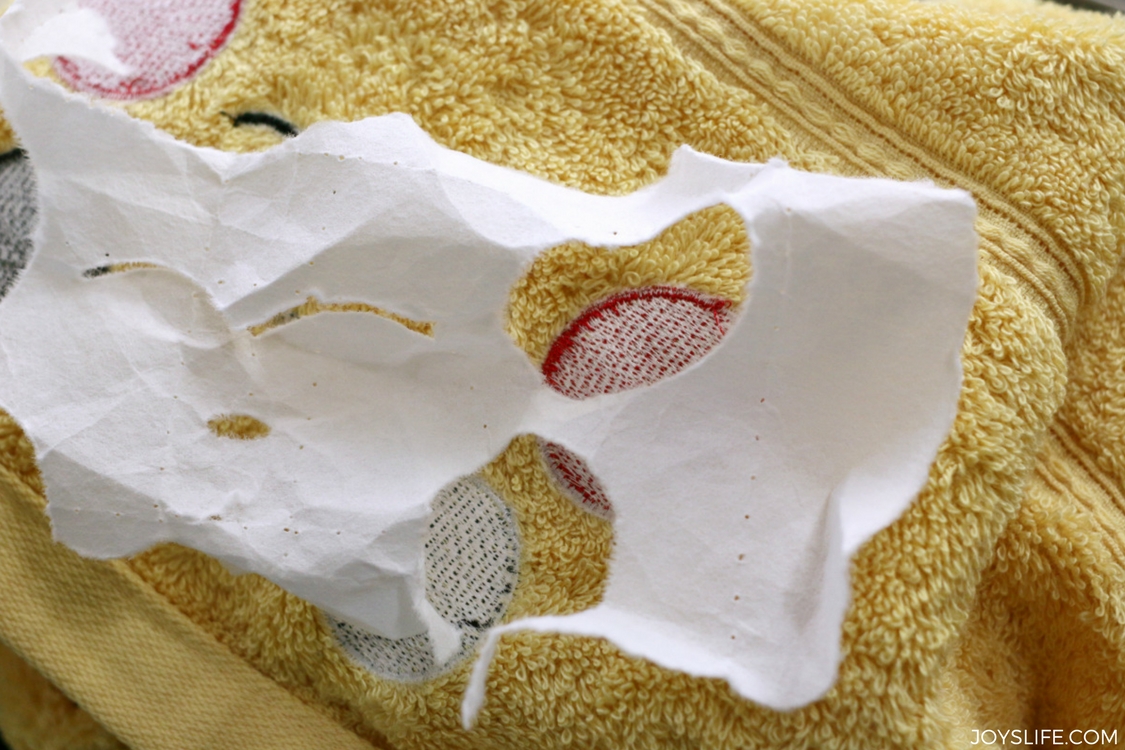
Remove the towel from the hoop. Snip the basting thread in a few places, if you added it, and pull out that thread. Carefully tear away the stabilizer.

I just tore off the water soluable stabilizer. You can use a bit of water and rub away any stubborn pieces. Any remaining will disolve when you wash it.
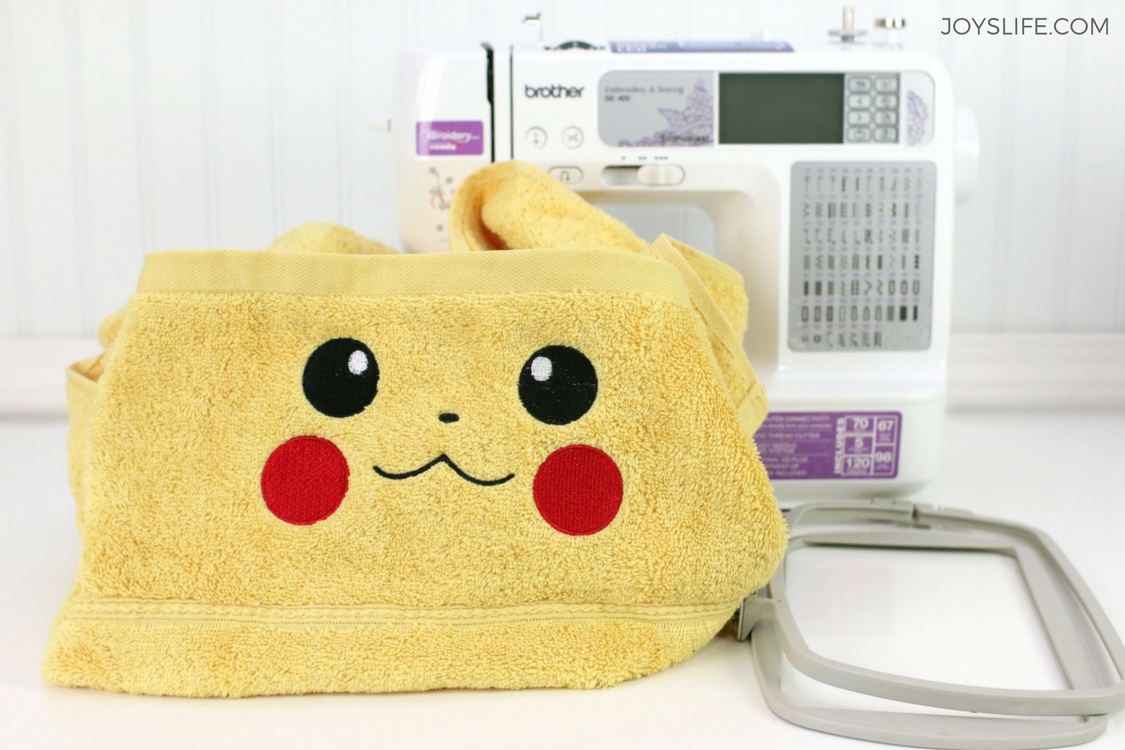
Ta da! That’s how you make a Pikachu embroidered towel for Pokemon fans! I just think it’s sooo cute! My son was happy with it too.
Here are some other things I’ve made with the Brother SE400. It sews too!
In the Pokemon mood? Check this out! >> How to Make a Pokemon Team Rocket Grunt Costume PLUS an Iron On Vinyl Tutorial

OMG!! How adorable is that!! My grandson would love that
Thank you, Marilyn! 😀 I love how happy Pikachu looks!