Joy’s Life ABC Book Cricut Cuttlebug Project Front Cover
The Cover of the ABC Book
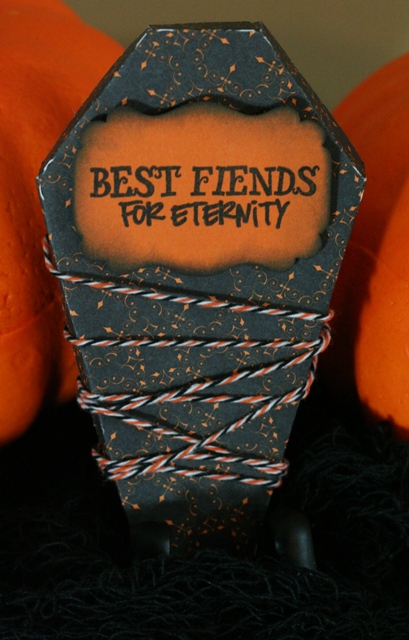
The Front Cover

You might see some b’day cake smudges on this. My SIL took this photo for me after my nephew had read it a few times. I’d forgotten to take a photo of the cover!
The Reason Why:
When my nephew turned 2, I wanted to make him something really special. It couldn’t be sewn, that’s my MIL’s Superpower. It had to be special; it had to be informative; it had to be cute, doable and fun. It had to be Cricut.
What I Made:
So, what I did was make an ABC book using my Cricut Expression, Sizzix Big Shot and Cuttlebug embossing folders. I bound it using my Zutter Bind-It-All.
How Long It Took:
This project took me about 40 hours and that doesn’t include research time where I determined which animals or materials I would use. Believe me, that process was LONG!
What I’m Going To Show You:
I will show you all of the pages I made, give you a list of the items I used and explain how I made some of the animals that aren’t on any Cricut cartridge.
About the Cover:
- I used a Teresa Collins Bracket Chipboard Cover
for both the front and back of the book.
- I bound the book with 1 1/4″ O-wires, using my pink, version 2.0 Zutter Bind-It-All
- The font on the cover is from the Sesame Street Font Cricut Cartridge.
- The Polka Dot paper is (so cute!!) Polka Dot Parade from PaperTrey Ink.com.
I could have done a lot more with this cover, but I ran out of time (poor planning on my part!). I was actually late for the party (shame) because I had a heck of a time binding this thing at the last minute. Also, I messed up the first cover and DH was sweet enough to drive over to Archiver’s and buy me another one. Whew. This is so not my style (being late) but recently I find myself crafting at the last minute and … being late!! I’ve got to stop that!! So…do NOT try to rush binding and the cover at the last minute. Believe me!
About the ABC Book:
- Every page is cut to approximately 4″x6″.
- Every page is made from white cardstock that I embossed using either Sizzix or Cuttlebug embossing folders in my Sizzix Big Shot
- Every page features a real animal (nothing made up) that I created with my Cricut Expression
and some cardstock.
- I used Zutter 4×6 page protectors for all of the pages and I put 2 pages in each protector sleeve. (That was sort of a pain when it came to making sure they made alphabetical sense in the binding of the whole thing. Trust me.)
This book was a lot of fun for me to make and my nephew LOVED it! As you look at these pages, I think you will be able to tell that I began to branch out and get more creative as I progressed through the alphabet. It’s so cool how much more capable you feel the more you practice, isn’t it? I actually used vellum for the first time…and that was when I got to X!
Joy’s ABC Book Link to All of the posts about the ABC Pages
I hope you enjoy looking at what I created. Thanks for being here!
Joy! Your book for your nephew was awesome!! You did a fabulous job. *bows in your presence*
You’re so sweet! Thank you!!
Wow, that was a labor of love! The Bind-it-All looks very handy.
Joy, this book project is absolutely amazing! Great job!!
Hmmmm, I have 5 months until my DS turns 2… 😀
Thank you!! My advice…Start Early!! 😀 I almost went crazy cutting the time so close to the party. (Well, I was actually a little late… 😉 )
It’s a fun project! Hey, if you start now, you could do 5-6 pages a month and then you’d be all ready! 😀
~Joy~
Fabulous book. I am in process of making something similar for my niece. Great job