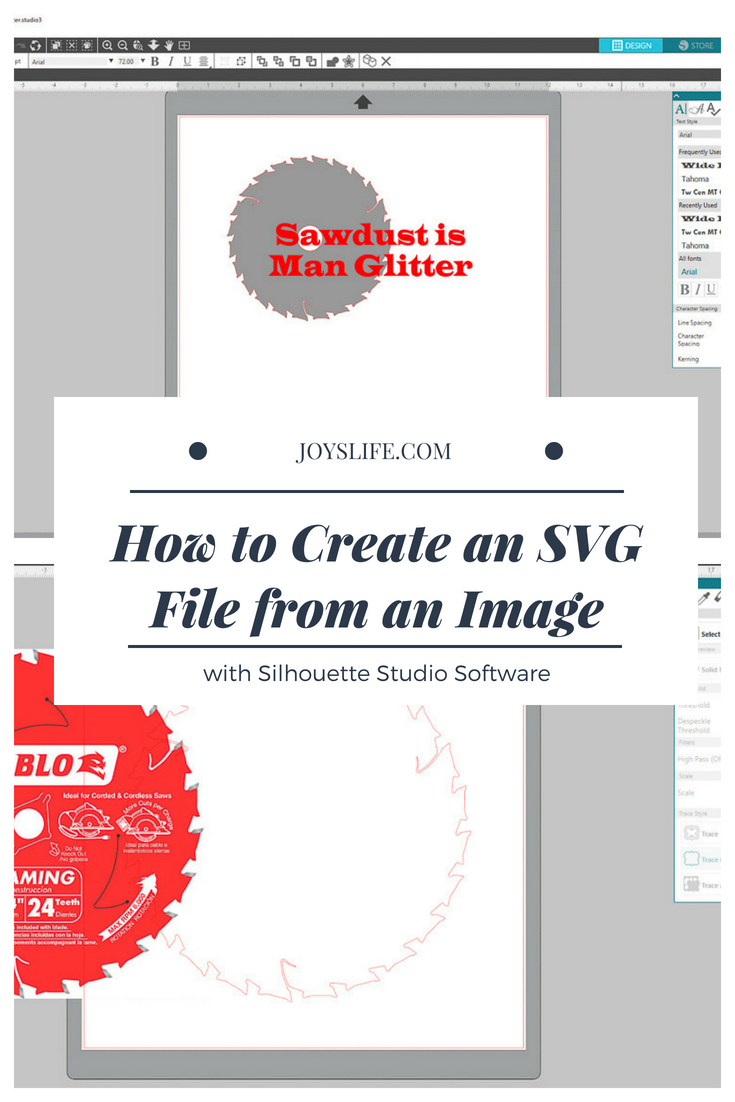
How to Create an SVG File from an Image with Silhouette Studio
Learn how to Create an SVG File from an Image with Silhouette Studio! Don’t miss the free .svg below!
I saw this “Sawdust is Man Glitter” saying on Amazon and thought it was hilarious and appropriate for my husband. As I write, he and two of my kiddos are redoing our downstairs floors. Sawblades, sawdust and noise are the themes of our day…and nights. With Father’s Day coming up, I thought I might make him something with that saying, but I couldn’t decide exactly what I wanted to make. On Amazon, I saw this mug, this shirt, this sign and this pillowcase and I was like…I can make that myself! (Most likely, I’ll procrastinate long enough that I’ll just go buy them. Are we in that boat together?)
Seriously though, I’ve made vinyl mugs (and tumblers), shirts, signs and pillowcases, so all I really needed was to create an SVG file for myself. With that, I can make ANYTHING!!
How to Create an SVG File from an Image with Silhouette Studio

First, find an image. The more simple the shape, the easier it is to trace and turn into a useable svg file. That doesn’t mean it can’t be difficult, it just takes more time to clean it up for a good cut. I went with a saw blade picture that I got from one of these actual blades on Amazon.
Open the Silhouette Studio Software. From the top left side of the screen, choose “File” then “open”. Pick the image that you want to use and click “Ok”.
I picked one of the blades and imported it.
I am using the Silhouette Business Edition software, but you can use the Designer Edition or Designer Edition Plus to create .svgs. You will need the Business edition to export them though. Here’s a comparison chart of the differences between the various editions. They are usually cheaper on Amazon, so check those prices!

I selected the area that I wanted to trace and increased the threshold to 92%. Play around with the controls to find the best settings for your image. I have the “Solid Fill” checked, but “Outer Edge” would have been fine too, because all I’m going to do is click “Trace Outer Edge”. That’s because, that’s the only part I want.
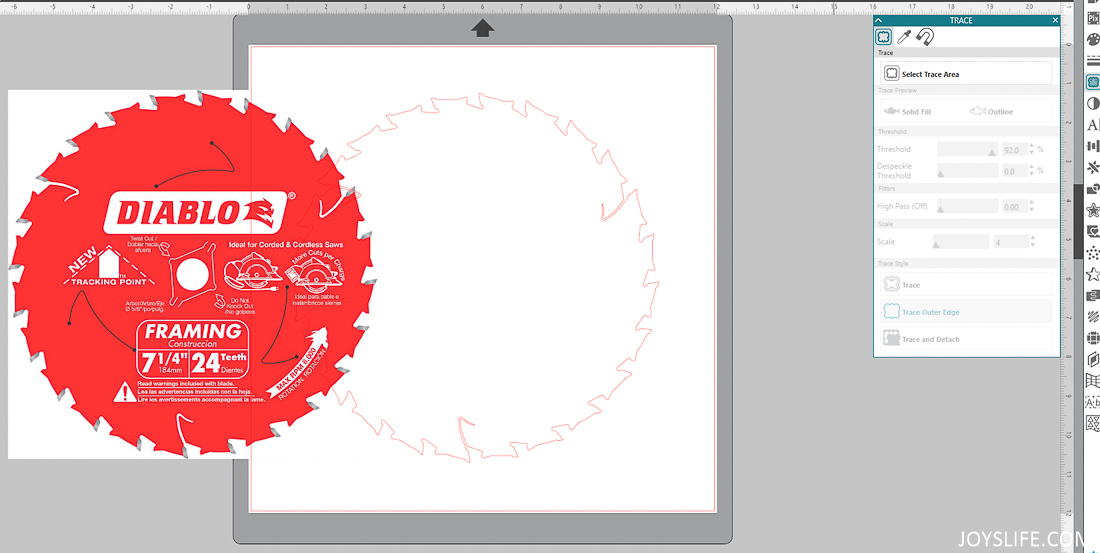
Drag the image away or delete it and you’re left with the outline. Perfect! That’s what I needed!
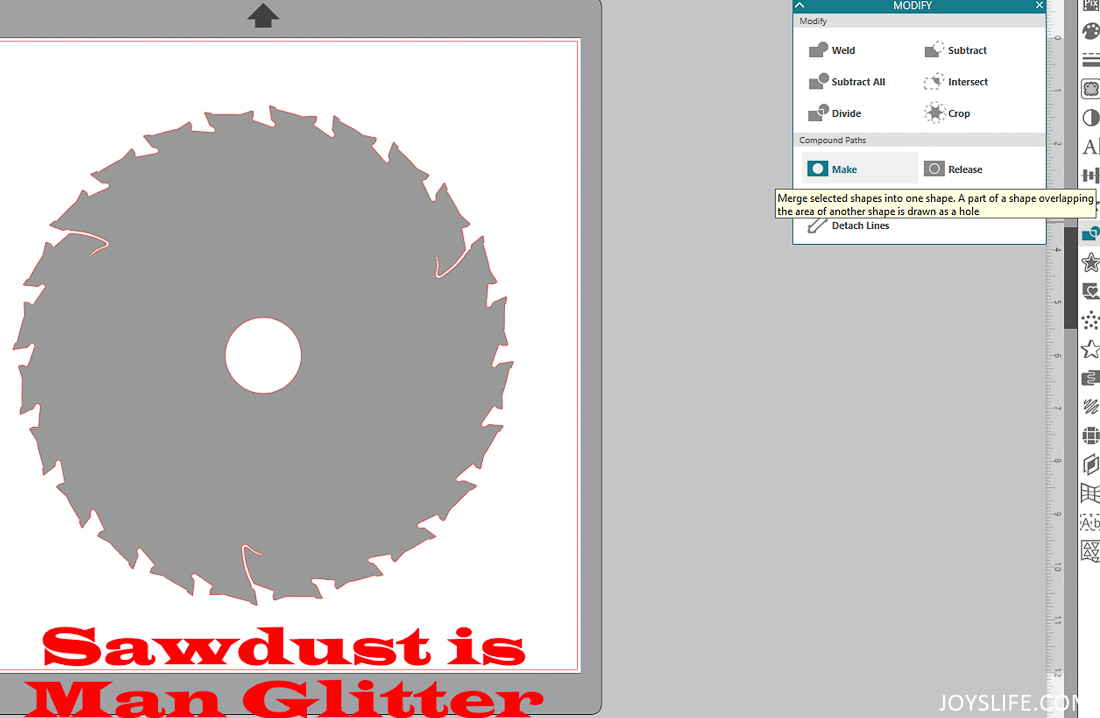
Next, I created a circle using the drawing tools on the left. I put the circle over the saw blade and opened the “Modify” panel. I selected both the blade and the circle and clicked on “Make”, which created a hole in the blade where the circle used to be sitting.
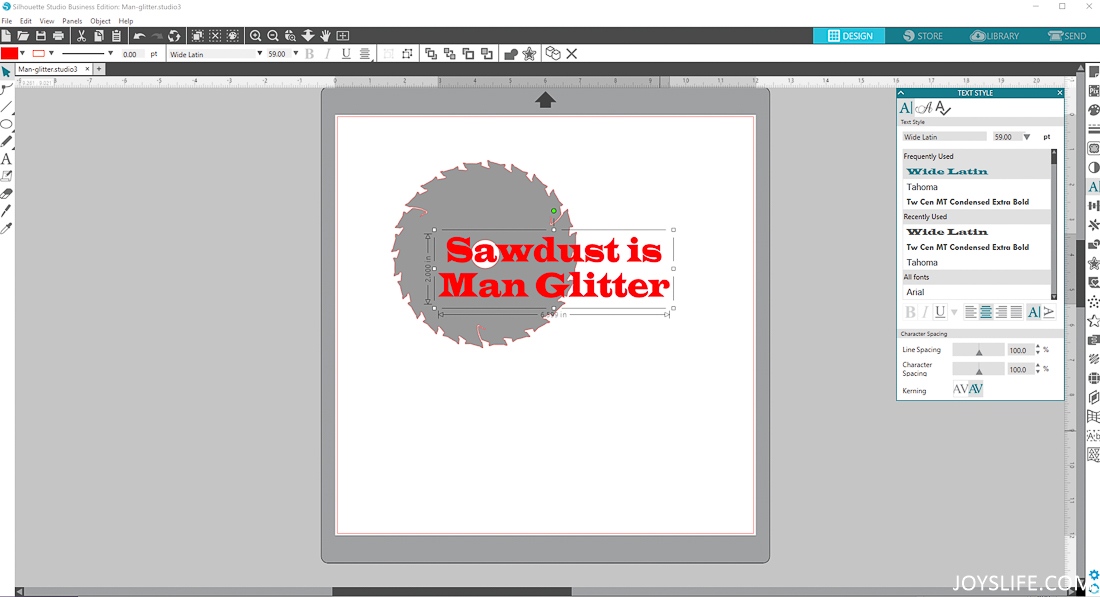
Add text of your choice and you’re all done! I’m using the Wide Latin font.
Go to File > Save As > Save to Hard Drive. Choose a name for your file and then save as .svg. Now you can share your file pretty much anywhere, even with a Cricut Design Space user!
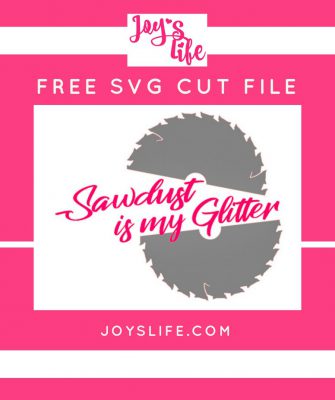
FREE Sawdust Is My Glitter SVG File
Hey, men aren’t the only ones who use tools! Go get this free .svg file that I created using the saw blade from this post!
See more Silhouette Posts here!
Happy Crafting!