Cricut Love Struck 3D Heart and Heart Stand

Hearts in 3D + a Stand!!
This morning I decided to try out the 3D heart cuts on the Love Struck Seasonal Cricut Cartridge. It’s very cute! The only problem? Um…it’s a heart…with a pointy end. You can’t stand that up by itself, duh!! Yeah, I still haven’t had coffee or maybe that would have occurred to me sooner. I didn’t want to hang the heart from anything. I wanted it to stand up. So, I crafted this little heart holder to make it do just that! 😀
Here’s What I Used:
- Deep Cut Blade
- K & Co. Smitten Specialty Paper
- 1 Cereal Box (empty) 😀
- ATG Gun (adhesive)
- Cricut Love Struck Seasonal Cartridge
Here’s How I Made Everything:
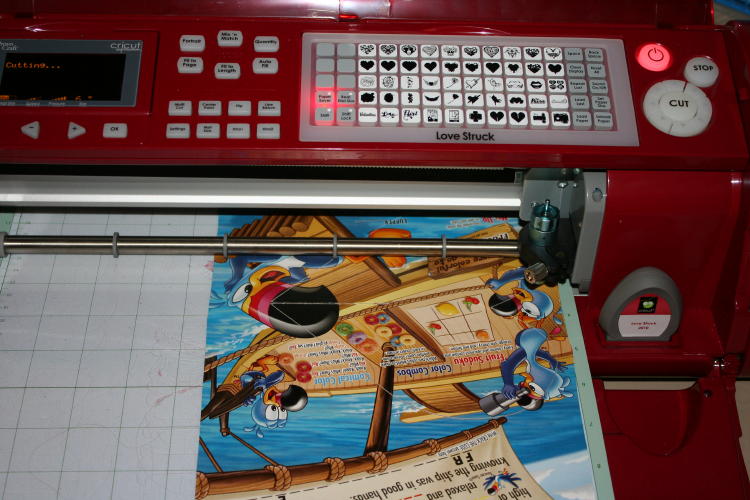

First, I sacrificed a box from some junky cereal to the Cricut. 😉 I cut the large 3D hearts from the cereal box at 6″. I used the Deep Cut Blade
set at 6, pressure 5 and speed 3.
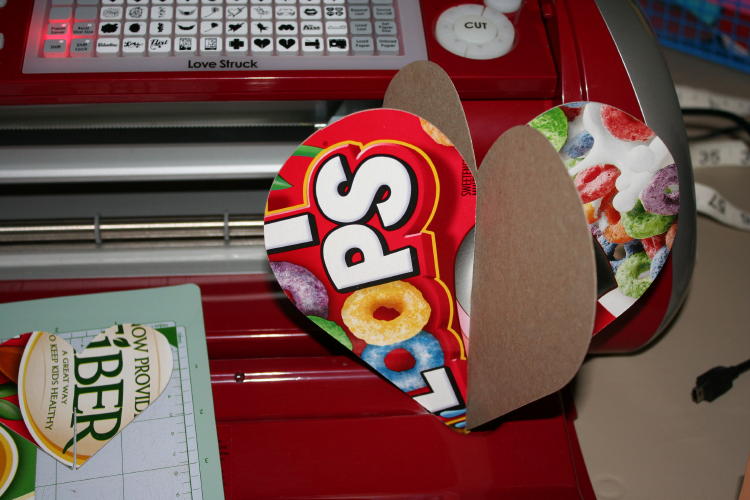
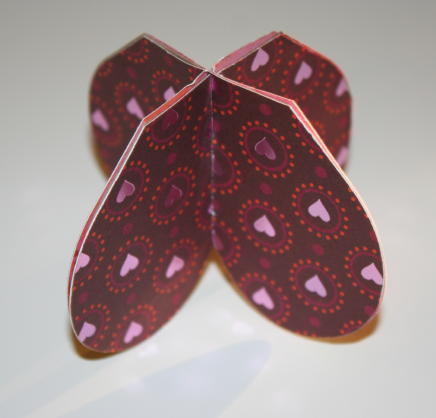
Once cut and assembled, it looked like this. Cute if you’re doing cereal box decor…but that wasn’t my theme. Also, it needed a stand. It couldn’t just sit in my Cricut all day.
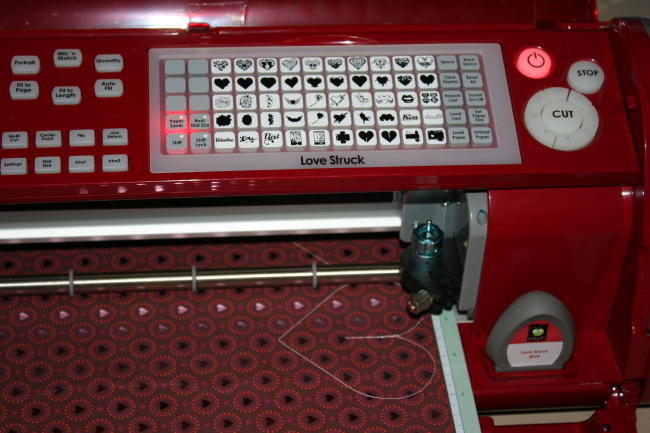
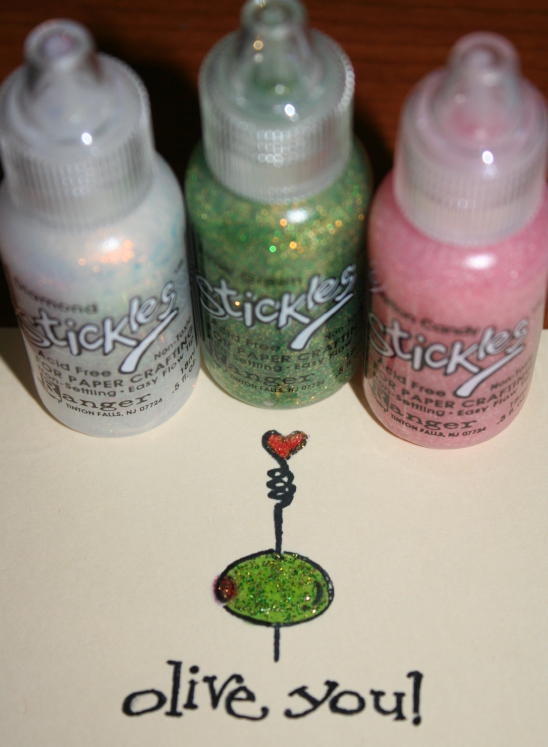
I cut the small hearts out of the cereal box, just like I did with the large ones. I cut the small ones at 3″. Then I cut out four 3″ hearts from this paper. That’s 2 cuts with the slit in the top and 2 cuts with the slit in the bottom. I just left the Deep Cut Blade in and cut the paper at Blade 3, Pressure 5 and Speed 3. This paper and the other one I used are glittery/shimmery, so I didn’t turn the blade and pressure down too low.
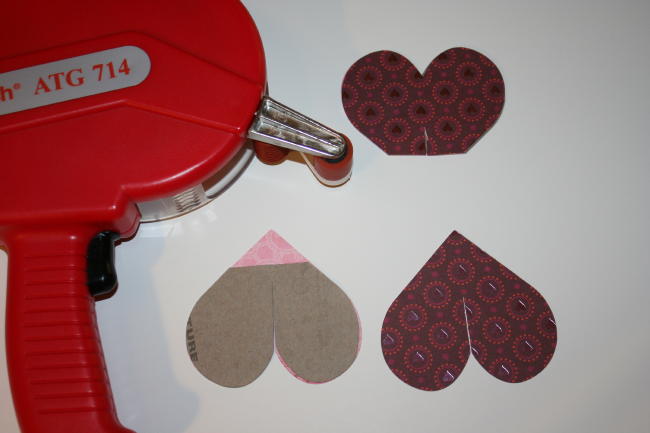
I cut the pointy ends off of the hearts so I could form my stand. Then, I just used my ATG Gun and taped the paper to the cardboard hearts. After that, I just snipped off the excess paper.
TA DA!!! You might have to snip the cut lines a little bit more to get everything just right. That’s what I did.

**A TIP **
You should only add paper to one side of the big hearts, like all right sides or all left sides. Why? Because after you assemble it the tips of one side on each heart will be hidden by the stand. I know this sounds confusing, but just trust me. I learned this the hard way.
Cutting the hearts in half (if you’ve cut them at a large size) also makes it easier to emboss them. Using my Sizzix Big Shot, I embossed some of the heart halves with the Conversations Cuttlebug folder. I love that folder. I can’t stop using it!

That’s a side where I used the Conversation Cuttlebug folder.
Tricky…you’ll have to cut a slit up from the bottom of the big hearts so they will slide down over the stand. You’ll figure it out. 😉

The bottom of the stand.
The completed 3D heart + Stand. YAY!!
Now…time for coffee. 😀

Wow!! This is too cool!! Great Job!
Thank you!! 😀
~Joy~
wow – very clever! Thanks for sharing your idea 🙂
Thanks Tammy!
~Joy~
I just love this, it is so cute thanks so much for showing us. I am going to have to try this
This is great! THey would make awesome centerpieces.
Thanks!!
Liz
Wow…This is so pretty and what a great idea to give to someone to put on their desk, workspace, or table centerpiece where a hanging mobile just won’t work. I’ll have to get started on some for next Valentines Day. Thanks for the great idea Joy!
Thanks Woody42997! 🙂
~Joy~
You sure made that look easy. Very cute!