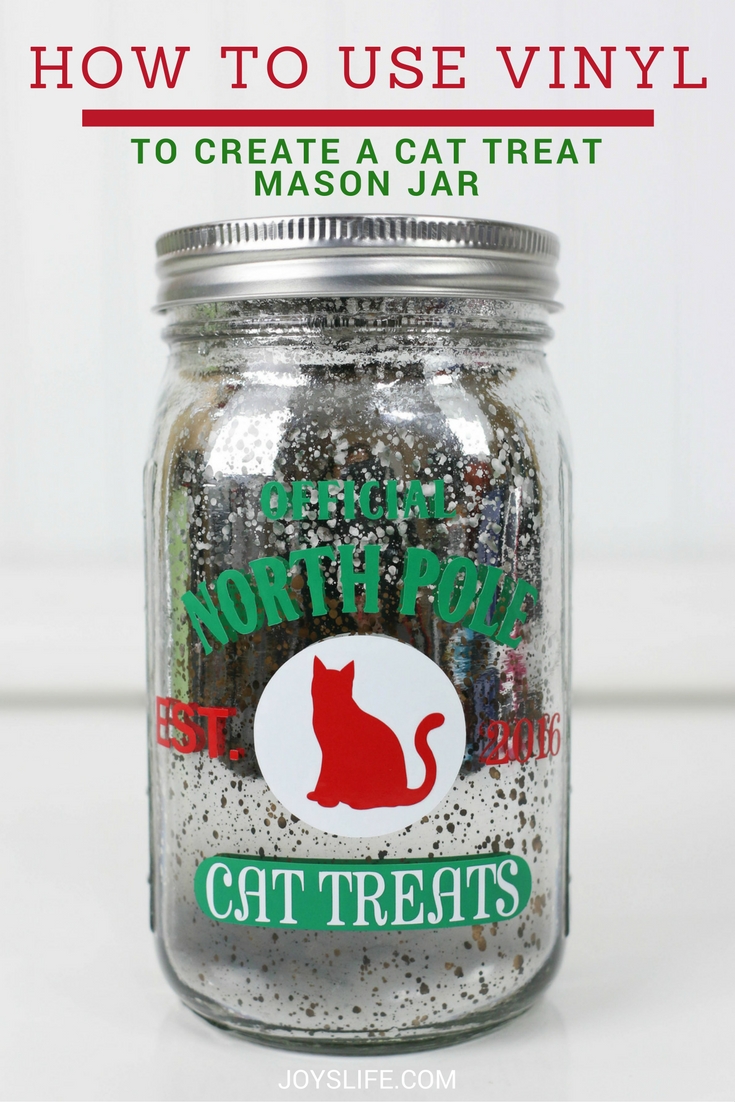
Create a Vinyl Decorated Cat Treat Mason Jar
How to Create a Vinyl Decorated Cat Treat Mason Jar! So cute for pet treats!
I love my pet and I want to treat him to a Merry Christmas season. That’s a fact. Also a fact, my cat, Domino, walks the tightrope between naughty and nice.
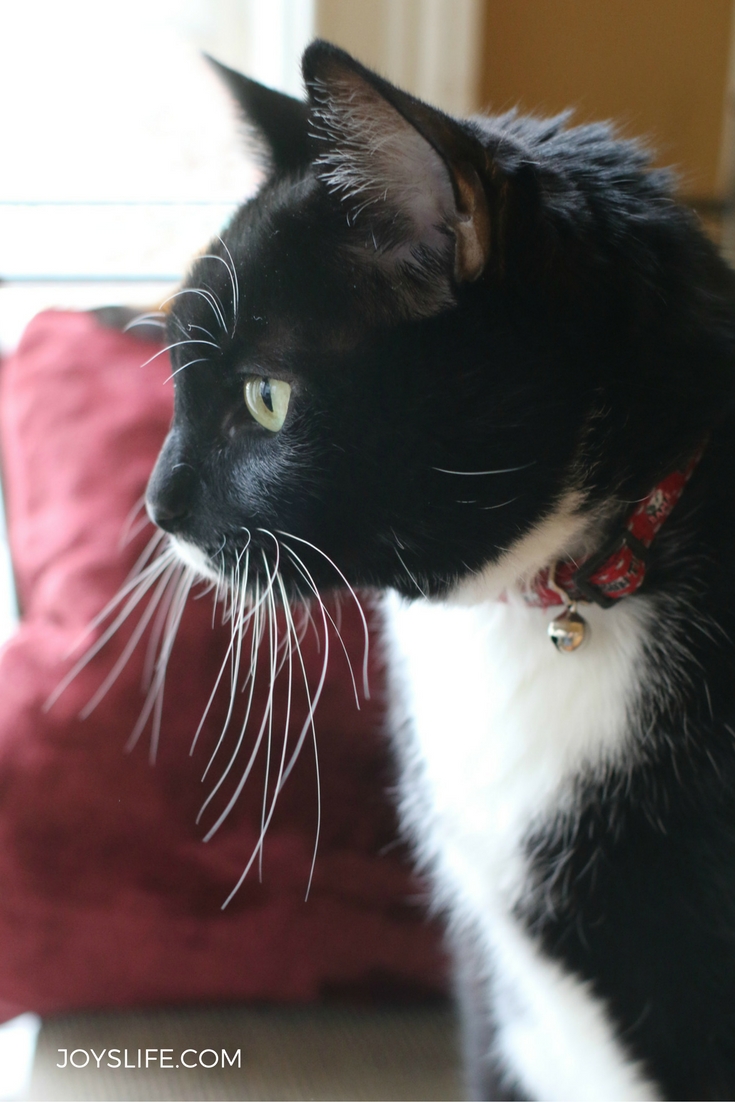
Here, Domino is carefully weighing how important it is for him to be on the nice list, before he plots his next flying leap to the kitchen island, or decides that wrapping himself around my leg while I walk up the stairs is all in good fun. Could be he’s just trying to work out the best action he can take that will assure a cat treat reward. It’s hard to say really. He is an enigma. Regardless of his hi-jinks, and there are many, Santa and I both love him. That’s why I’m making him a special cat treat jar! Also, because if he’s nice, he deserves a special treat. If he’s naughty, a treat might make him nicer!
How to Create a Vinyl Decorated Cat Treat Mason Jar
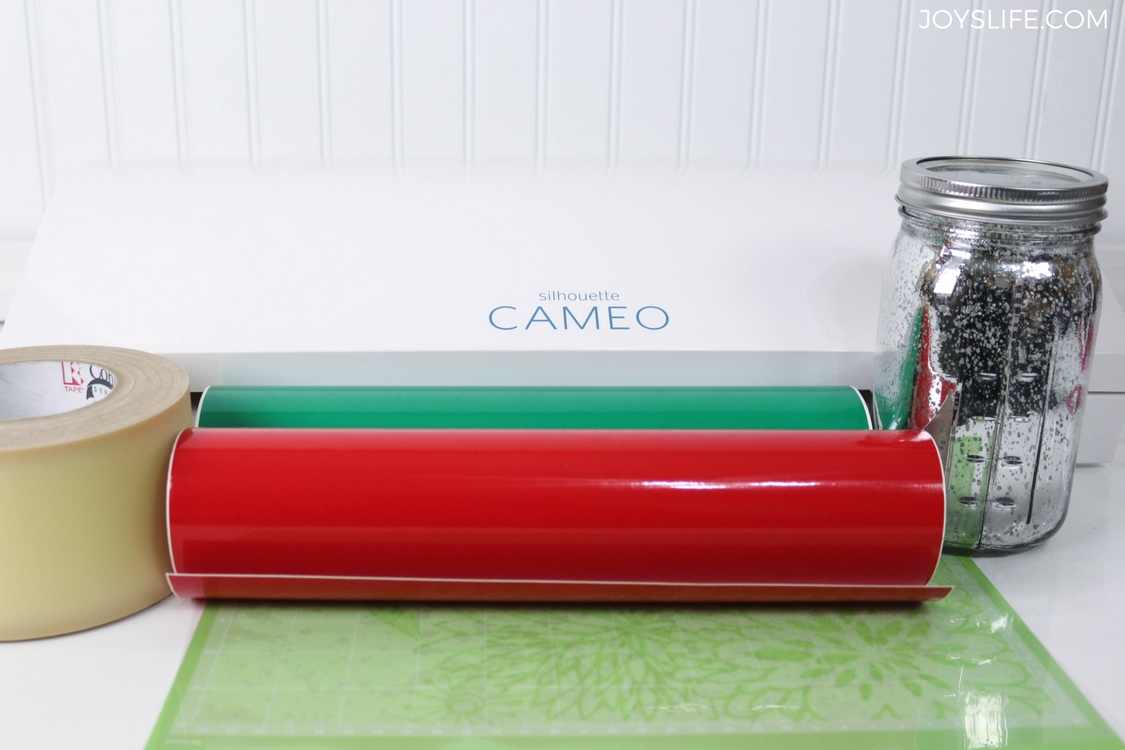
Supplies:
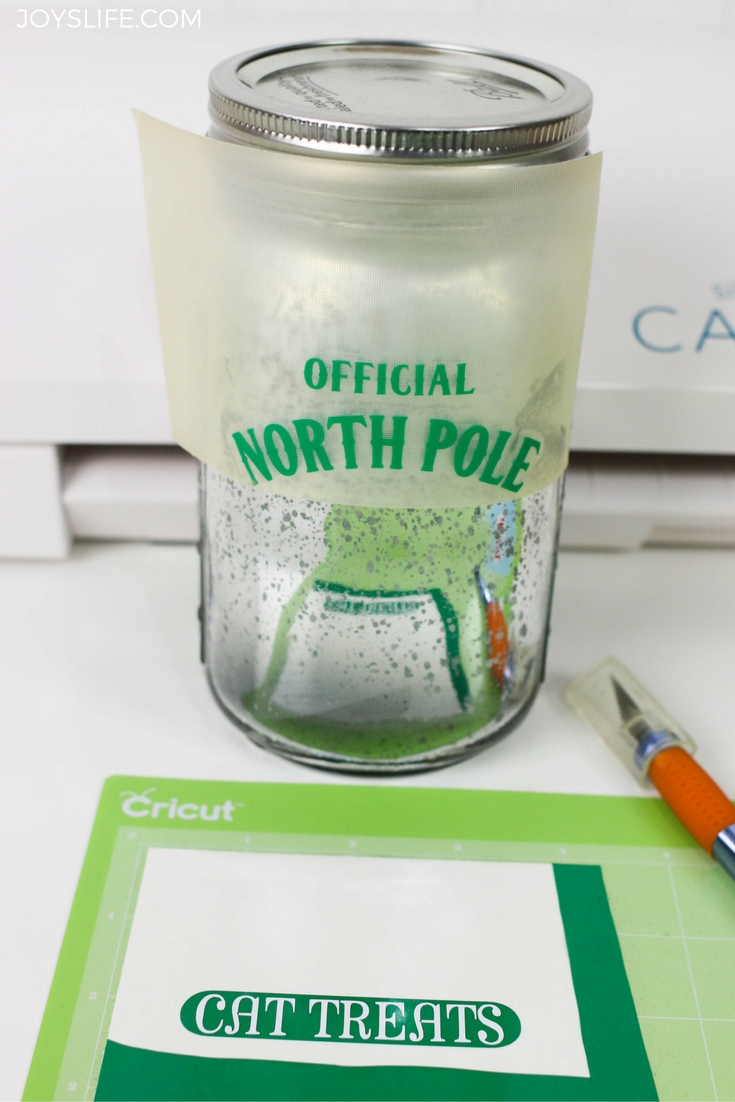
First, you’ll need a few supplies. I’m using red, green and white vinyl, a Silhouette Cameo 3, transfer tape, Cricut cutting mat (I prefer those over the Silhouette mat), kraft knife and a faux mercury glass mason jar. I bought this mason jar, but I’ve made one too, here’s how.
New to the Silhouette Cameo 3? Don’t miss this post! >>> The NEW Silhouette Cameo 3 Compared to the Silhouette Cameo 2
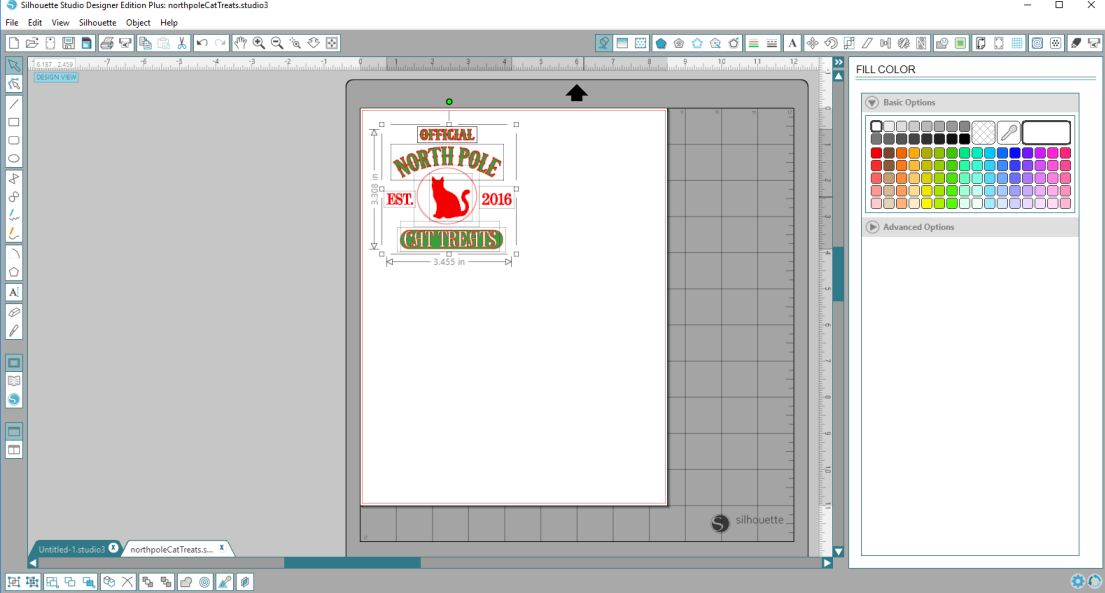
Before you get started, you’ll need to create a design. I created the images that I’ll be cutting out in vinyl by combining this north pole file and this cat file from the Silhouette store. I added some of my own text to make this a perfect fit for cat treats.
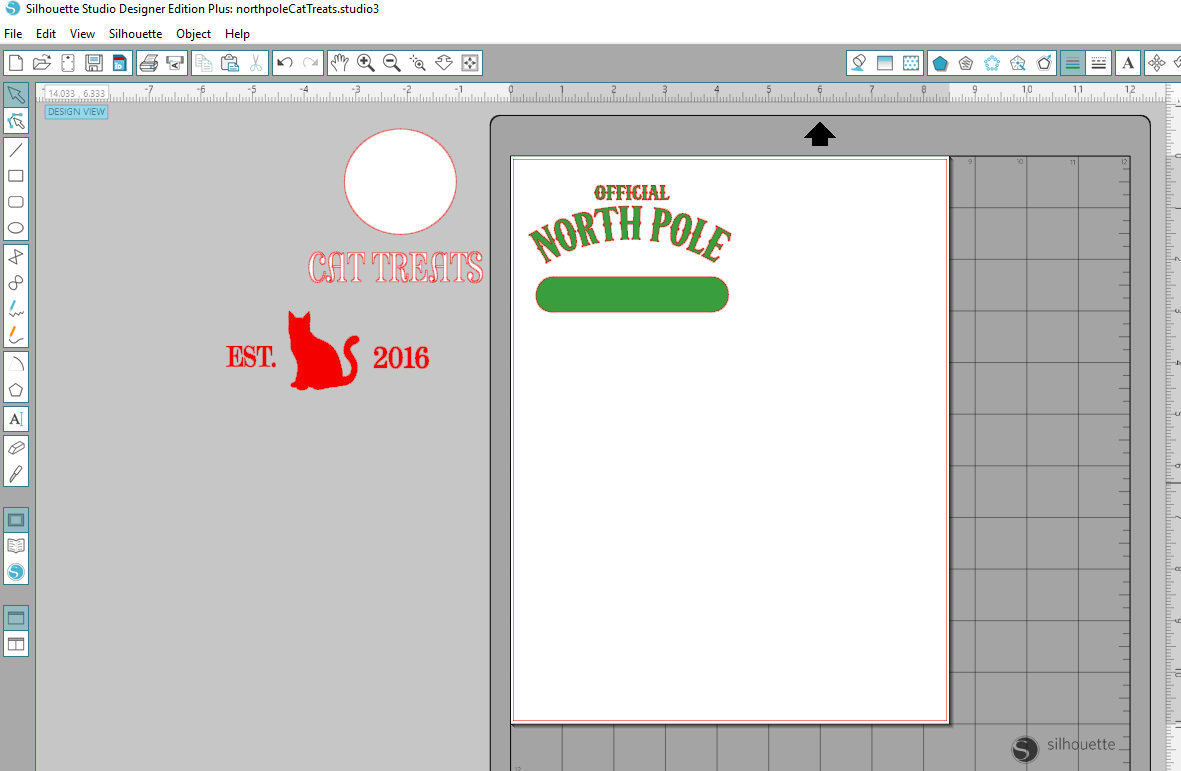
When you want to resize a whole image, be sure to select everything! Use the color fill option to help you visualize the different colored pieces of vinyl that you’ll be using. Later you can save time and vinyl by cutting like colors together.
How to Use Fill Color in the Silhouette Software
This tutorial will help you learn how to use the Silhouette Cameo fill color option!
TIP: Cut your design out on paper first! I buy reams of inexpensive white cardstock just for this purpose.

Cut the vinyl out using the vinyl settings in your die cut software. You can cut several things on one mat. In this case, I actually cut them and weeded them on the same mat.
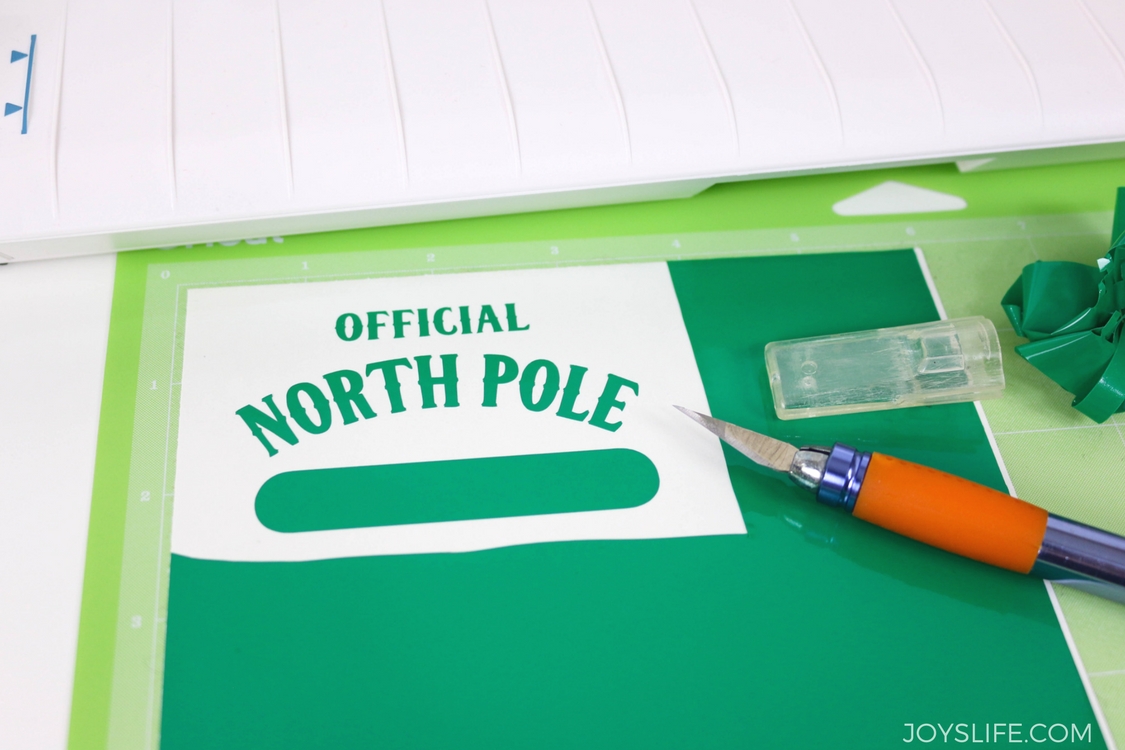
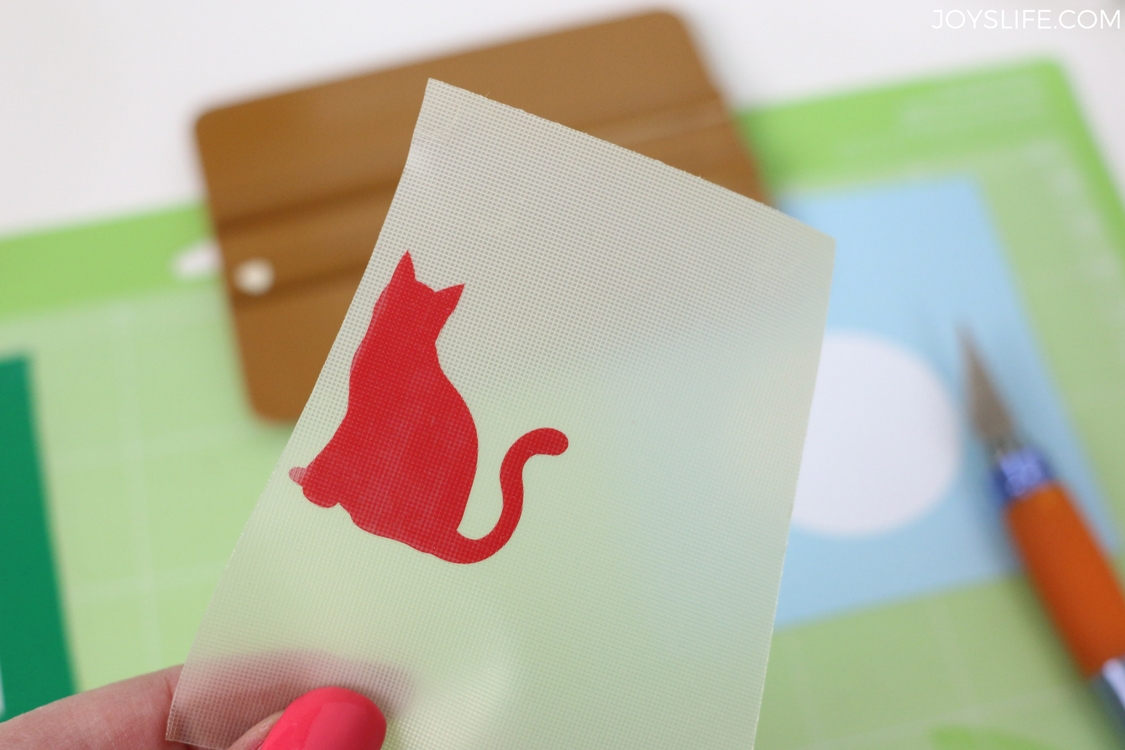
Weeding is where you remove the vinyl you don’t want to use from the vinyl you do want to use. I do that with a craft knife. Take your time!
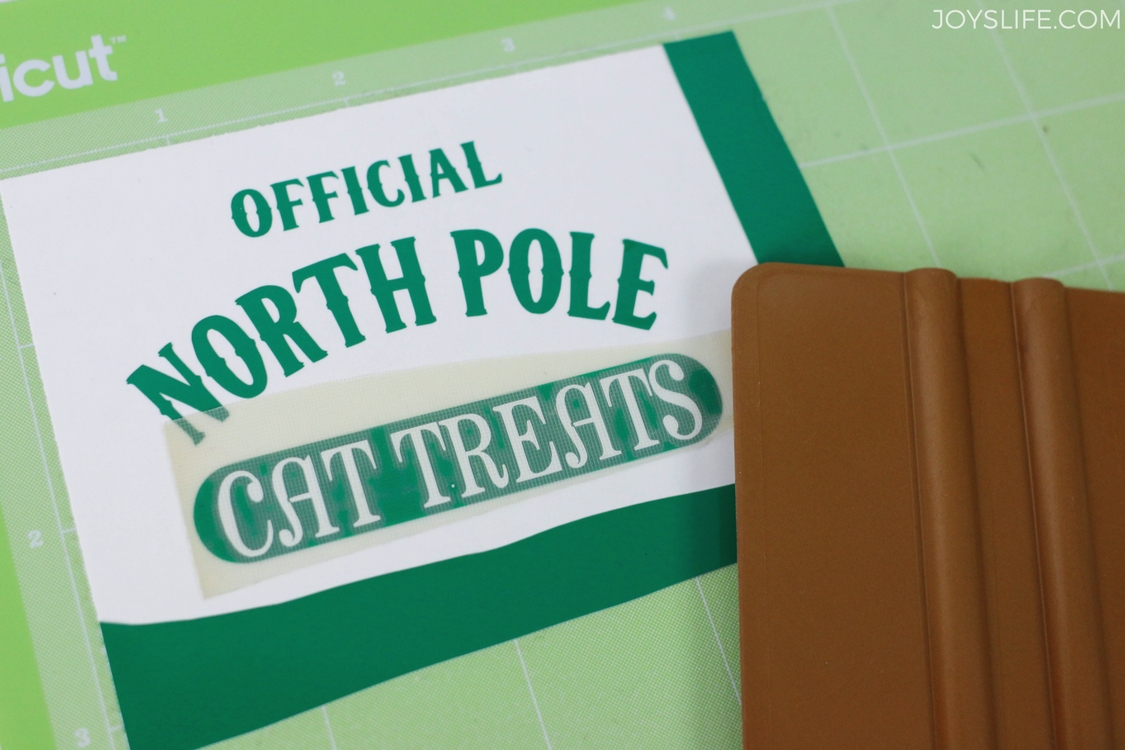
To layer vinyl, you’ll need transfer tape. Cover the image or text with transfer tape. Burnish the transfer tape to the vinyl using a squeegee. I moved the “cat treats” lettering to the solid green background.
Check out my vinyl DVD, in my store, for more help with vinyl!
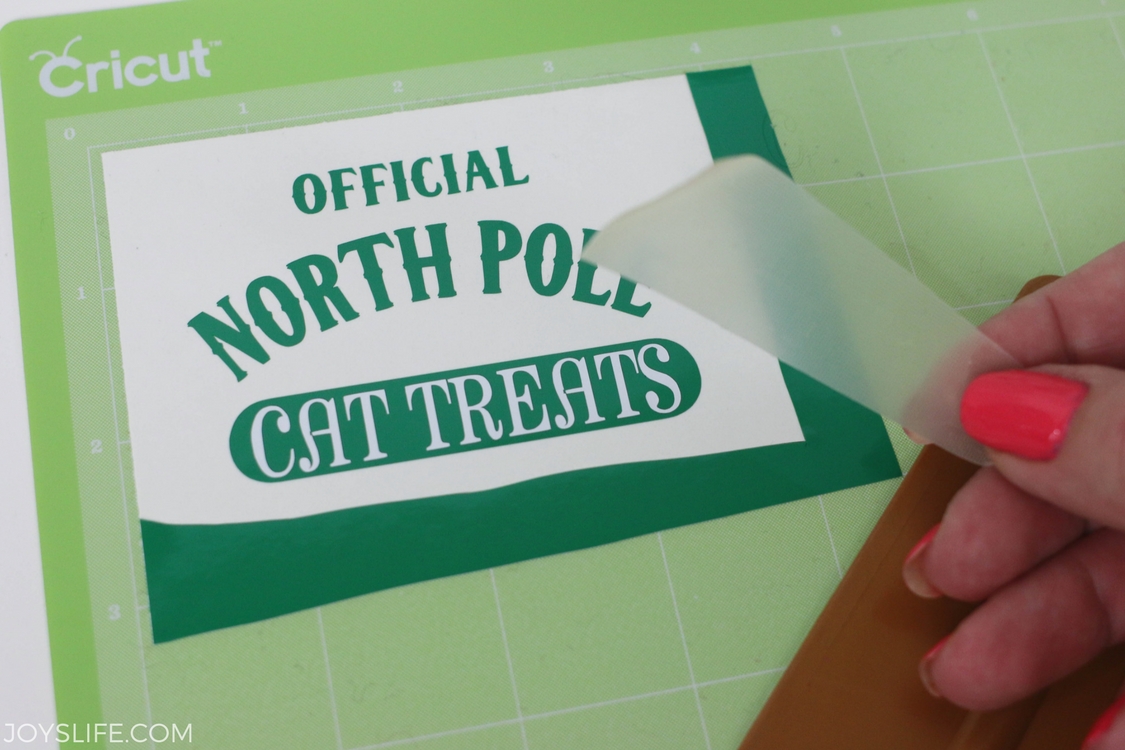
After you’ve got the vinyl where you want it, carefully remove the transfer tape. Using a clear or translucent transfer tape makes application easier because you can see where you’re putting everything.
Here’s the cat being moved to the white circle by using transfer tape.
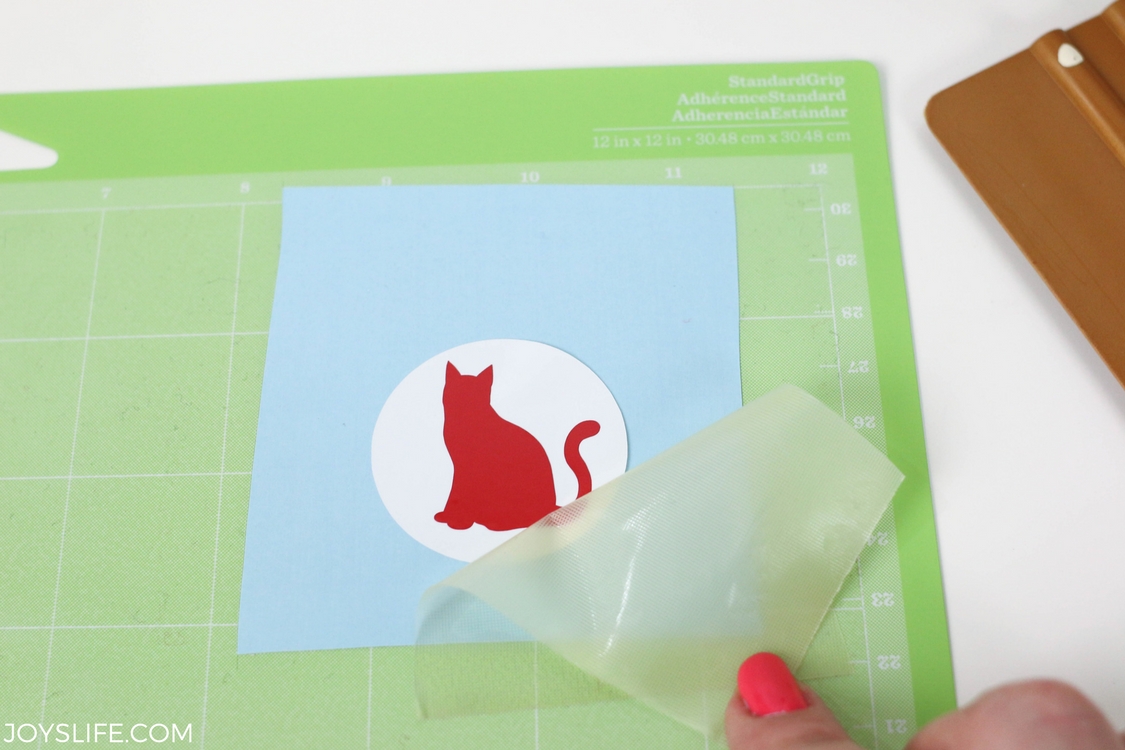
Once again, lay down the vinyl and remove the transfer tape. Ta da! A cat in a circle! LOL!
Apply Vinyl to a Mason Jar
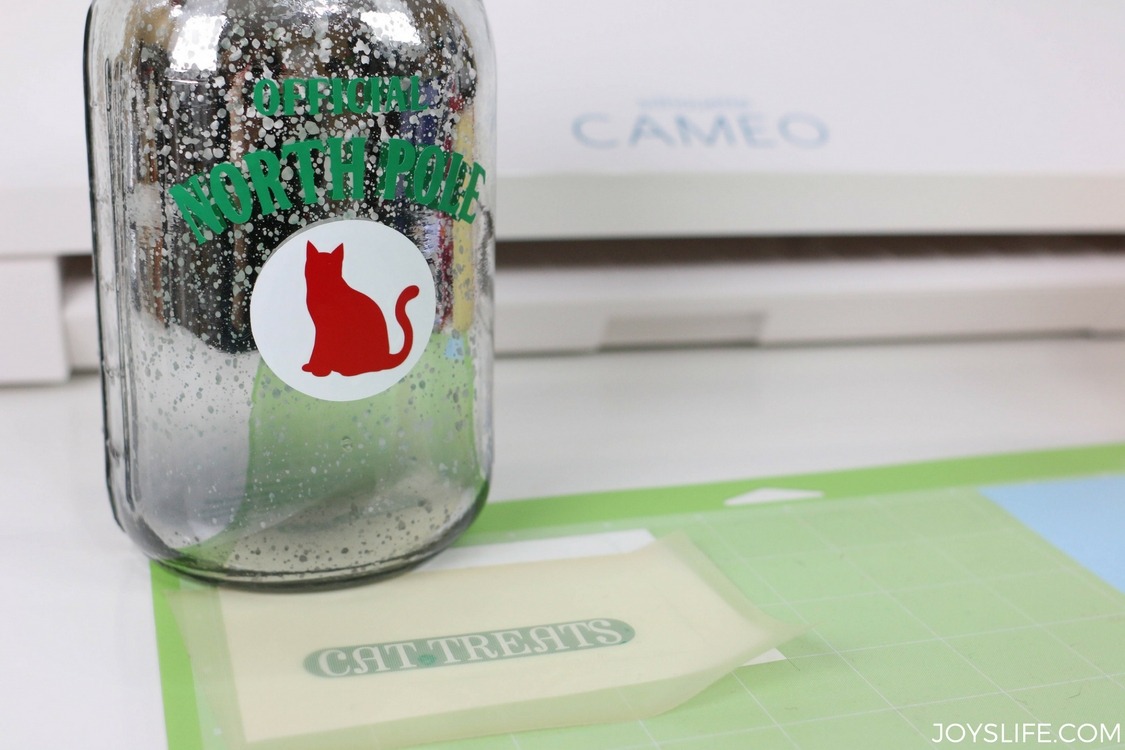
You’ll use the same process for transferring vinyl to the mason jar that you used for layering vinyl. Cover the vinyl, that you want to move to the mason jar, with transfer tape. Burnish it down with a squeegee, just like you did before. Burnishing makes it stick to the transfer tape. Slowly peel it up.
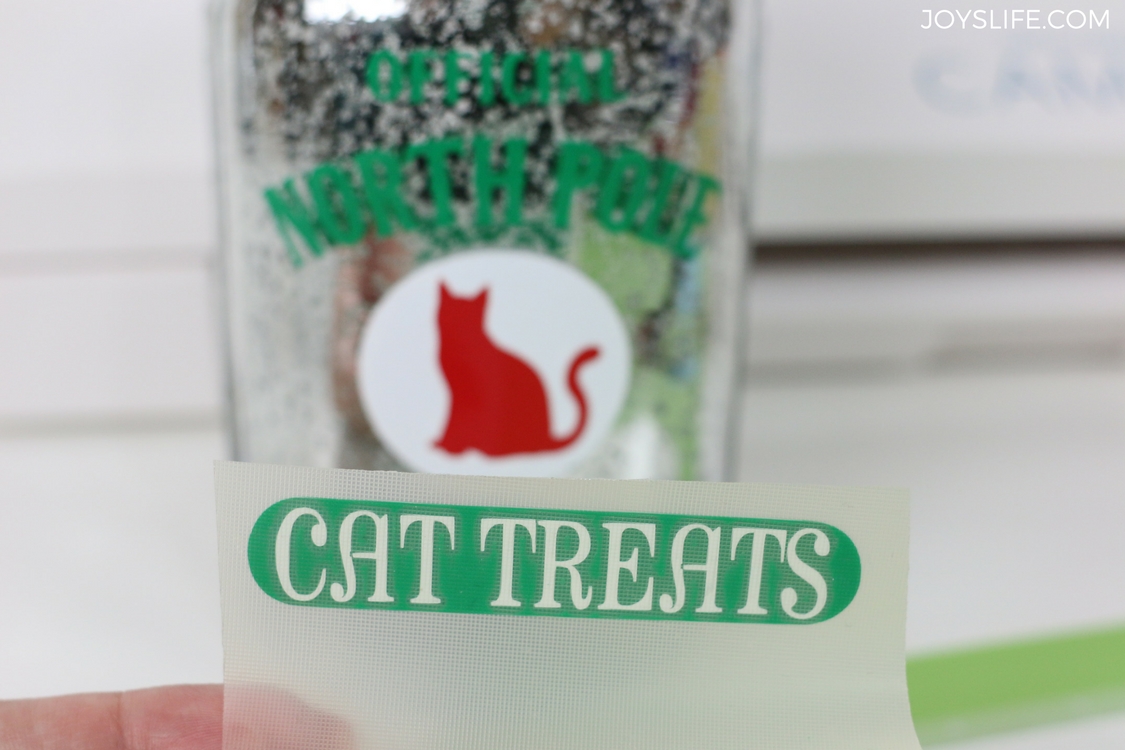
YAY! It’s nicely stuck to the transfer tape. Now, you just stick it to the mason jar. Take your time. Vinyl works best when you stick it down right the first time. Sometimes that can be tricky, so be patient!
You can do this!
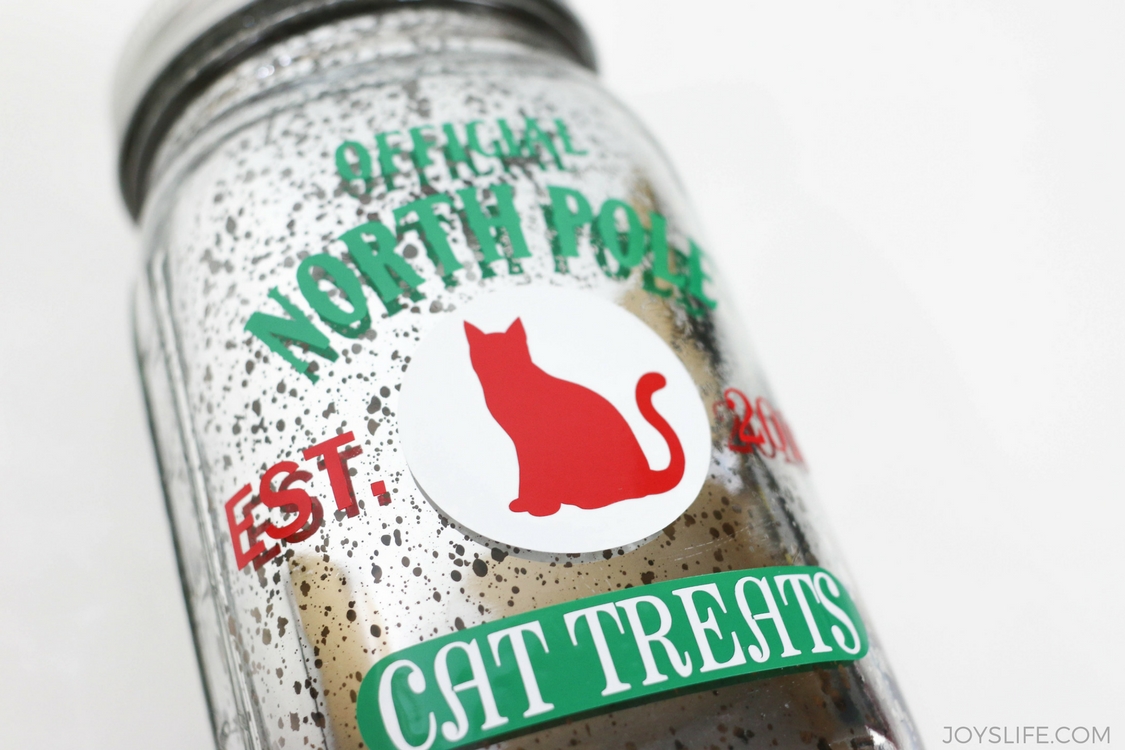
How awesome is this finished cat treat mason jar? I love that you can use vinyl to create exactly what you want. This is such a cute gift for a friend with pets!
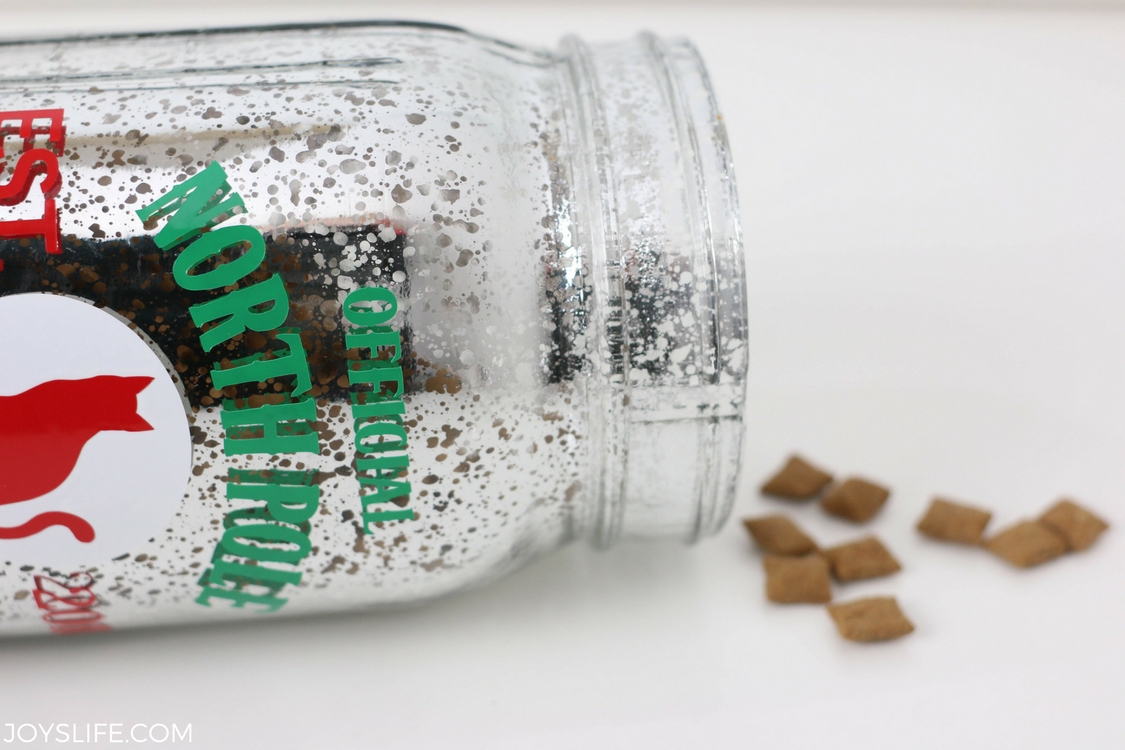
Don’t forget to fill the treat jar! That’s what makes it a perfect gift!
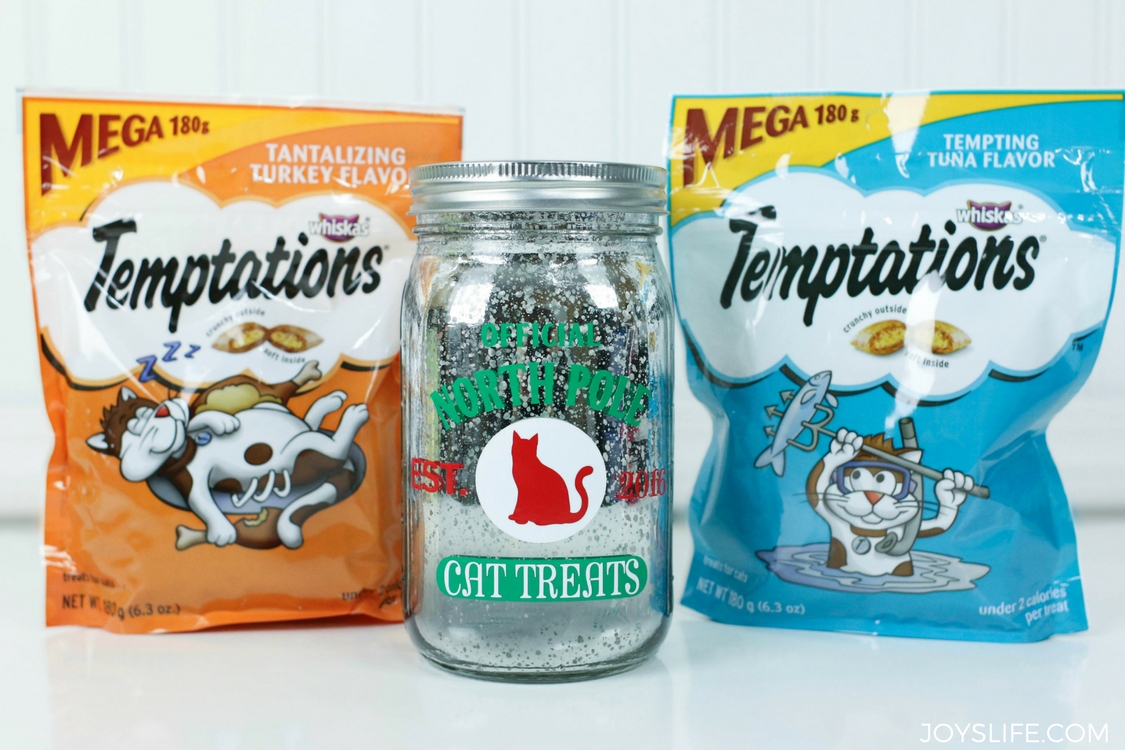
I picked up these treats at Walmart. Domino is thrilled! I got some human shopping done while I was there too. Score!
Don’t forget to treat your pets this holiday season!
Thank-you Joy for such a great step-by-step tutorial! I really want to do more vinyl projects, but didn’t know how to get started.
You are so welcome, Nora! I’m so glad it helped you. I hope you have a great time working with vinyl. Here are some other vinyl projects that you might enjoy! https://joyslife.com/category/crafty-projects/vinyl/ Happy crafting!
How fun! I’ve never layered vinyl before. It looks so great. #client
Thanks so much, Kelly! 🙂